Blynk Board Project Guide
Introduction
So you've provisioned your SparkFun Blynk Board -- connected it to your Wi-Fi network and started using the zeRGBa to control the RGB LED -- now what? Time to build some projects!
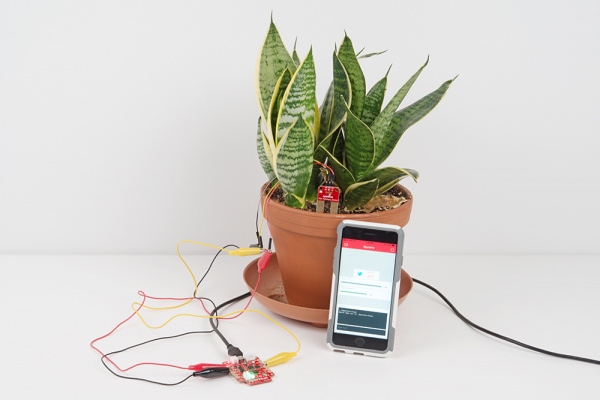
This tutorial will walk you through fourteen Blynk projects, which range from blinking an LED with a smartphone to setting up a tweeting, moisture-sensing house plant.
This tutorial follows our "Getting Started with the SparkFun Blynk Board" tutorial, which demonstrates how to provision your Blynk Board and get it connected to a Blynk project.
Have you just powered up your Blynk Board? You need to get your board on Wi-Fi first! Head over to the Getting Started tutorial to learn how.
Getting Started with the SparkFun Blynk Board
All of the projects in this guide are pre-loaded into the Blynk Board. That means you don't have to write any code -- just drag and drop some Blynk widgets, configure some settings and play! This tutorial will help familiarize you with both the Blynk Board hardware and the Blynk app, so, once you're ready, you can jump into customizing the Blynk Board code and creating a project of your own.
Suggested Reading
We'll be (over-)using electrical engineering terms like "voltage", "digital", "analog", and "signal" throughout this tutorial, but that doesn't mean you need to be an electrical engineer to know what they mean.
We pride ourselves on our comprehensive list of conceptual tutorials, which cover topics ranging from basics, like What is Electricity? or Voltage, Current, Resistance, and Ohm's Law to more advanced tutorials, like Logic Levels and I2C.
Voltage, Current, Resistance, and Ohm's Law
What is Electricity?
We'll link to tutorials as we introduce new concepts throughout this tutorial. If you ever feel like you're in too deep, take a detour through some of those first!
Before we really dive into those projects, though, let's familiarize ourselves with the Blynk Board and all of the components it features. Click the "Next Page" button below to proceed to the Blynk Board Overview section (or click "View as Single Page" to load the entire tutorial in all of its glory).
