Blynk Board Project Guide
 jimblom
Project 4: Temperature and Humidity Values
Blynk's Value widget is the workhorse of many-a-Blynk project. Set to a digital pin, it can display the real-time HIGH or LOW values of the pin. Set to the proper virtual pin, it can display as much information as you can fit into four characters.

In this project, we'll use two-or-three Blynk value widgets to read how hot your Blynk Board is running and find out whether it's hydrated enough.
This is the first project to use the Blynk Board's on-board temperature and humidity sensor -- the tiny, white square adjacent to the "12" pin. This is the first step towards creating environment-sensing projects -- for example, you could wire up a relay to turn a fan on or off depending on the local weather conditions.
Blynk Setup
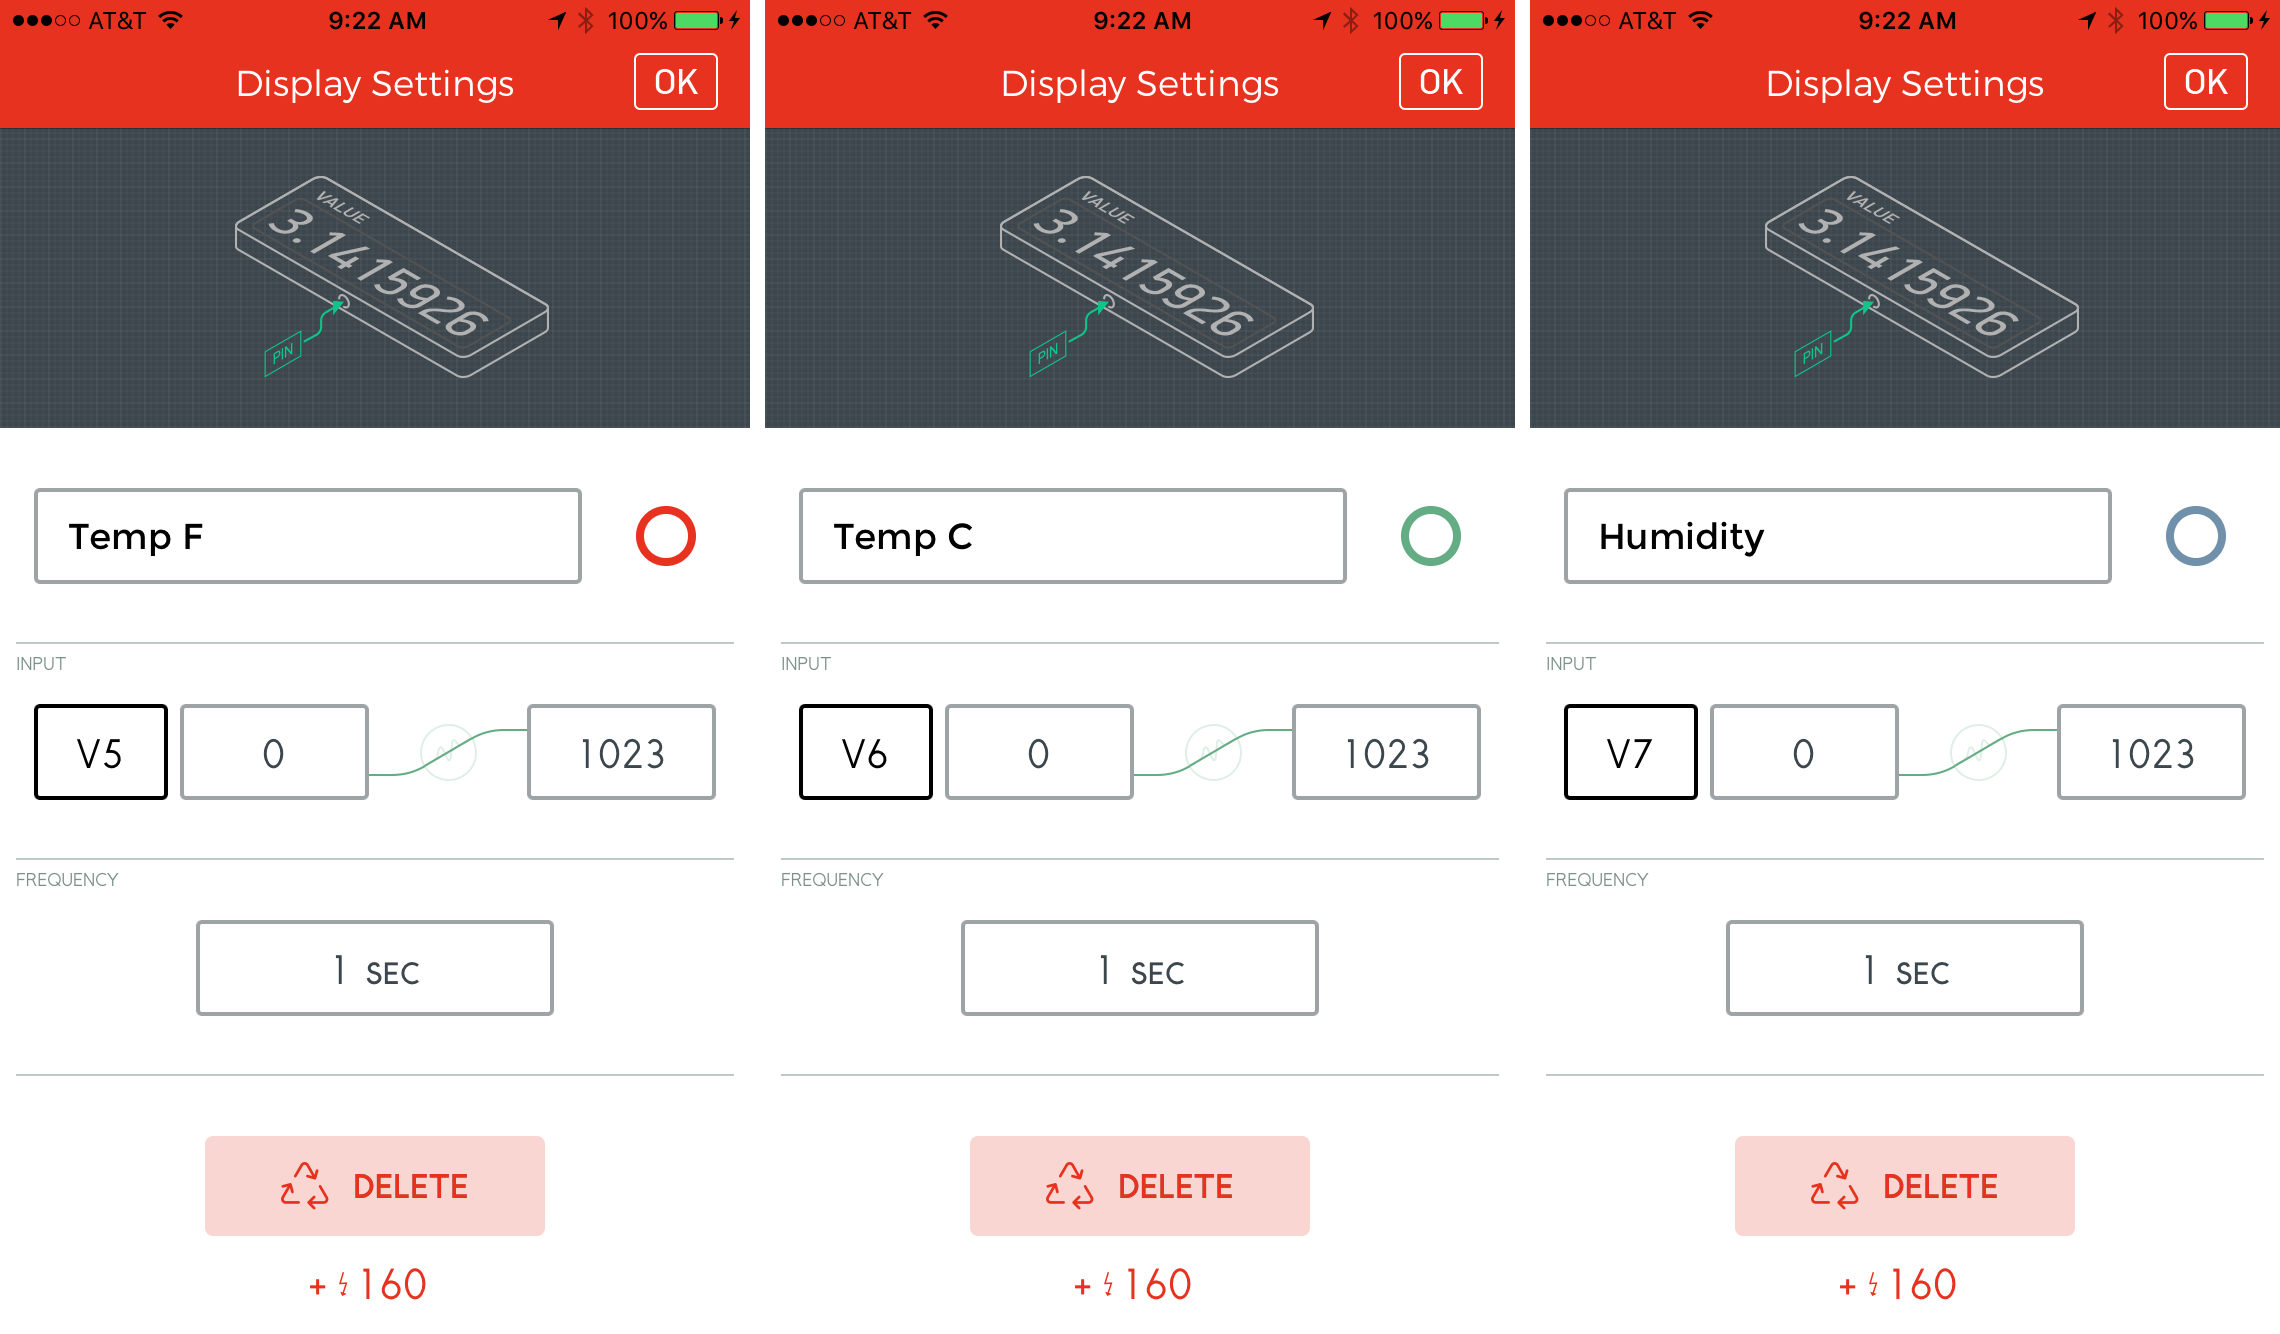
Clean up your Blynk Board project as necessary, make sure the project is stopped, and add three new value widgets.
Add Three Value Widgets to V5, V6, and V7
The Value widgets are located at the top of the "Displays" category. Once in the project, set the widgets up like this:
| Name | Pin | Min | Max | Frequency (or Reading Rate) |
|---|---|---|---|---|
| Temp F | V5 | – | – | 1 sec |
| Temp C | V6 | – | – | 1 sec |
| Humidity | V7 | – | – | 1 sec |
As always, feel free to adjust your widget colors to your heart's delight.
The frequency (or reading rate) setting controls how often the Blynk app asks the Blynk Board for updated values. Don't set it to push, though, as the Blynk Board firmware isn't configured to "push" these values to the app.
For these virtual pins, the range (defaulted to 0-1023) won't have any effect on the displayed value -- you can ignore them.
Once you've set all three value widget's up, run the project.
Blynk Run
A second-or-so after you hit Play, you should see the three values begin to update. "Temp F" and "Temp C" display the temperature in Fahrenheit and Celsius, respectively, while "Humidity" displays the relative humidity as a percentage.

The most effective way to interact with this project is to get up close to the white temperature/humidity sensor and blow on it. Your breath should quickly raise the humidity reading, before it slowly drops back down. Or, if you can take your Blynk Board outside, go check the environment readings against your local weatherman.
Hot blooded
You can probably tell by placing a finger under the Blynk Board that it tends to run hot. Don't worry! Your desk probably isn't 90°F.
The humidity sensor should still be correct, but, to get a more accurate temperature reading, try unplugging the board, letting it cool off for a minute-or-so, and plugging it back in.
Going Further
Continue to play around with the value widget settings to get a feel for the update rate.
You can use the value widget for just about any Blynk input built into the firmware. For example, try setting either the "Temp F" or "Temp C" widgets to V1 (you may have to disconnect the LED first). Now, when you press the button, you'll reinforce the idea that 255 is equivalent to 100% ON, and 0 is completely off.
Or -- if you want to get a jump-start on the next project -- set one of the value widget's pin's to ADC0, under the "Analog" list. What are these 0-1023 values all about? All of you questions will be answered in the next project!