Blynk Board Project Guide
 jimblom
 Project 5: Gauging the Analog-to-Digital Converter
To read in analog inputs, the Blynk Board uses a special-purpose pin called an analog-to-digital converter (ADC). An ADC measure the voltage at a set pin and turns that into a digital value. The ADC on the Blynk Board produces a value between 0 and 1023 -- 0 being 0V/LOW/OFF, 1023 being 3.3V/HIGH/ON, and 512 being somewhere in the middle ~1.65V.

There are a variety of widgets that can be used to display the voltage at the ADC pin. In this project, we'll use the Gauge widget, which provides the real-time reading on the ADC pin in a nice, proportional manner.
Hardware Setup
The Blynk Board's ADC input is floating -- not electrically connected to any circuitry. Without something connected to the pin, the voltage may wildly fluctuate, so to produce a reliable, steady voltage, we'll need to wire it up.
There are a huge variety of analog-signal producing electronic components out there, but the most traditional is a potentiometer. "Pots" come in all sorts of shapes and sizes from rotary to linear to soft.

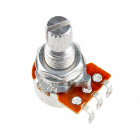
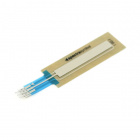
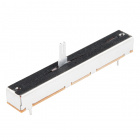
To really get the most out of this project, consider grabbing a sliding linear potentiometer and three alligator clip cables. Wire up the bottom of the slide pot like below -- red cable on the pin labeled "1", yellow connected to "2" and black connected to "3".
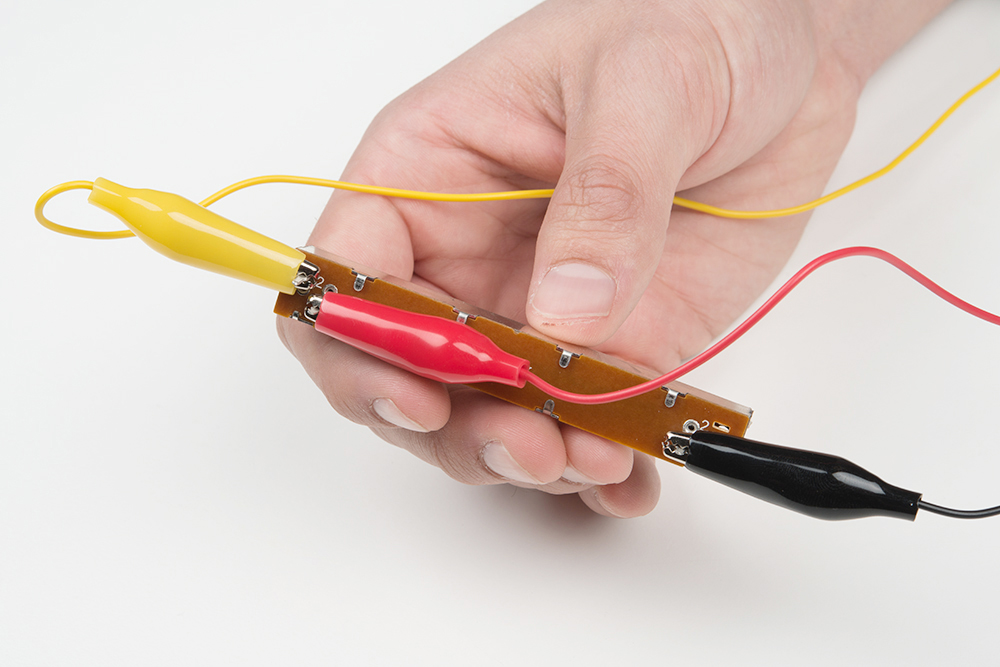
Then route the other ends of the alligator-clip cables like below -- red to 3.3V, black to GND, and yellow to ADC.
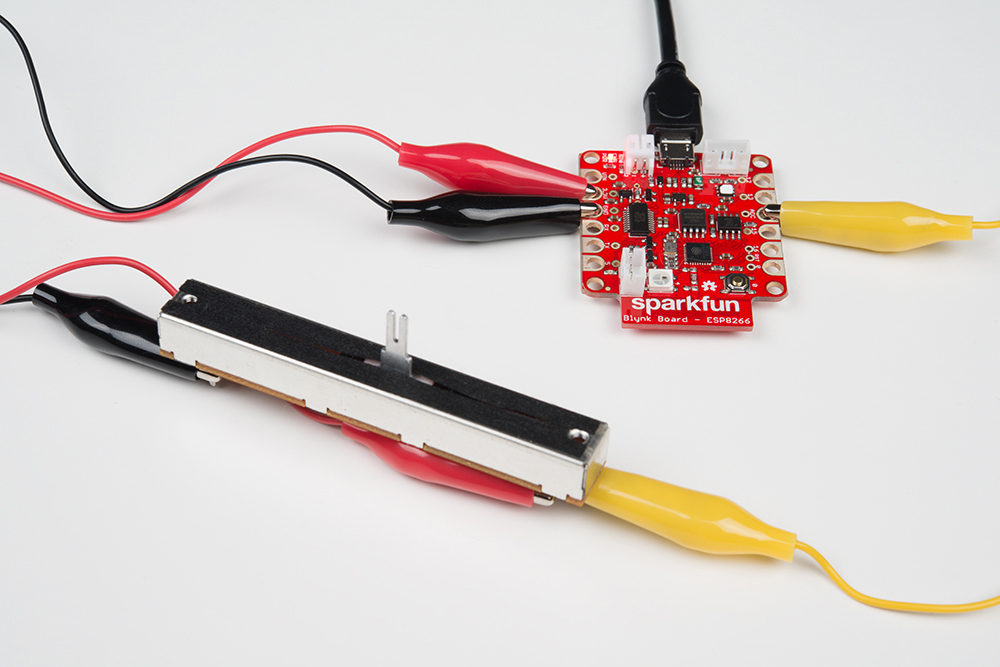
The yellow cable -- terminating on the ADC pin -- will carry a voltage that varies between 0V (GND) and 3.3V, depending on the position of the slide pot.
Blynk Setup
The Gauge widget takes up a good chunk of room, so you may need to remove some previous widgets before adding it. Keep a value widget from the previous experiment -- we'll use it to display the calculated voltage.
Connect a Gauge to ADC
You'll find the Gauge widget under the "Displays" section. Once it's added, modify the settings like so:
| Name | Pin | Min | Max | Frequency (or Reading Rate) |
|---|---|---|---|---|
| ADC | ADC (under "Analog") | 0 | 1023 | 1 sec |
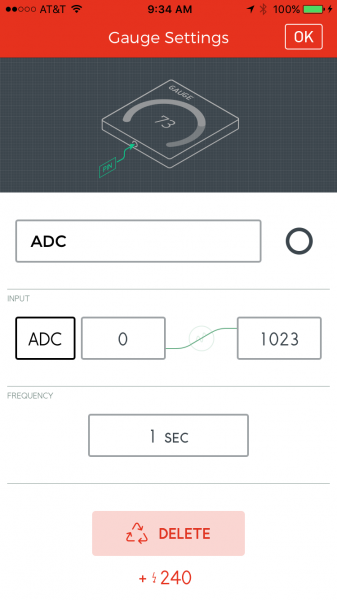
We're reading directly from the ADC -- the Blynk Board's analog-to-digital converter input. The 10-bit ADC produces a value between 0 and 1023, which is a value proportional to a voltage between 0 and about 3.3V. So, an ADC reading of 0 equates to 0V, 1023 equals 3.3V, and 512 is about 1.75V.
Repurpose a Value Widget to V8
If you don't want continuously do that voltage-converting math in your head, modify a value widget to display V8, and set the name to Voltage.
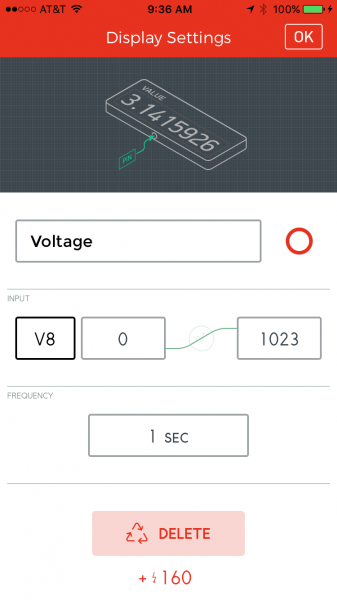
The Blynk Board will convert the ADC reading to an equivalent voltage for you.
Blynk Run
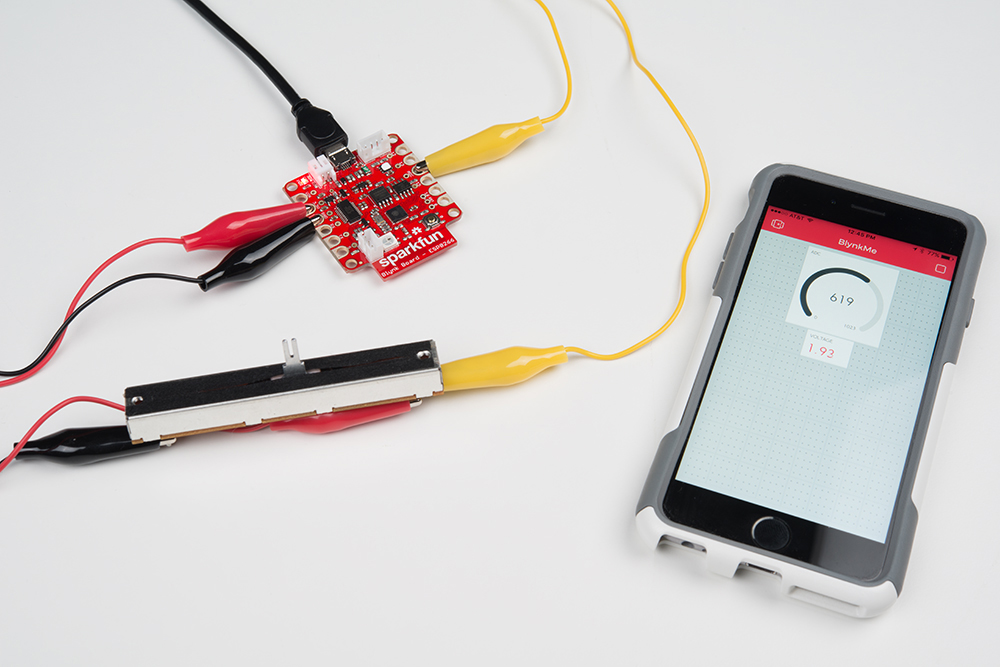
Run the project, and watch for the gauge to settle in on a value. If you have a potentiometer wired up, the reading should remain rather steady. Try moving the wiper up and down.
If you don't have a potentiometer handy or any way of connecting it to the Blynk board, don't fret. You're a variable resistor too! You can test out the ADC by putting a finger on the "ADC" pin.
You should be able to move the gauge around by placing another finger on either the "GND", "VIN", or "3.3V".
(Electricity is running through your body, but it's a minuscule, insignificant amount. You don't have anything to worry about.)
There are a huge variety of analog-signal producing electronic components out there. You could wire up an accelerometer, stick the circuit on a washer/dryer, and check the analog readings to observe if your laundry is done or not. Or wire up a force-sensitive resistor, hide it under your doormat, and check if anyone's at the front door.
Later in this guide, we'll wire the ADC up to a Soil Moisture sensor and connect your houseplant to your twitter account, so it can notify the world when it's thirsty.