Blynk Board Project Guide
Project 11: Terminal Chat
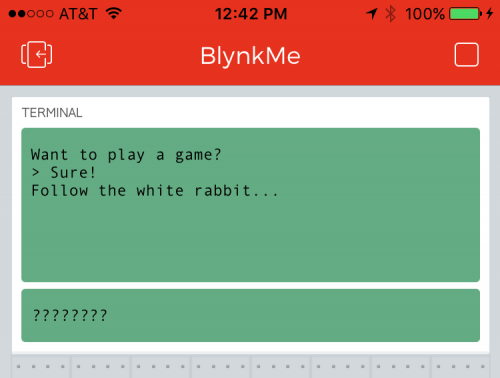
The word "terminal" may instill images of 80's hacker-kids playing a game of Global Thermonuclear War or 90's Mr. Anderson's following white rabbits, but, retro as they may sound, engineers still use terminals on a daily basis.
The Blynk Terminal widget allows you to pass endless information to and from the Blynk Board. It can be incredibly handy -- in fact, we'll use it in all four of the final projects to enter email addresses, pass debug information, and name your Blynk Board.
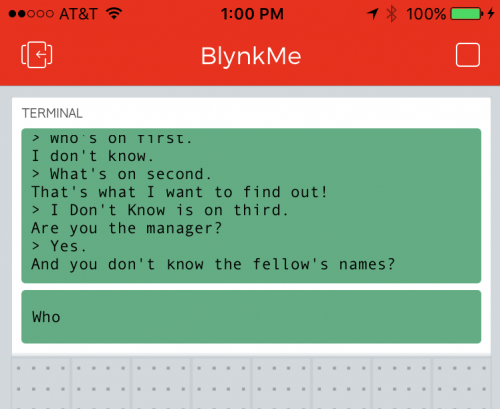
In this project, we'll use the terminal on your Blynk app and a terminal on your Blynk Board-connected computer to set up a "chat program."
Hardware Setup
There aren't any external components to connect to your Blynk Board in this experiment, but you may need to do some extra legwork to set up a terminal on your computer.
Install FTDI Drivers, Identify Your Serial Port
The Blynk Board uses a specialized chip called an "FTDI" to convert USB data to a more simple serial interface. If you've never used an FTDI-based device before, you'll probably need to install drivers on your computer. Our How to Install FTDI Drivers tutorial should help get your drivers installed, whether you're on a Mac, Windows, or Linux machine.
Once you’ve installed the drivers, your Blynk Board should show up on your computer as either COM# (if you’re on a Windows machine) or /dev/tty.usbserial-######## (if you’re on a Mac/Linux computer), where the #’s are unique numbers or alphabetic characters.
Download, Run, and Configure the Terminal
There are a huge variety of software serial terminals out there. If you don't already have one, read through our Serial Terminal Basics tutorial for some suggestions.
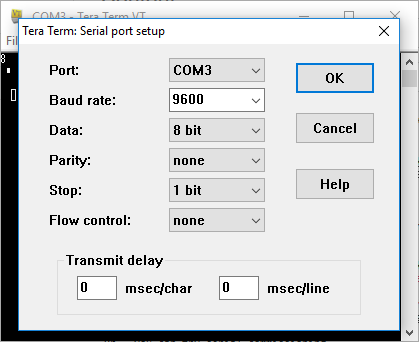
Once you've selected terminal software – and found your Blynk Board's serial port number – open it and set the baud rate to 9600. The Serial Terminal Basics tutorial linked above should have directions for configuring the serial port.
Using TeraTerm to communicate with the Blynk Board over a serial interface.
Don't be alarmed if your Blynk Board resets when you open the terminal. It may also print some debug messages as it re-connects -- they're handy, but nothing you'll really need to concern yourself with.
Once the port is open, swap back over to your Blynk project. Time to install another terminal!
Blynk Setup
Just one widget this time: the Terminal. We'll be using the Terminal widget for the rest of this tutorial, so make it cozy. And, don't delete it.
Add a Terminal Widget
Find the terminal widget under the "Displays" list of the widget box.
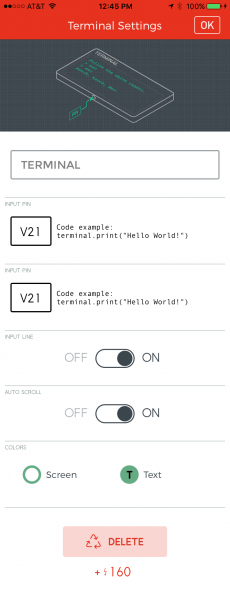
Once added, tap the terminal to enter the settings screen. Set the terminal widet's pin to V21. Keep "Input Line" and "Auto Scroll" set to ON.
Pick any screen and background color you please -- how about green background and black text, to get a little oppo-matrix style going.
That's it. Now, run the project.
Blynk Run
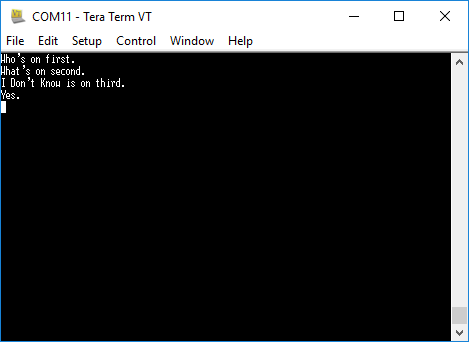
Try typing something in your computer terminal -- you should see those same characters almost instantly pop up on your Blynk project's terminal.
Then try typing something into the Blynk terminal. They should show up on your computer.
Now have a conversation with yourself! Or share the project, and chat with a friend.
