Blynk Board Project Guide
Project 13: Push Door, Push Phone
Push notifications: you either love them or hate them (or it varies, depending on the app sending them), but they can come in handy every once-in-a-while. The Blynk Push widget allows your Blynk Board to send your phone periodic push notifications, so you're the first to be made aware of a state change in the board.
This project combines a Door Switch Sensor with the push widget. When the door's state changes -- whether it opens or closes -- you'll be the first...well...at least the second to know!
Hardware Setup
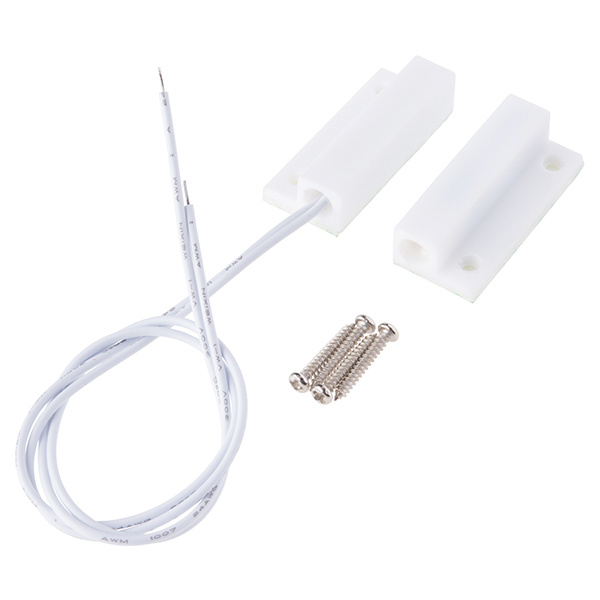
This project is based around a Magnetic Door Switch -- a truly magical door-state sensor.
This door switch is what we call a reed switch -- a magnetically-actuated electronic switch. There are two components to the device: the switch itself and a simple magnet. When the two components are in close proximity, the switch closes. And when they're pulled far enough apart, the switch opens up. These switches are commonly used as part of a burglar alarm system or as a proximity-detecting device.
Wire Up the Door Switch
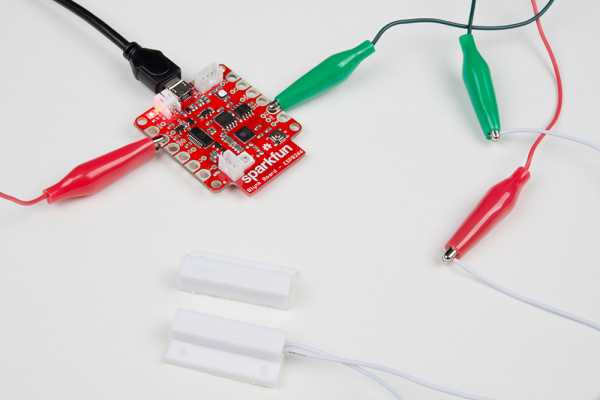
To connect the door switch to your Blynk Board, you'll just need a couple alligator clip cables -- how about red and green. Clamp a red wire to one of the switch's wires and the green wire to the other.
Then clamp the other end of the red wire to 3.3V and the green wire to 16.
We've got a pull-down resistor on pin 16. So when the switch is open, it reads as LOW, but, when the switch closes, the pin connects directly to 3.3V and reads as HIGH.
Blynk Setup
This project uses three widgets: Push (of course), Terminal, and Value. Here's how to set them up:
Add the Push Widget
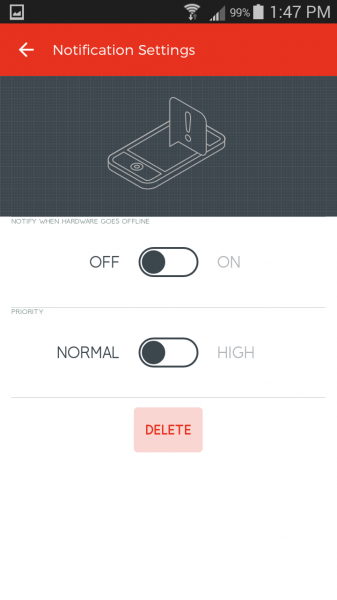
You'll find the Push widget under the "Notifications" list, towards the bottom. After adding it, tap it to configure its settings.
Notifications work differently in iOS and Android devices. If you're using an Android device, your settings will look like above. You can turn the "Notify when hardware goes offline" setting on or off at your discretion -- it can be handy in other projects. The Priority setting can be set to HIGH, but it will end up draining your phone's battery a little faster.
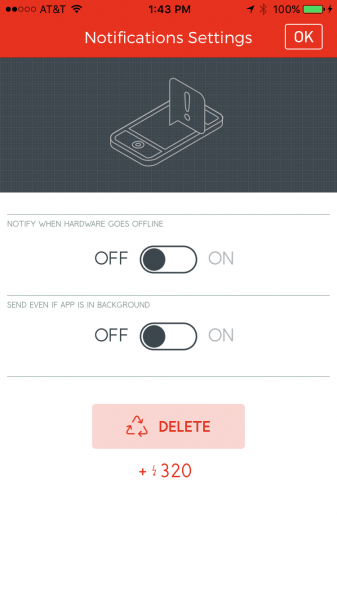
The iOS settings look like this:
Again, both of these sliders are left to your discretion. Enabling background notifications will likely take a bit more battery-life out of your phone.
Configure the Terminal
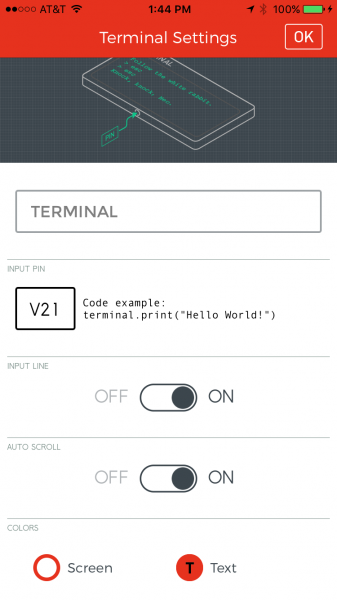
If you've still got the Terminal widget from previous projects, great -- leave it be. If not, configure it to use pin V21.
Configure the Value Widget
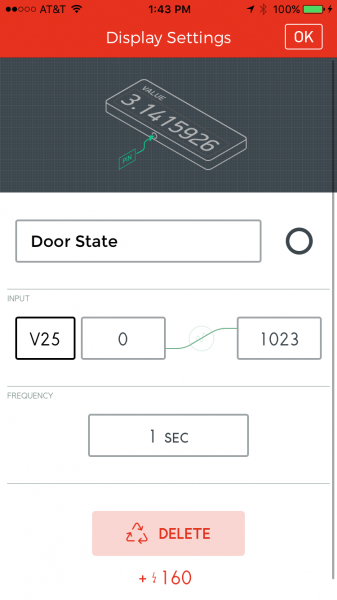
Finally, set the value widget to V25. This widget will display the up-to-date state of your door switch sensor.
Blynk Run
Once everything's added, run the project! Try putting the two door switches close together, or pulling them apart. A few things should happen:
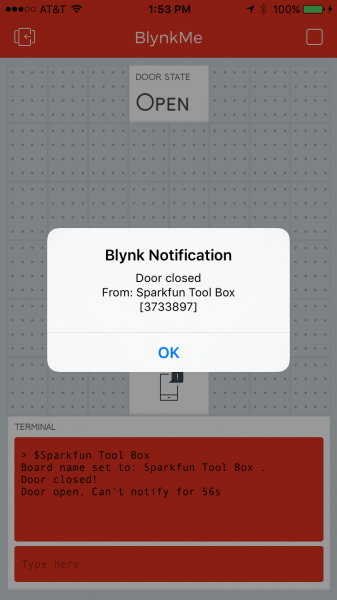
- The Terminal will print a debug message -- stating that the door opened or closed.
- The Value widget should display the up-to-date state of the door.
Hopefully, your phone will pop up a notification that the switch's state changed. Unfortunately (or fortunately, depending on how much you enjoy notifications), the Blynk app limits project notifications to once-a-minute. If you open and close the door to fast, you might get the first notification, but for the next minute you'll need to check the terminal or value widgets.
As with the previous project, you can set the name of your board by typing $BOARD_NAME. That name will be added to the notification that pops up on your phone.
Going Further
Tape or screw the door switch sensor to something! If you've got the IoT Starter Kit, you may already have something to test it out on.
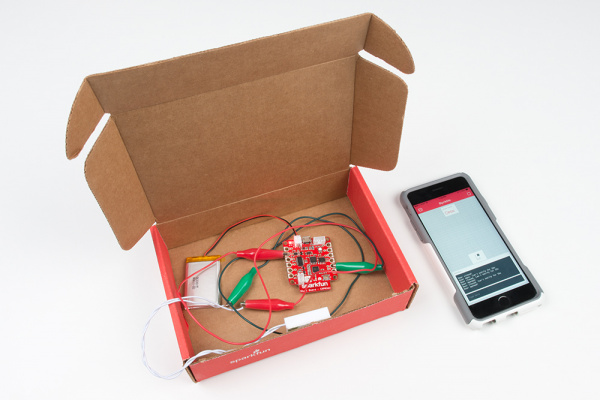
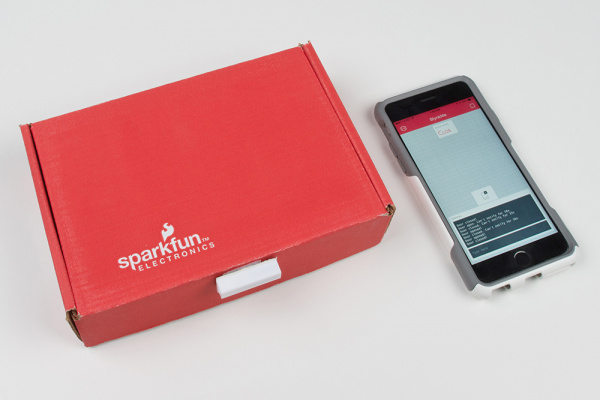
The unique red SparkFun box has been re-purposed as a project enclosure in countless projects. Or, you can use it to store your valuables.
With a Blynk-enabled alarm -- you'll be notified whenever someone's sneaking into your box!
