Contributors:
santaimpersonator
Introduction
Note: Before assembling the SparkFun autonomous kit for the Sphero RVR, users should configure their Raspberry Pi and verify the hardware is functional. These steps can be performed with the kit fully assembled; however, to avoid pitfalls and spending time troubleshooting, it is recommended that the instructions be followed in the order it is written in this guide.
Pre-Order Update: Those that placed a pre-order will notice a change in the GPS hardware. The GPS module was updated due to I2C clock stretching issues, inherent in the SAM-M8Q, which were incompatible with the Raspberry Pi Zero W. Not to worry, the GPS module has been upgraded to the Titan X1, which we have verified works.
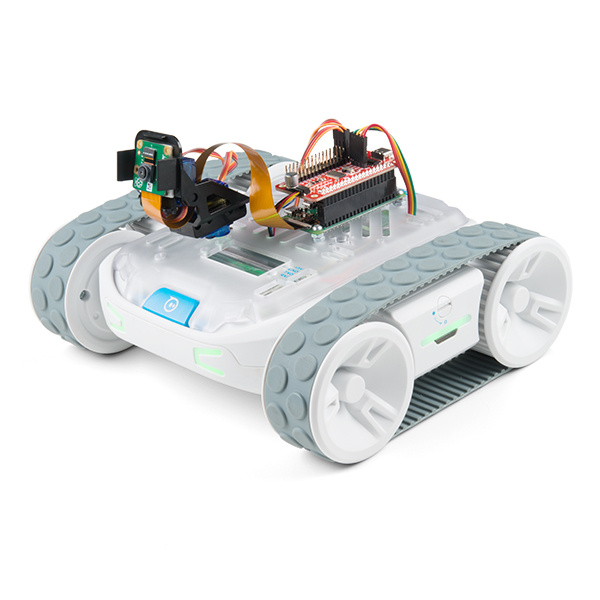
Congratulations, you are on your way to getting started with the SparkFun autonomous kit for the Sphero RVR. Whether you have purchased the Basic or Advanced kit, this tutorial will walk you through the hardware included and their functions, the software configuration needed to get started, and some basic examples to test out the hardware.
KIT-15302
The SparkFun Basic Autonomous Kit for Sphero RVR provides an expansion set of sensors to the Sphero RVR platform.
Retired
KIT-15303
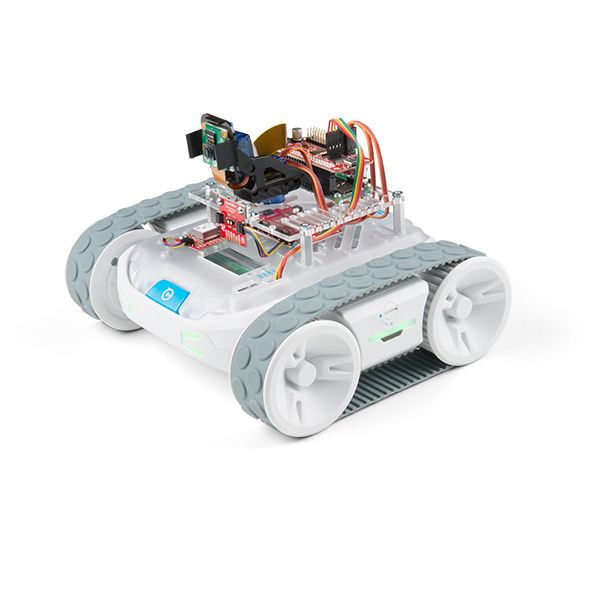
The SparkFun Advanced Autonomous Kit for Sphero RVR provides tools for building a smart robotics platform with distance sensi…
Retired
These kits were created in partnership with Sphero, whom, you may already be familiar with. Most notably, their BB-8 robot that was released in conjunction with the Disney movie. Their latest product, the Sphero RVR, is a more versatile, educational tool that is compatible with third-party hardware (i.e. the Raspberry Pi Zero W included in these kits).
Note: As a heads up, this tutorial is fairly extensive in the number of instructions it contains. It will take longer to work through then most of our other hookup guides; however, don't feel overwhelmed by its length. While, it may take more time to work through the guide, it is organized in stages with multiple stopping points for users and classes. The level of detail provided in the instructions are to ensure that users are able to verify the functionality of all the included hardware and have the tools to do some basic troubleshooting. Good luck, we can't wait to hear and/or see the applications you come up with for this kit.
Required Materials
To follow along with this guide some materials are required in addition to the autonomous kits, as noted below.
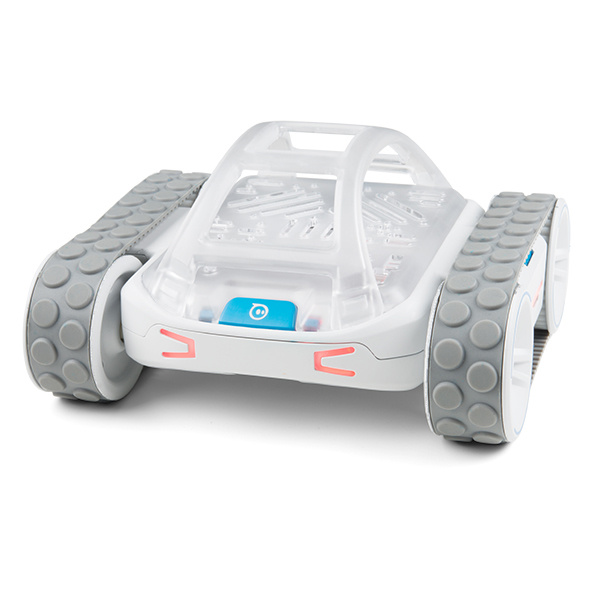
Sphero RVR
Note: These kits do NOT include the Sphero RVR itself. If you do not already have a Sphero RVR, please, make sure to include one with your purchase.
ROB-15304
The Sphero RVR is the Go-Anywhere-Do-Anything Programmable Robot.
Retired
Assembly Tools
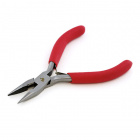
To assemble the hardware, a few tools are necessary: a jewelery or precision Phillips-head screw drivers and a 1/4" socket or wrench (a small pair of pliers also works).
TOL-08793
Mini Pliers. These are great little pliers! A must have for any hobbyist or electrical engineer. Crucial for inserting device…
TOL-10865
There's nothing worse than getting ready for a good hack and then realizing that you can't even get the box open because you …
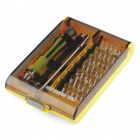
TOL-15003
This is a 20 piece screwdriver set that magnetically keeps each of the unused bits secured inside of a thin case that easily …
Retired
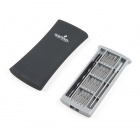
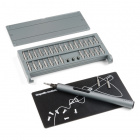
TOL-15548
This electric hobby screwdriver set is great for dealing with small screws in a variety of applications.
Retired
Autonomous Kit Hardware
In addition to the materials included in these kits, either a micro-B USB cable, USB-C cable, or a µSD card reader/adapter is required.
- Most users may already have a micro-B USB cable lying around in a drawer somewhere, just make sure that it is capable of transferring data (i.e. not a charging only cable).
- Otherwise, most those familiar with the Raspberry Pi may already have a µSD card reader/adapter.
- A USB-C cable is included with the Sphero RVR; feel free to use that cable instead of purchasing one.
CAB-10215
USB 2.0 type A to Micro-B 5-pin. This is a new, smaller connector for USB devices. Micro-B connectors are about half the heig…
CAB-14743
USB C is fantastic. But until we have converted all our hubs, chargers, and ports over to USB C this is the cable you're goin…
COM-13004
This is an awesome little microSD USB reader. Just slide your microSD card into the inside of the USB connector, then stick t…
Retired
A computer is also necessary to interface with the Raspberry Pi Zero W in the SparkFun Autonomous kits.
Computer Requirements
- Access to the same network (switch or wireless router) as the Raspberry Pi Zero W used in the kit.
- Serial terminal interface or the ability to modify files from a USB drive to configure the Raspberry Pi Zero W.
- SSH access to interface with the Raspberry Pi Zero W; and then Sphero RVR through the Sphero SDK.
- A web browser with Flash to stream the camera video feed.
Replacement Parts
Click the button above to toggle a list of replacement parts that are available from our catalog.
Replacement Parts
In the event that users lose or break any parts, the components of the kits are linked below. (
Unfortunately, the mounting plate and 3/4" 4-40 standoffs for the advanced kit are unavailable at this time.)
Main Components:
KIT-15081
To make it even easier to get started, we've assembled this Qwiic Cable Kit with a variety of Qwiic cables from 50mm to 500mm…
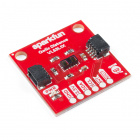
SEN-14722
This SparkFun Distance Sensor Breakout utilizes the VL53L1X next generation ToF sensor module to give you the highly accurate…
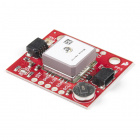
GPS-14414
The SparkFun XA1110 GPS Breakout is a small I2C-supported module built for easy hookup, thanks to our Qwiic Connect System. E…
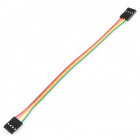
PRT-10369
This is a simple four wire cable. Great for jumping from board to board or just about anything else. There is a 4-pin JST RE …
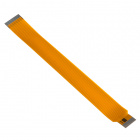
PRT-14272
The Raspberry Pi Zero and Zero W are both equipped with a smaller CSI (Camera Serial Interface) port than on a full-sized Ras…
DEV-15316
The SparkFun Servo pHAT for Raspberry Pi allows your Raspberry Pi to control up to 16 servo motors in a straightforward manne…
ROB-14391
This is an easy-to-assemble pan/tilt bracket kit that utilizes servos to move on two axes fit for camera and helping-hand app…
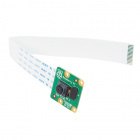
DEV-14028
This 8mp camera module is capable of 1080p video and still images that connect directly to your Raspberry Pi.
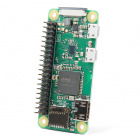
DEV-15470
The Raspberry Pi Zero W is still the Pi you know and love, but at a largely reduced size of only 65mm long by 30mm wide and n…
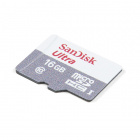
COM-15051
This is a class 10 16GB microSD memory card, perfect for housing operating systems for single board computers and a multitude…
Retired
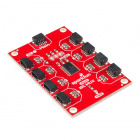
BOB-14685
The SparkFun Qwiic Mux Breakout enables communication with multiple I2C devices that have the same address that makes it simp…
Retired
Mounting Components:
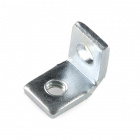
PRT-10228
These are very handy. They are simple angle brackets with one threaded and unthreaded hole. Use them for connecting PCBs at 9…
PRT-10453
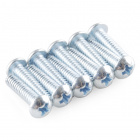
There are your standard Philips-head 4-40 screws. They are 1/4" long and come in packs of ten. This is the screw size we use …
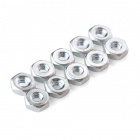
PRT-10454
We could talk about how the Zinc used in these nuts is only from the finest old-growth Zinc trees from across the globe and i…
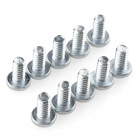
PRT-10452
Standard Philips-head 4-40 screws. They are 1/2" long and come in packs of ten. This is the screw size we use in most of the …
Optional Accessories
In addition to the items included in the kit here are a few accessories that may be of interest (none of these are required to use the autonomous kits). These products are only recommended for those that prefer to use the Pixel desktop on the Raspberry Pi Zero W and/or want a wall adapter to charge the Sphero RVR battery.
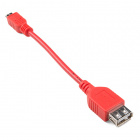
CAB-14276
Pi Zero Micro-B to USB A is a really useful USB specification! It allows some small devices that would normally be unable to …
TOL-13831
This is a high-quality switching 'wall wart' AC to DC 5.1V 2,500mA USB Micro-B wall power supply manufactured specifically fo…
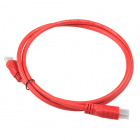
CAB-14274
This is an inexpensive 3-foot-long HDMI to Mini HDMI cable that you can use to hook up your Raspberry Pi Zero W to a suitable…
TOL-11456
USB is being implemented as a power connection standard more and more these days, but you don't always have a computer on han…
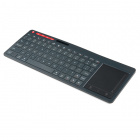
WIG-14271
With Single-Board Computers (SBCs) on the rise, it is a good idea to have an easy way to interface with them. Operating on a …
COM-14833
This is a class 10 64GB microSD memory card, perfect for housing operating systems for single board computers and a multitude…
Retired
Suggested Reading
Below are several tutorials and hookup guides covering various topics that we suggest users get familiar with while following this guide.
Hardware Basics
GPS Basics
The Global Positioning System (GPS) is an engineering marvel that we all have access to for a relatively low cost and no subscription fee. With the correct hardware and minimal effort, you can determine your position and time almost anywhere on the globe.
Connector Basics
Connectors are a major source of confusion for people just beginning electronics. The number of different options, terms, and names of connectors can make selecting one, or finding the one you need, daunting. This article will help you get a jump on the world of connectors.
Hobby Servo Tutorial
Servos are motors that allow you to accurately control the rotation of the output shaft, opening up all kinds of possibilities for robotics and other projects.
Power Basics
Electric Power
An overview of electric power, the rate of energy transfer. We'll talk definition of power, watts, equations, and power ratings. 1.21 gigawatts of tutorial fun!
What is a Battery?
An overview of the inner workings of a battery and how it was invented.
Getting Started with the Raspberry Pi and Python
Serial Communication Basics
Serial Communication
Asynchronous serial communication concepts: packets, signal levels, baud rates, UARTs and more!
Serial Terminal Basics
This tutorial will show you how to communicate with your serial devices using a variety of terminal emulator applications.
I2C and Qwiic Devices
These kits take advantage of our Qwiic system to interface with all the peripheral devices and sensors. For more details, we recommend users familiarize themselves with the Logic Levels and I2C tutorials. Click on the banner above to learn more about our Qwiic products.
Logic Levels
Learn the difference between 3.3V and 5V devices and logic levels.
I2C
An introduction to I2C, one of the main embedded communications protocols in use today.
Raspberry Pi SPI and I2C Tutorial
Learn how to use serial I2C and SPI buses on your Raspberry Pi using the wiringPi I/O library for C/C++ and spidev/smbus for Python.
Qwiic Distance Sensor (VL53L1X, VL53L4CD) Hookup Guide
The Qwiic Distance Sensor - VL53L1X is a time of flight sensor that is capable of several modes, as well as having a range of 4M. It's cousin VL53L4CD is also a time of flight sensor with similar characteristics but it has a range of about 1.3M. Let's hook it up and find out just how far away that thing over there is.
Qwiic MUX Hookup Guide
Have a bunch of sensors with the same I2C address? Put them on the Qwiic MUX (TCA9548A) to get them all talking on the same bus!

Sphero has provided an SDK (software development kit) to interface the RVR with different development platforms: the Raspberry Pi, Arduino, and micro:bit. In this tutorial the Raspberry Pi - Python version of the SDK will be utilized.
(
*The Sphero logo, SDK icon, and RVR images are property of Sphero and were pulled from their SDK webpage.)


