SparkFun Inventor's Kit for Edison Experiment Guide
 Shawn Hymel
 Experiment 5: Web Page
Introduction
We know that we are exhausting this one LED circuit, but it really does prove useful in showing different features of the Edison. Hopefully, it spawns some cool project ideas for you! Just remember, if you can blink an LED, you can connect that output to any number of electrical devices. Relays, for example, are great for controlling more powerful components, like light bulbs, ceiling fans, and toasters. Additionally, going from an output (e.g. an LED) to an input (e.g. a button) is not too difficult.
Now that we have reached out to our email inbox to light an LED, why don't we serve up a web page that allows us to control that LED? This experiment is divided into 2 parts. In the first section, we will create a basic web page that we can navigate to from any computer on the network. In the second section, we add a button to that page to allow control over an LED attached to the Edison.
Parts Needed
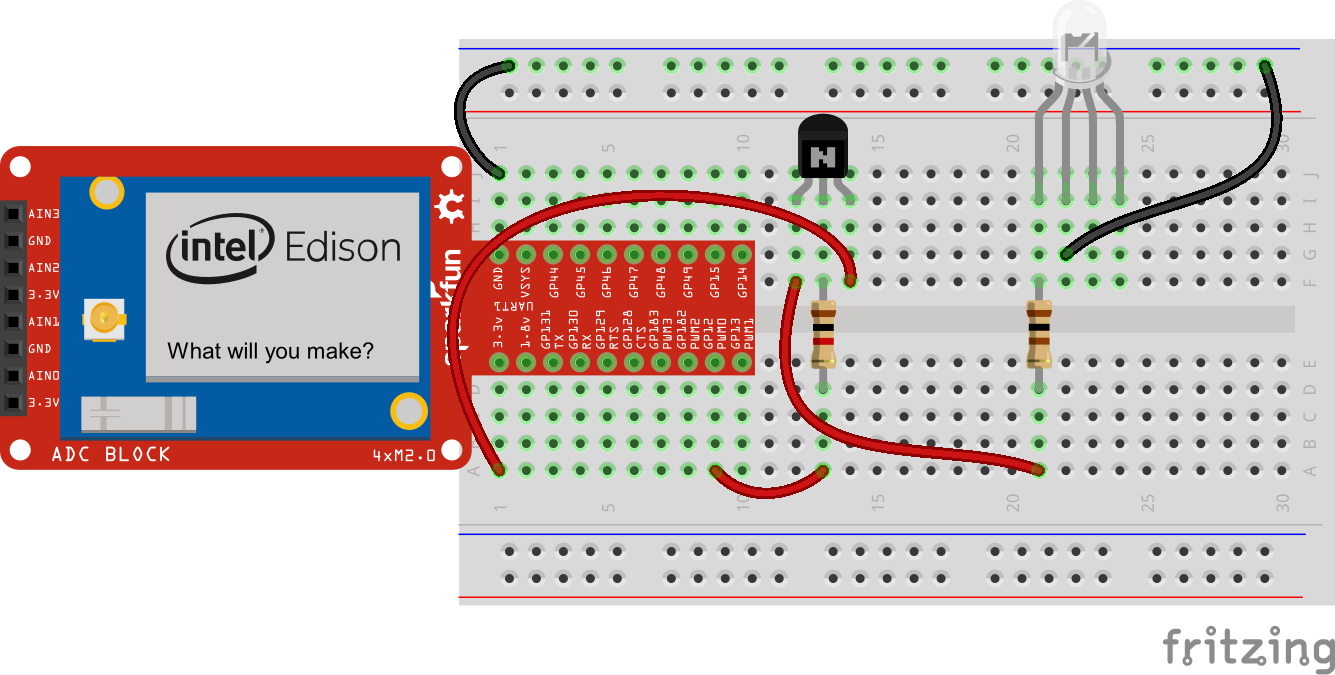
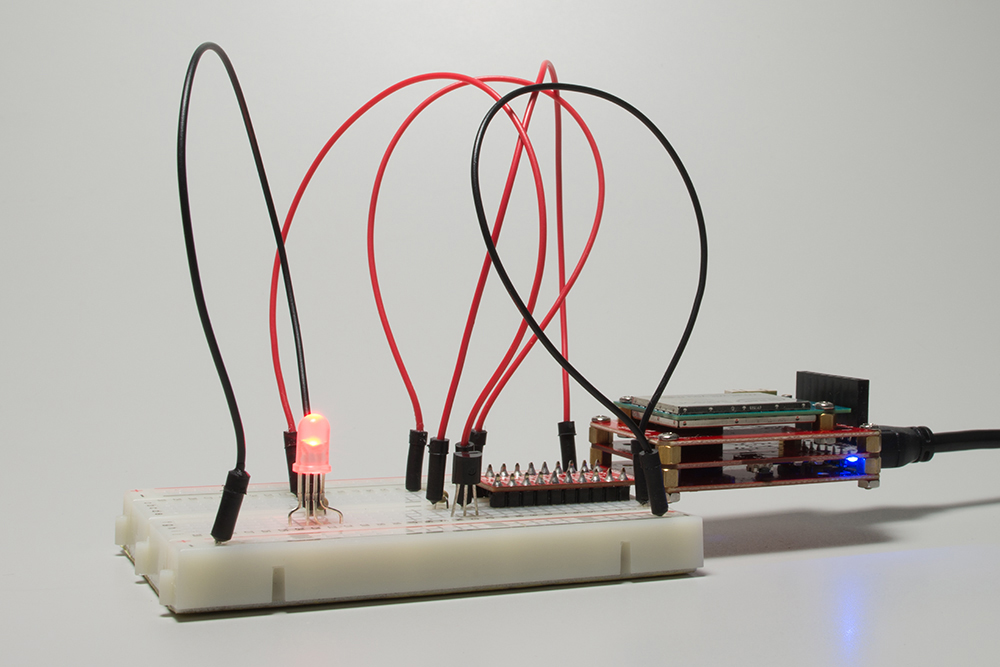
We'll be using the same circuit as in the previous example, so you don't need to build anything new! In addition to the Edison and Block Stack, you will need the following parts:
- 1x Breadboard
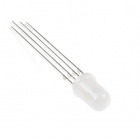
- 1x RGB LED
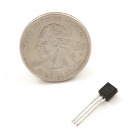
- 1x NPN Transistor
- 1x 1kΩ Resistor
- 1x 100Ω Resistor
- 5x Jumper Wires


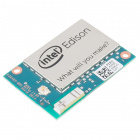
Intel® Edison
DEV-13024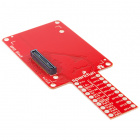
SparkFun Block for Intel® Edison - GPIO
DEV-13038
SparkFun Block for Intel® Edison - Base
DEV-13045Suggested Reading
- How Web Servers Work -- A look at how information is served to your computer when you browse a web site
- Introduction to HTML -- HyperText Markup Language (HTML) is a fairly old computer language still in use today to create web pages. We will be using some HTML to make our web page.
- WebSockets -- We will use the socket.io module in the second part of this exercise to implement WebSockets. This will allow us to create a connection between the Edison and another computer so we can simple commands (like toggle an LED).
Concepts
Browsing to a Web Page
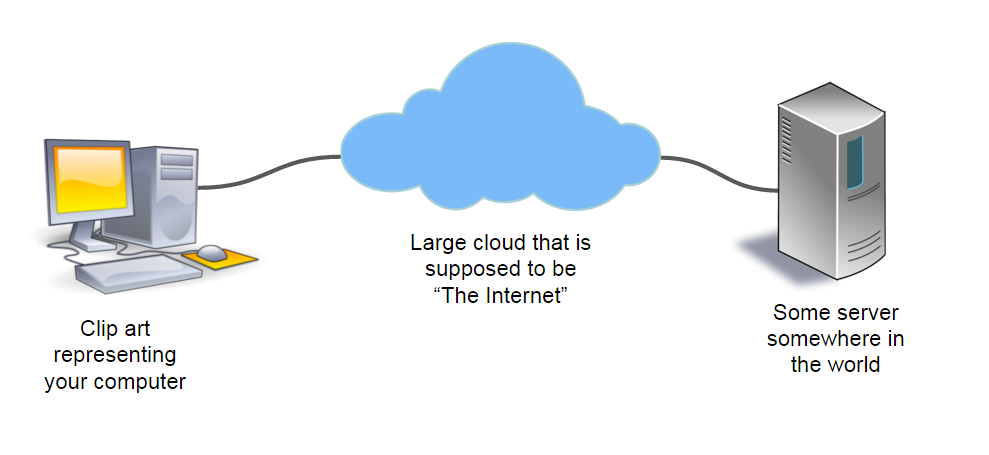
In simplest terms, when you "browse to a web page," your computer makes a request to a remote server somewhere on the Internet. The actual server (physical computer) you are accessing can be anywhere in the world (assuming it also has Internet access). The server then sends an HTML file back to your computer, which your browser (Chrome, Safari, Firefox, IE, etc.) parses and displays the HTML elements in a human-readable format.
We will be constructing a very simple web page on our Edison using HTML. We will use the Node.js http module to create this page and host it as a web server from within the Edison. As a result, we can browse to the Edison from any computer on the same network, and it will show us a web page!
WebSockets
WebSockets is another protocol for sending and receiving messages across the Internet (or other networked computers). As long as Transmission Control Protocol (TCP) can be realized on the network, WebSockets can be used to transmit messages. WebSockets is similar to HyperText Transfer Protocol (HTTP) in that they both rely on TCP and are used for transmitting data across a network. However, WebSockets uses far less overhead and can be used for communication between client and server with lower latency than HTTP. See this article to read more about WebSockets vs. HTTP.
In the second part of this experiment, we rely on the socket.io module to handle WebSockets in JavaScript for us. This allows us to create a connection from our browser (on our host computer) to the web server running on the Edison and send messages back and forth. We will use a simple message that causes an LED connected to the Edison to turn on and off.
Hardware Hookup
The circuit is the same as in the previous experiment.
Part 1: A Simple Web Page
The Code
language:JavaScript
/*jslint node:true, vars:true, bitwise:true, unparam:true */
/*jshint unused:true */
// Leave the above lines for propper jshinting

/**
 * SparkFun Inventor's Kit for Edison
 * Experiment 5 - Part 1: Web Page
 * This sketch was written by SparkFun Electronics
 * November 1, 2015
 * https://github.com/sparkfun/Inventors_Kit_For_Edison_Experiments
 *
 * Serves a very simple web page from the Edison.
 *
 * Released under the MIT License(http://opensource.org/licenses/MIT)
 */

// Import the HTTP module
var http = require('http');

// Which port we should connect to
var port = 4242;

// Create a web server that serves a simple web page
var server = http.createServer(function(req, res) {
    res.writeHead(200);
    res.write(" <!DOCTYPE html>                                             \
                <html>                                                      \
                <head>                                                      \
                    <title>My Page</title>                                  \
                </head>                                                     \
                <body>                                                      \
                    <p>This is my page. There are many like it,             \
                    but this one is mine.</p>                               \
                </body>                                                     \
                </html>");
    res.end();
});

// Run the server on a particular port
server.listen(port, function() {
    console.log('Server listening on port ' + port);
});
What You Should See
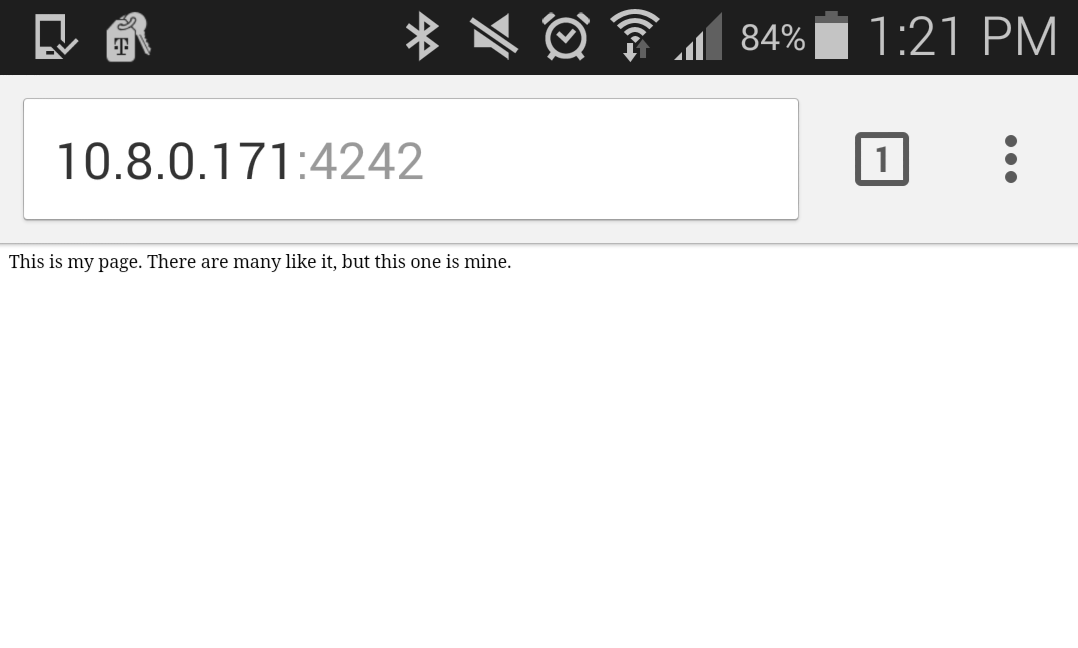
Upload and run the code on the Edison. The console should notify you with Server listening on port 4242. Open a web browser and navigate to http://<Edison's IP address>:4242. You can find the Edison's IP address from the XDK under the IoT Device: drop-down menu. For example, my Edison had the IP address of 10.8.0.171, so I navigated to http://10.8.0.171:4242 in my browser.

If you have another computer or a smartphone that is on the same network as the Edison, you can also try navigating to the same page.
Note that we are not using the LED in this part, that's next!
Code to Note
This example is a special case where we write 2 different languages in one file. While most of our code is JavaScript, we write HTML as one long string as an input to the res.write() function. res is the response of our server, so it sends out the string inside res.write() to the client whenever a request is made. Note that we use the character '\' to separate lines in a string in JavaScript. The '\' is ignored, but it prevents the string from ending when we move to a new line.
HTML uses tags, as noted by the <> characters, to tell the browser how to structure the page and display text. For example, you could put \<b> and \</b> around some text to make it bold (try it!). In our example, we use \<head> to mark the header of the page, which appears in the tab or title bar, and \<body> to mark the main part of the page, which is the text that appears in the browser window. To learn more about tags, see here.
Part 2: Web Page Button
The Code
Add "socket.io": "1.3.7" to "dependencies" in package.json, which should look like:
language:JavaScript
{
  "name": "blankapp",
  "description": "",
  "version": "0.0.0",
  "main": "main.js",
  "engines": {
    "node": ">=0.10.0"
  },
  "dependencies": {
      "socket.io": "1.3.7"
  }
}
In main.js, copy in the following code:
language:JavaScript
/*jslint node:true, vars:true, bitwise:true, unparam:true */
/*jshint unused:true */
// Leave the above lines for propper jshinting

/**
 * SparkFun Inventor's Kit for Edison
 * Experiment 5 - Part 2: Web Page Button
 * This sketch was written by SparkFun Electronics
 * November 1, 2015
 * https://github.com/sparkfun/Inventors_Kit_For_Edison_Experiments
 *
 * Serves a web page that allows users to turn an LED on and off remotely.
 *
 * Released under the MIT License(http://opensource.org/licenses/MIT)
 */

// Import the MRAA and HTTP modules
var mraa = require('mraa');
var http = require('http');

// Set up a digital output on MRAA pin 20 (GP12) for the LED
var ledPin = new mraa.Gpio(20);
ledPin.dir(mraa.DIR_OUT);
ledPin.write(0);

// Global LED variable to know if the LED should be on or off
var led = 0;

// Which port we should connect to
var port = 4242;

// Create a web server that serves a simple web page with a button
var server = http.createServer(function(req, res) {
    res.writeHead(200);
    res.write(" <!DOCTYPE html>                                             \
                <html>                                                      \
                <head>                                                      \
                    <title>LED Controller</title>                           \
                    <script src='/socket.io/socket.io.js'></script>         \
                </head>                                                     \
                <body>                                                      \
                    <p><button onclick='toggle()'>TOGGLE</button></p>       \
                    <script>                                                \
                        var socket = io.connect('http://" +
                            req.socket.address().address + ":" +
                            port + "');                                     \
                        function toggle() {                                 \
                            socket.emit('toggle');                          \
                        }                                                   \
                    </script>                                               \
                </body>                                                     \
                </html>");
    res.end();
});

// Listen for a socket connection
var io = require('socket.io').listen(server);

// Wait for a client to connect
io.on('connection', function(socket) {
    console.log('A client is connected!');

    // Look for the "toggle" message from the client, and toggle the LED
    socket.on('toggle', function() {
        led = led ? 0 : 1;
        ledPin.write(led);
    });
});

// Run the server on a particular port
server.listen(port, function() {
    console.log('Server listening on port ' + port);
});
What You Should See
Like in the previous part, run the code and navigate to http://<Edison's IP address>:4242 with your browser. You should see a button labeled TOGGLE. Push it.

When you click the button, the LED connected to the Edison should come on. Click the button again, and the LED should turn off.
Code to Note
If you thought HTML inside a JavaScript file was bad, take a look at the code for this example. We have JavaScript inside HTML inside a JavaScript file. Mind = blown. The JavaScript inside HTML is denoted by the \<script> and \</script> tags. As before, we are constructing one long string to send to the client's browser. The client's browser should be able to interpret the HTML and display a simple web page. Additionally, most modern browsers are capable of running JavaScript.
The JavaScript embedded in the HTML actually runs on the client's browser (not the Edison). src='/socket.io/socket.io.js' requests the socket.io library from the server (assuming the server is running socket.io). var socket = io.connect('http://" + req.socket.address().address + ":" + port + "'); creates a socket.io connection back to the Edison (we get the Edison's IP address from the client's request in req and the port from the global port value). We also define function toggle() { socket.emit('toggle'); } that sends the very simple message "toggle" back to the Edison over the socket.io connection. This function is called whenever the button is pushed, as per <button onclick='toggle()'>TOGGLE</button>.
On the server (Edison), serving the web page is accomplished in the same manner as in the first part of this experiment. The difference is we add a socket.io server that listens for incoming socket.io (WebSocket) connections in addition to listening for requests for a web page. We define var io = require('socket.io').listen(server); to listen to connections using the same web page server we created in the beginning of the code. We can then handle incoming socket.io connections with io.on('connection', function(socket) { ... });.
Within the io.on('connection', ... ); code, we define the callback socket.on('toggle', function() { ... });, which listens for the message "toggle" on the socket that we created (the variable socket was passed as a parameter from function(socket) { ... }). In this case, we simply toggle the LED (the ternary operator ? is a shortcut for a simple if statement; read more about it here).
Troubleshooting
- My browser can't find the web page -- Double-check the HTML in your code to make sure it matches the example. Then, make sure your client computer is on the same network (e.g. if the Edison has the IP address 10.8.0.x, then your computer should also have an IP address on the same 10.8.0.x subnet).
- I don't see a TOGGLE button -- If you just completed the first part and are moving to the second part, make sure you refresh the page in your browser to get the new HTML from the Edison.
- Nothing happens when I push the TOGGLE button -- Make sure that you are actually connecting to the Edison server (you should see
A client is connected!appear in the XDK console). If not, double check the HTML and IP addresses of the Edison and your computer.
Going Further
Challenges
- Change the web page in part 1 so that it contains the name of your favorite famous scientist and a link to their Wikipedia page (hint).
- Have the web page button in part 2 change to say "ON" and "OFF" as appropriate to reflect the state of the LED. When you click on the button, it should update to show the LED's state.
- We've shown you how to make a web page interact with the physical world. Now, it's your turn to make the physical world interact with a web page. Add a button circuit (see Experiment 2) and have it so that when you push the physical button, a piece of text changes on the website (for example, you could have a counter showing how many times the button was pushed).