Sensor Kit Resource Hub
Introduction
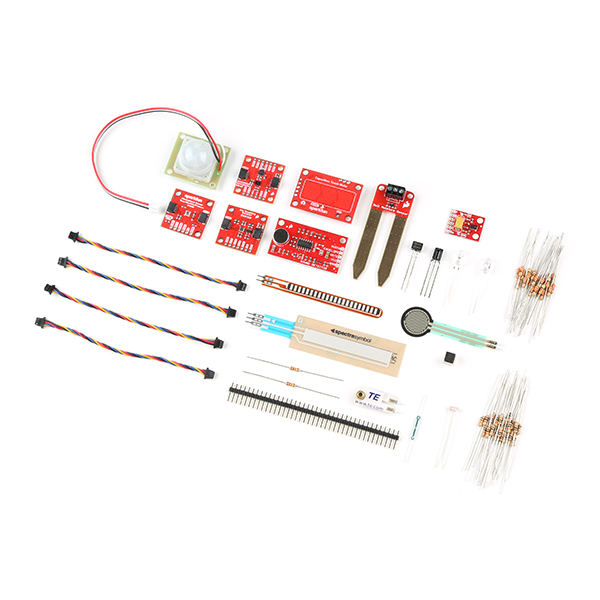
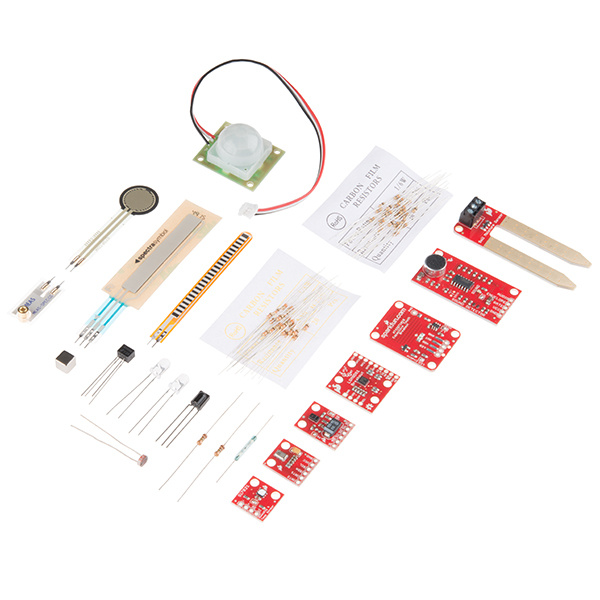
The SparkFun Sensor Kit is a conglomeration of all of our favorite sensors. The contents of this kit give you the ability to sense touch, vibration, flex, motion, weather patterns, magnetism...nearly every physical quantity known to man. Combine them all together to create a tricorder, or divide them up into tons of unique projects!
This guide is a hub for all-things-Sensor Kit. It introduces the basic skills and tools you'll need to use the sensors and points you in all the right directions to hook them up. It'll have you on your way to SENSING ALL THE THINGS in no time!
Encouraged Extras
The Sensor Kit includes a huge variety of sensors and some supporting components for those devices, but it doesn't include everything you'll need to hook them up. Here are a few extra tools and components you may need to get started.
Prototyping Bits
About half of the sensors in this kit are immediately breadboard-compatible, ready to plug in and connect to a development board. Here is what you'll need to get started with those components.
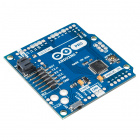
RedBoard Qwiic -- Every sensor in the kit is supported by a hookup tutorial, which includes an example Arduino circuit, and code written specifically for the popular development platform. The reliable RedBoard Qwiic can interface with any-and-every sensor in this kit. Just make sure to get the associated USB cable for your board.
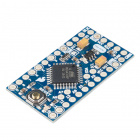
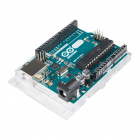
Alternatively, any Arduino-compatible development platform -- be it a Arduino Uno, Pro or Pro Mini -- should be able to substitute. You'll just need Qwiic adapter or shield to connect the board to easily connect a Qwiic enabled sensor to the Arduino board if you decide to take advantage of the Qwiic connector. Again, make sure to get the associated USB cable for your board.
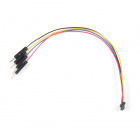
Qwiic Cable - Breadboard Jumper (4-pin)
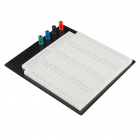
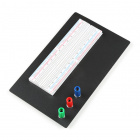
PRT-14425Breadboard -- These are a recurring player in every example circuit for every sensor in the kit. The breadboard holds your sensors, resistors, and other components, and even does some of the wiring for you.
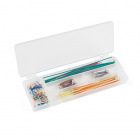
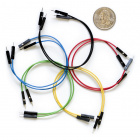
Jumper Wires -- Like the breadboard, jumper wires are a part of every example circuit. These jumper wires act as an intermediary between breadboard and Arduino.
Soldering Tools
Once you move beyond some of the simple components in this kit, like photocells and flex sensors, you'll advance to the breakout boards. Breakout boards, like the sound detector ad RGB and gesture sensor (APDS-9960) are shipped without interface connectors, which means you'll need to whip out your soldering tools before connecting them to a development board.
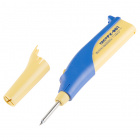
Soldering Iron -- An iron obviously tops the soldering tool list. Even the most basic soldering iron will be enough to get you by, or invest in your future tinkering with a Hakko.
Soldering Iron - 30W (EU, 230VAC)
TOL-11650Hakko FX-901 Cordless Soldering Iron
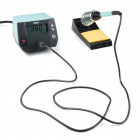
TOL-13151Weller WE1010 Soldering Station
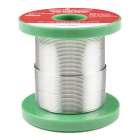
TOL-14734Solder -- Large, small, leaded, lead-free...there are a few options to consider when you're picking out solder. Leaded solder is easier to use, and produces shinier joints, but has a certain stigma to it.
Headers or Wire -- You'll need to solder something to the breakout board. Whether that something is male headers, female headers, stranded wire, solid-core wire, or something else is completely up to you.
Suggested Skills
The Sensor Kit's sensors are a great entry-point for electronics beginners, but they do build on some assumed knowledge. Here are a few electrical engineering-specific tutorials you may want to check out before venturing further into the sensor depths.
What is a Circuit?
Voltage, Current, Resistance, and Ohm's Law
What is Electricity?
Series and Parallel Circuits
We'll be relying heavily on Arduino throughout these tutorials. New to the Arduino scene? We've got a lot of reading material for you!
Installing an Arduino Library
How to Use a Breadboard
What is an Arduino?
Installing Arduino IDE
If you aren't familiar with the Qwiic system, we recommend reading here for an overview. The latest kit provides a few Qwiic-enabled sensors.
 |
| Qwiic Connect System |
One last biggie: If you've never soldered before, don't fret -- this is a great opportunity to get started! Check out our How to Solder - Through-Hole Soldering guide for tips, tricks, and a tutorial.
How to Solder: Through-Hole Soldering
Resource Rundown
This section briefly overviews each sensor included in the Sensor Kit -- describing what the sensor senses, how it relays that data, and what kind of power it requires. Links to separate tutorials are also provided. When you're ready to hook a sensor up and do some sensing, check out the tutorial for that device.
All of these sensors can be organized into one of two categories analog or digital. Analog sensors are generally easier to set up and use, but digital sensors can be more powerful and accurate. If you're just getting started with electronics, consider exploring some of the analog sensors first.
Analog Sensors
Force-Sensitive Resistor
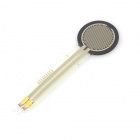
The harder you press on the sensor's circular head, the lower the resistance between the two terminals drops. This FSR can sense applied force anywhere in the range of 0.1kg-10kg.
By creating a voltage divider with the FSR and another resistor, you can create a variable voltage output, which can be read by a microcontroller's ADC input.
These sensors are simple to set up and great for sensing pressure, but they aren’t incredibly accurate. They're useful for sensing the presence of something, but not all that great at measuring something's weight.
(Note: force-sensitive resistors cannot detect the presence of Midichlorians.)
The Force Sensitive Resistor Hookup Guide examines the basic characteristics of FSR's, and demonstrates how to hook them up to an Arduino so you can start gauging pressure.
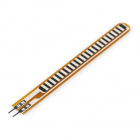
Flex Sensor
Left flat, the sensor will look like a 30kΩ resistor. As it bends, the resistance will increase to as much as 70kΩ at a 90° angle.
Combined with another resistor to create a voltage divider, the flex sensor can produce a variable analog voltage to be read by a microcontroller's ADC pin.
Consult the Flex Sensor Hookup Guide for help connecting the bend-sensor up to an Arduino.
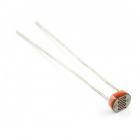
Mini Photocell
In pitch-black conditions, the photocell's resistance will be in the megaohm's (1.0MΩ+). Shining an LED on the sensor can drop the resistance to near-zero. Usually the resistance of the photocell will range between 8k-20kΩ in normal lighting conditions.
As with other resistive sensors, to use the photocell with an ADC they're usually paired with a static resistor to form a voltage divider.
Photoresistor's won't give you incredibly accurate lux readings (that's what sensors like the TSL2561 is for), but they're great for at least identifying the general state of ambient light.
The Photocell Hookup Guide provides a quick overview of the photocell's resistive characteristics, plus an example circuit and code.
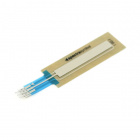
Soft Potentiometer
Like any potentiometer, the softpot is a three terminal device. The middle pin is the wiper, and the other two terminals are the high and low ends of the resistive element.
The resistance between the wiper and either of the other two terminals varies between 0Ω and 10kΩ. Or, if nothing is pressing down on the softpot, the connection between the two terminals looks like an (almost) open circuit. By applying a voltage across the two outside terminals, the middle terminal can produce a voltage somewhere in the applied range.
These sensors can be used for position detection or in projects that require linear user input, like a volume slider.
Take a stroll through the SoftPot Hookup Guide to learn how simple and fun these sensors are to use!
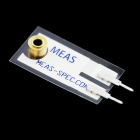
Piezo Vibration Sensor
In more advanced applications, piezo's can be the foundation for energy harvesting. They produce large AC voltage spikes -- ranging as high as ±90V -- when vibrating, but the current and total power they produce is still minuscule.
Because they produce such high voltage spikes, large resistors are often used to "load down" the piezo sensor in vibration-sensing applications. The 1MΩ resistors included with the sensor kit are designed to help dampen the piezo's voltage output.
The Piezo Vibration Sensor Hookup Guide examines the AC-voltage-supplying capabilities of Piezo sensors, then shows how you can dampen that voltage and hook it up to an Arduino.
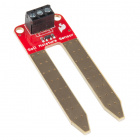
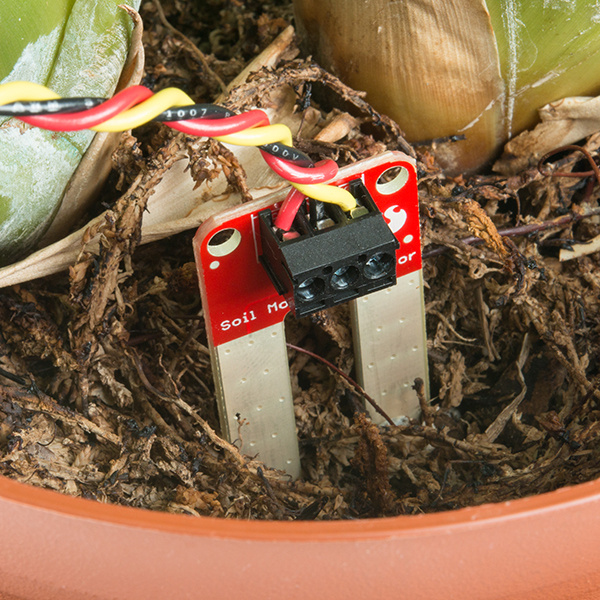
Soil Moisture Sensor
The sensor consists of two conductive "stakes", that plug into the ground. Three wires -- power, ground, and a signal -- are all it takes to get the sensor up-and-running.
These probes measure the soil's conductivity. Soaked soil is much less resistive to current flow than flaky, dry dirt, so the lower the moisture sensor's reading, the happier your plant will be.
Check out the Soil Moisture Sensor Hookup Guide for assembly and implementation tips.
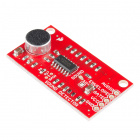
Sound Detector
The digital binary output produces you a high or low signal indicating if sensed audio is over a set threshold -- it's an incredibly handy feature, which offboards complicated firmware programming onto pre-built hardware! The analog envelope filter is equally useful, especially if all you really want to monitor is the general amplitude of local sounds.
The sound detector has a built-in electret microphone, and all sorts of amplifying goodies on-board as well. You can add external resistors to customize the detector's gain and binary threshold.
The comprehensive Sound Detector Hookup Guide will walk you through assembly, hookup, and custom-modification of the breakout.
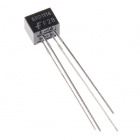
Optical Detector/Phototransistor - QRD1114
One of the most common applications for these sensors is black-or-white color detection -- they're a popular sensor choice for line following robots. A black, sharpie-marked line will absorb more light, meaning less light is reflected back into the sensor's phototransistor. When the sensor transitions over a white surface, more light is reflected and the sensor's output increases.
These sensors can be used with a microcontroller's ADC input to measure the amount of IR light reflected back. The LED does not have a current-limiting resistor built-in, so an external 330Ω resistor is usually added for that purpose.
Head over to the QRD1114 Optical Detector Hookup Guide to learn how the QRD1114 senses proximity by measuring reflectance of an IR LED. Then hook it up to an Arduino to do some proximity sensing of your own.
Digital Sensors
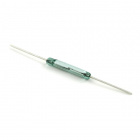
Reed Switch
Magnets, like the small, square magnet included with this kit, can be used to actuate the reed switch. Just hold it about 1cm away, and let your current flow!
Reed switches are perfect for applications that require non-contact control. For example, a reed switch is present in magnetic door switches -- both parts of the switch are separate, allowing the door to open and close (maintaining its duties as a door).
The Reed Switch Hookup Guide describes the general characteristics of reed switches, and shows how to use one to turn on an LED with the magic power of magnets.
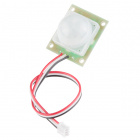
PIR Motion Sensor
PIR sensors consist of an infrared "camera", which periodically measures the amount of infrared light it sees, and compares that against past measurements. When the IR measurement changes beyond a set threshold, the PIR sends a digital signal communicating that something in its field-of-view has moved.
PIR's are easy to hook up -- all they require is power (5-12V) and a pin to read the digital output. When motion is detected, the alarm output line goes low.
For help hooking up the PIR sensor to an Arduino, check out our PIR Motion Sensor Hookup Guide.
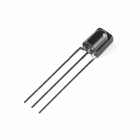
IR Receiver & IR LED
Before emitting a signal, infrared remotes modulate their signals at a set frequency. This diode has brains built into it that can automatically demodulate a standard 38kHz infrared signal. What comes out of the chip are a series of specifically timed 1's and 0's, that can in turn be converted to common IR remote commands.
The IR receiver diode can be paired with any household remote. Or you can use the included 950nm Infrared LED to create a remote of your own!
The IR Control Kit Hookup Guide demonstrates how to hook up the IR receiver diode, and set it to listen to any remote you may have in your household. It also shows how to create your own IR remote, by combining an Arduino with an IR LED.
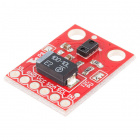
RGB and Gesture Sensor - APDS-9960
At it's most basic, the APDS-9960 is an ambient light sensor (much like the photocell). It can be used to monitor whether lights are on or off, or what time the sun rises. But it can also tell you how much red, green, and blue it's detecting in that light, so you can use it to sense nearby colors.
The sensor also features proximity detection. It can determine the sensor's distance from a nearby object anywhere from 4 to 8 inches away.
Finally, the APDS-9960 can sense nearby hand wave gestures (anywhere from 2-10 inches (5-25 cm) away). It can tell you if a hand is waving up, down, left, or right. Sensor's like these are the magic behind touchless toilet's!
The APDS-9960 is another I2C-based device. If you're using an Arduino, the Wire library helps take care of I2C.
The APDS-9960 RGB and Gesture Sensor Hookup Guide demonstrates how to assemble the breakout board, connect it to an Arduino, and interface with it over an I2C interface.
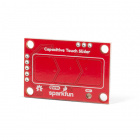
Capacitive Touch Slider - CAP1203 (Qwiic)
On the front of the board, there is an arrow shape which contains three separate capacitive touch pads. We also broke out the capacitive touch sensor lines as plated through-holes on the top of the board. You can use these pins to connect to your own capacitive touch pads. The CS1 pin connects to the left pad, the CS2 pin connects to the middle pad, and the CS3 pin connects to the right pad.
Check out the CAP1203 Capacitive Touch Slider (Qwiic) Hookup Guide for all of your capacitive switch needs. This tutorial documents assembly, wiring, and code.
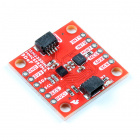
9DoF IMU Breakout - ISM330DHCX, MMC5983MA (Qwiic)
The SparkFun Qwiic 9DoF IMU Breakout combines the high-performance ISM330DHCX 3D digital accelerometer and gyroscope from STMicroelectronics with the highly sensitive MMC5983MA triple-axis magnetometer by MEMSIC to give you an ultra powerful and easy to use Qwiic enabled breakout board. Utilizing our handy Qwiic system, no soldering is required to connect it to the rest of your system. However, we still have broken out 0.1"-spaced pins in case you prefer to use a breadboard.
With a full scale acceleration range of ±2/±4/±8/±16g and a wide angular rate range of ±125/±250/±500/±1000/±2000/±4000dps, as well as an unmatched set of embedded features (Machine Learning Core, programmable FSM, FIFO, sensor hub, event decoding and interrupts), the ISM330DHCX delivers high performance at very low power. Add the MMC5983MA, which can measure magnetic fields within the full scale range of ±8 Gauss (G), with 0.25mG/0.0625mG per LSB resolution at 16bits/18bits operation mode and 0.4 mG total RMS noise level and you have Nine Degrees of Freedom on one little board.
Check out the 9DoF IMU (ISM330DHCX, MMC5983MA) Hookup guide for all your motion sensing needs.
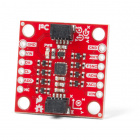
9DoF IMU Breakout - ICM-20948 (Qwiic)
In addition to the 3-Axis Gyroscope with four selectable ranges, 3-Axis Accelerometer, again with four selectable ranges, and 3-axis magnetometer with an FSR to ±4900µT, the ICM-20948 also includes a Digital Motion Processor that offloads the computation of motion sensing algorithms from the detectors, allowing optimal performance of the sensors. We've also broken out all the ICM-20948 pin functionality to GPIO and labeled them I2C on the front, SPI on the back for ease of identification.
Check out the 9DoF IMU (ICM-20948) Hookup guide for all your motion sensing needs.
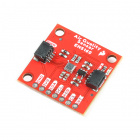
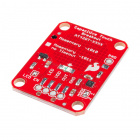
Indoor Air Quality Sensor - ENS160 (Qwiic)
The ENS160 from ScioSense is a digital multi-gas sensor consisting of four independent heaters and gas sensor elements based on metal oxide (MOX) technology and a controller. TrueVOC® air quality detection provides outputs such as eCO2, TVOC, and AQI in compliance with worldwide IAQ standards.
Along with the plug-and-play Qwiic connectors, both I2C and SPI functionality have been broken out to 0.1"-spaced pins in case you prefer to use a breadboard.
Check out the Qwiic Indoor Air Quality Sensor - ENS160 Hookup Guide to start monitoring your air quality indoors.
Atmospheric Sensor Breakout - BME280 (Qwiic)
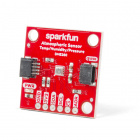
The SparkFun BME280 Atmospheric Sensor Breakout is an easy way to measure barometric pressure, humidity, and temperature readings, all without taking up too much space. Basically, you can find out anything you need to know about atmospheric conditions from this tiny breakout. The BME280 Breakout has been designed to be used in indoor/outdoor navigation, weather forecasting, home automation, and even personal health and wellness monitoring. Utilizing our handy Qwiic system, no soldering is required to connect it to the rest of your system. However, we still have broken out 0.1"-spaced pins in case you prefer to use a breadboard.
The on-board BME280 sensor measures atmospheric pressure from 30kPa to 110kPa as well as relative humidity and temperature. The breakout provides a 3.3V SPI interface, a 5V tolerant I2C interface (with pull-up resistors to 3.3V), can be configured to take measurements with less than 1mA of current draw.
Check out the Qwiic Atmospheric Sensor BME280 Hookup Guide to start measuring the barometric pressure, humidity, and temperature.
Environmental Combo Breakout - CCS811/BME280 (Qwiic)
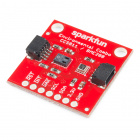
The CCS811 is an exceedingly popular sensor, providing readings for equivalent CO2 (or eCO2) in the parts per million (PPM) and total volatile organic compounds in the parts per billion (PPB). The CCS811 also has a feature that allows it to fine-tune its readings if it has access to the current humidity and temperature. Luckily for us, the BME280 provides humidity, temperature and barometric pressure! This allows the sensors to work together to give us more accurate readings than they’d be able to provide on their own. We also made it easy to interface with them via I2C.
The CCS811/BME280 (Qwiic) Environmental Combo Breakout Hookup Guide demonstrates how take care of all your atmospheric quality sensing needs.
SparkFun Sensor Kit
DEV-13754
Resources and Going Further
With one hookup guide per sensor, you've already got plenty of reading material. We don't want to overwhelm you, but we do want to instill some project ideas in the back of your mind. There are plenty of directions you can take a project with all of the sensors in this kit.
You can take the pressure, humidity, and temperature sensors to build a weather station -- one that can wirelessly post to Weather Underground.
You can use the piezo vibration sensor or the accelerometer from the 9DOF to create a laundry monitor.
Blynk Board Washer/Dryer Alarm
Maybe use the reed switch to control a TARDIS-themed music box.
MP3 Player Shield Music Box
Or just combine all of the sensors to create your very own tricorder! It's up to you from here. Go sense!
