Reed Switch Hookup Guide
 jimblom
 Introduction
Reed switches are magnetically-actuated electrical switches (not magically-actuated, though it seems that way sometimes). When the body of the switch is exposed to a magnetic field -- like a magnet or even a strong electrical current -- two ferrous materials inside pull together, the connection closes, and current can flow. In absence of a magnetic field, the switch opens as does the circuit it's a part of.

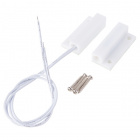
There are all sorts of creative applications for reed switches. They're perfect for any projects that require non-contact control. A magnetic door switch, for example, is just a dressed up reed switch and a mating magnet -- by keeping both parts of the switch separate, the door can open and close freely (and maintain its regular duties as a door). The anemometer in our weather meter combines a number of reed switches, which all open and close in order as the wind blows; count the time between switch closures to determine the wind speed.
Suggested Materials
This tutorial serves as a quick primer on reed switches and demonstrates how to hook them up and use them. Beyond the switch itself, the following materials are recommended:
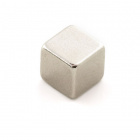
Magnet -- You'll need something to actuate the reed switch, and this small magnet should fit the bill.
Arduino Uno -- We'll be using a digital pin on the Arduino to read the state of the switch. Any Arduino-compatible development platform -- be it a RedBoard, Pro or Pro Mini -- can substitute.
Breadboard and Jumper Wires -- With it's legs properly bent, the reed switch is breadboard-compatible. We'll use the breadboard as an intermediary between reed switch and jumper wires, which will connect the switch to an Arduino.


Suggested Reading
Read switches are a fun and easy-to-use component for beginners, but there are still a few basic electronics concepts you should be familiar with. If any of these tutorial titles sound foreign to you, consider skimming through that content first.
Pull-up Resistors
How to Use a Breadboard
What is an Arduino?
Button and Switch Basics
Reed Switch Overview
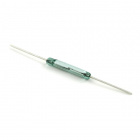
Reed switches come in a variety of shapes and sizes. Through-hole, surface-mount, insulated, pre-formed -- there are a lot of factors to consider.

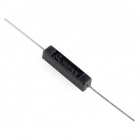
The basic glass reed switches are relatively fragile. If you're project will feature large magnets repeatedly slamming against the body of the switch, consider upgrading to an overmolded variant.
You may also need to consider the current and voltage capabilities of your reed switch -- they're usually not designed to carry a high amount of power. The glass switch we're using in this tutorial is rated for a maximum of 1.2A and 10W. Higher-power-capable switches are hard to find and can be expensive.
Normally Open, Normally Closed?
One thing all of these switches have in common is the two-terminal interface. But whether those terminals are normally open or closed is another question. The reed switch we'll be using in this example is normally-open. That means "normally", when the switch is unaffected by a magnetic field, the switch is open and does not conduct electricity. When a magnet comes close enough for the switch to activate, the contacts close and current can flow.
Magnetic Sensor Activation
Just as your magnet may have two poles, the reed switch's pair of ferrous contacts are also polarized. The position, distance, and orientation of your magnet all play a role in determining how the switch activates.
These example graphs, from the Hamlin App Note AN104 do a great job of demonstrating how the position of the magnet affects the activation of the switch.
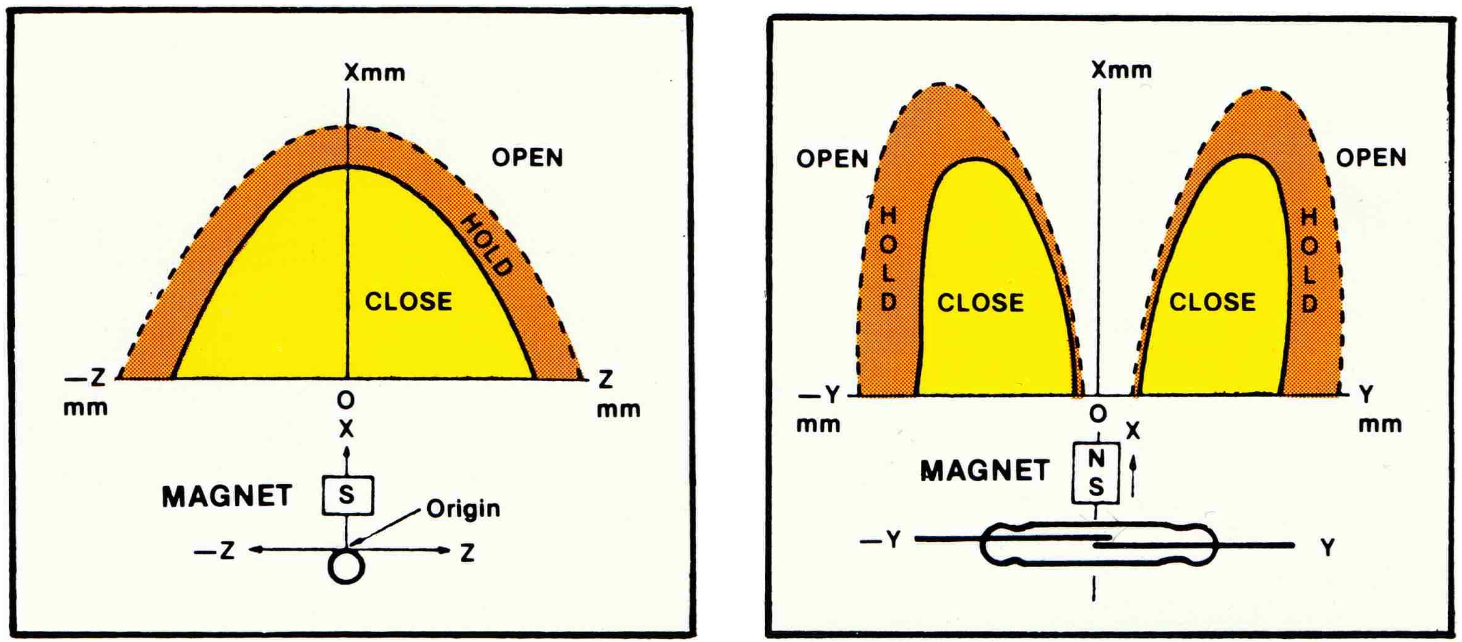
The graph on the left shows an expected activation area when the magnet is held parallel to the reed switch. This area, as expected, is a mostly parabolic field. The graph on the right demonstrates what you can expect when the magnet is perpendicular to the switch. In this orientation, there is usually a dead zone in the center of the switch. If it's in the middle of the body, it might not activate, even when the magnet is touching the reed switch.
The polarity and position of the magnet plays an important role in how your reed switch activates. If your switch doesn't seem as sensitive as you'd like, try placing the magnet to one side or the other. Make sure you test the pair of components out before mounting either in place.
Example Circuit
The circuit set up for this example is about as easy as can be. First bend both legs of the switch to point perpendicularly away from the body of the switch, so they form a "U" shape.
Insert the reed switch into the breadboard. Then use jumper wires to connect one end of the switch to ground and the other end to the Arduino's D2 pin. Here's an example circuit:
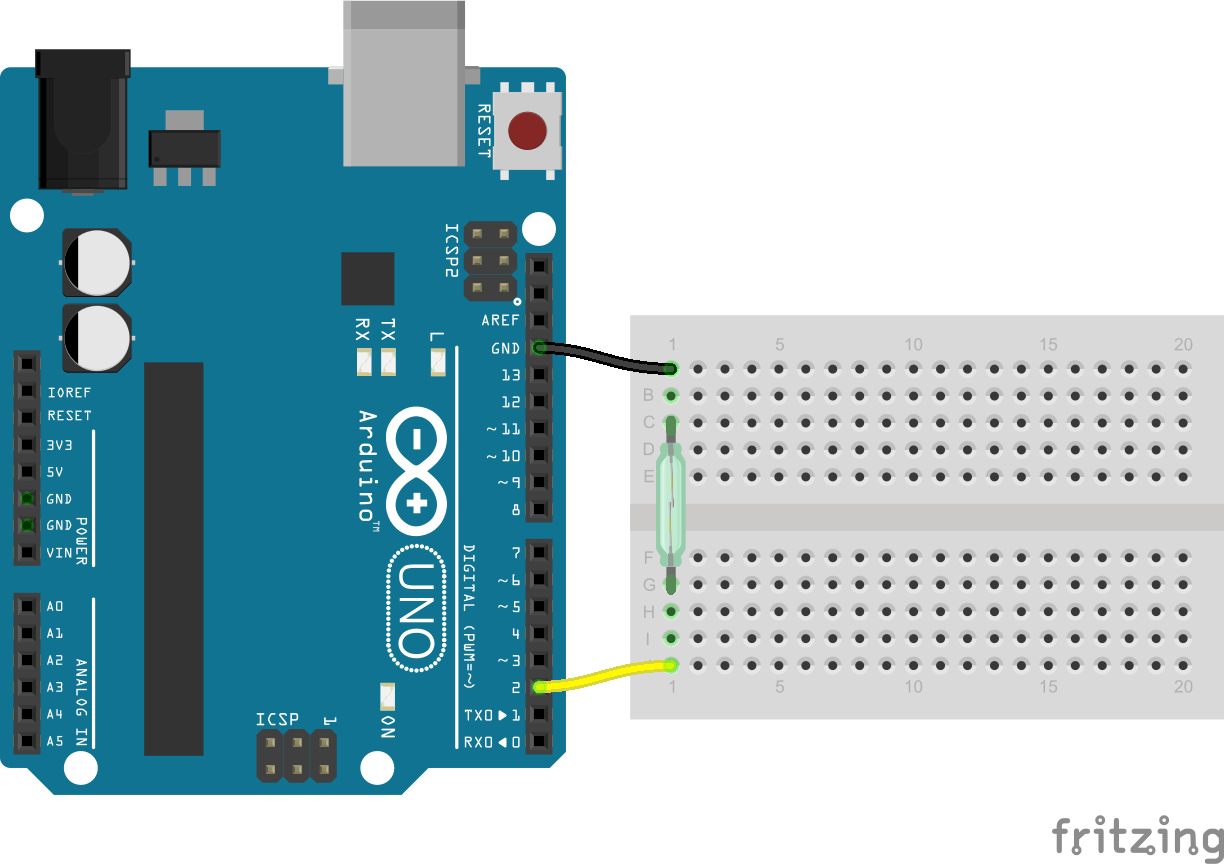
That's all it takes! We'll use the Arduino's internal pull-up resistor on pin 2 to bias the switch high. When the switch closes, it will connect pin 2 directly to ground, and it should read low.
Example Code
Here is a simple Arduino example based on the circuit above. Copy and paste this into your Arduino IDE, then upload!
Note: This example assumes you are using the latest version of the Arduino IDE on your desktop. If this is your first time using Arduino, please review our tutorial on installing the Arduino IDE.
If you have not previously installed an Arduino library, please check out our installation guide.language:c
/******************************************************************************
Reed_Switch_Example.ino
Example sketch for SparkFun's Reed Switch
(https://www.sparkfun.com/products/8642)
Jim Lindblom @ SparkFun Electronics
May 3, 2016
The reed switch is a two-terminal, magnetically-actuated, normally-open switch.
Connect one end of the switch to ground, and the other to Arduino's D2 pin.
The D2 pin's internal pull-up resistor is used to bias the pin high. When the
switch closes, the pin should go low.
Development environment specifics:
Arduino 1.6.7
******************************************************************************/
const int REED_PIN = 2; // Pin connected to reed switch
const int LED_PIN = 13; // LED pin - active-high
void setup()
{
Serial.begin(9600);
// Since the other end of the reed switch is connected to ground, we need
// to pull-up the reed switch pin internally.
pinMode(REED_PIN, INPUT_PULLUP);
pinMode(LED_PIN, OUTPUT);
}
void loop()
{
int proximity = digitalRead(REED_PIN); // Read the state of the switch
if (proximity == LOW) // If the pin reads low, the switch is closed.
{
Serial.println("Switch closed");
digitalWrite(LED_PIN, HIGH); // Turn the LED on
}
else
{
digitalWrite(LED_PIN, LOW); // Turn the LED off
}
}
The sketch depends on an LED being attached to the Arduino's pin 13. That should be the case on 99% of the Arduino boards out there, but, if yours is different, you may need to check the serial monitor for verification of the switch's operation.
With the sketch uploaded, grab your magnet, and draw it close to the switch. It should trigger when the magnet approaches, as close as 1cm away from the body of the reed switch. Try mapping out the entire activation region of the reed switch. See how far away you can get the magnet!
Resources and Going Further
Reed switches are a perfect trick for non-contact activation applications. We used a reed switch to detect when the doors of this TARDIS-themed music box opened. Or you can hook a large, door-specific reed switch up to a Blynk Board and have it send push notifications to your phone when the door state changes.
Now that you've got a reed switch wired up to your Arduino, what are you going to create? Need some inspiration, check out some of these related SparkFun tutorials: