Reed Switch Hookup Guide
Introduction
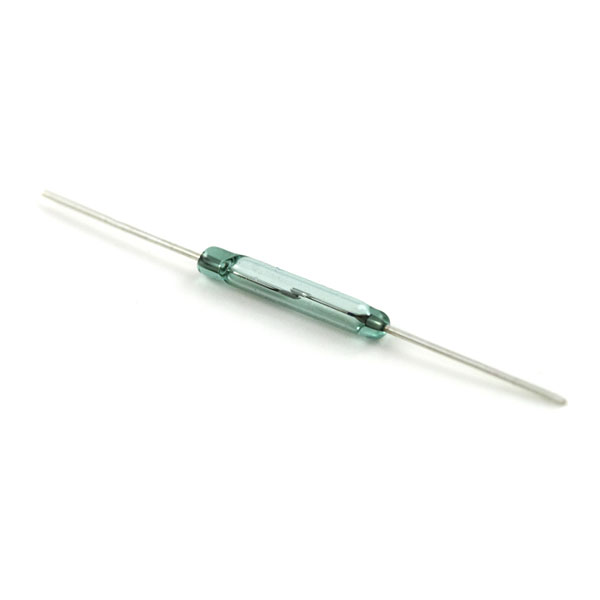
Reed switches are magnetically-actuated electrical switches (not magically-actuated, though it seems that way sometimes). When the body of the switch is exposed to a magnetic field -- like a magnet or even a strong electrical current -- two ferrous materials inside pull together, the connection closes, and current can flow. In absence of a magnetic field, the switch opens as does the circuit it's a part of.
There are all sorts of creative applications for reed switches. They're perfect for any projects that require non-contact control. A magnetic door switch, for example, is just a dressed up reed switch and a mating magnet -- by keeping both parts of the switch separate, the door can open and close freely (and maintain its regular duties as a door). The anemometer in our weather meter combines a number of reed switches, which all open and close in order as the wind blows; count the time between switch closures to determine the wind speed.
Suggested Materials
This tutorial serves as a quick primer on reed switches and demonstrates how to hook them up and use them. Beyond the switch itself, the following materials are recommended:
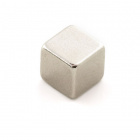
Magnet -- You'll need something to actuate the reed switch, and this small magnet should fit the bill.
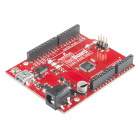
Arduino Uno -- We'll be using a digital pin on the Arduino to read the state of the switch. Any Arduino-compatible development platform -- be it a RedBoard, Pro or Pro Mini -- can substitute.
Breadboard and Jumper Wires -- With it's legs properly bent, the reed switch is breadboard-compatible. We'll use the breadboard as an intermediary between reed switch and jumper wires, which will connect the switch to an Arduino.
Suggested Reading
Read switches are a fun and easy-to-use component for beginners, but there are still a few basic electronics concepts you should be familiar with. If any of these tutorial titles sound foreign to you, consider skimming through that content first.


