Reed Switch Hookup Guide
Contributors:
 jimblom
jimblom 
Example Circuit
The circuit set up for this example is about as easy as can be. First bend both legs of the switch to point perpendicularly away from the body of the switch, so they form a "U" shape.
Fragile! The body of the glass-tubed reed switch is very delicate. While you're bending the legs, try not to place any stress on the body of the switch.
Insert the reed switch into the breadboard. Then use jumper wires to connect one end of the switch to ground and the other end to the Arduino's D2 pin. Here's an example circuit:
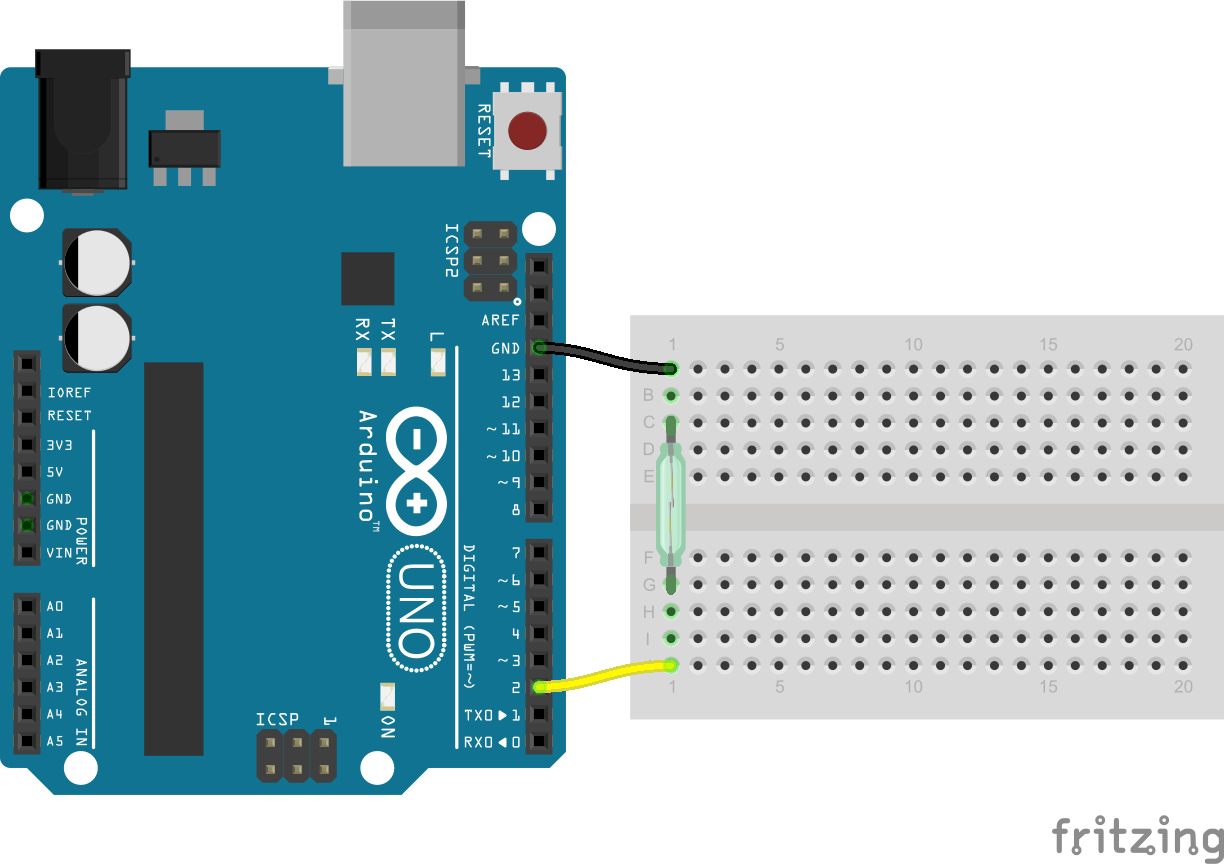
That's all it takes! We'll use the Arduino's internal pull-up resistor on pin 2 to bias the switch high. When the switch closes, it will connect pin 2 directly to ground, and it should read low.