SparkFun Inventor's Kit for Photon Experiment Guide
 Joel_E_B,
  b_e_n,
  HelloTechie,
  Knutson,
  jimblom,
  RBERLIA
 Experiment 2: With the Touch of a Button
Introduction
Now that you have conquered blinking an LED and know what an output is, it is time to learn inputs!
In this circuit, we’ll be introducing one of the most common and simple inputs – a push button – by using a digital input. Just like the LED, the push button is a basic component that is used in almost everything. The way a push button works with your Photon is that when the button is pushed, the voltage goes LOW. You Photon reads this and reacts accordingly. RedBoard Photon has internal pull-up resistor, which keeps the voltage HIGH when you're not pressing the button.
Parts Needed
You will need the following parts:
- 1x LED
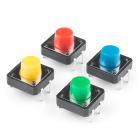
- 1x Push Button
- 1x 330Ω Resistor
- 4x Jumper Wires


Suggested Reading
- Switch Basics -- The push button is a momentary switch. Momentary switches are switches which only remain in their on state as long as they’re being actuated (pressed, held, magnetized, etc.). Learn more about the different types of switches.
- Pull-up Resistors - Pull-up resistors are very common when using microcontrollers (MCUs) or any digital logic device. This tutorial will explain when and where to use pull-up resistors, then we will do a simple calculation to show why pull-ups are important.
How to use Logic like a Vulcan:
One of the things that makes the Photon RedBoard so useful is that it can make complex decisions based on the input it's getting. For example, you could make a thermostat that turns on a heater if it gets too cold, or a fan if it gets too hot, and it could even water your plants if they get too dry. In order to make such decisions, the particle environment provides a set of logic operations that let you build complex "if" statements. They include:
| == | EQUIVALENCE | A == B is true if A and B are the SAME. |
|---|---|---|
| != | DIFFERENCE | A != B is true if A and B are NOT THE SAME. |
| && | AND | A && B is true if BOTH A and B are TRUE. |
| || | OR | A || B is true if A or B or BOTH are TRUE. |
| ! | NOT | !A is TRUE if A is FALSE. !A is FALSE if A is TRUE. |
You can combine these functions to build complex if() statements. For example:
language:c

if ((mode == heat) && ((temperature < threshold) || (override == true)))
{
digitalWrite(HEATER, HIGH);
}
...will turn on a heater if you're in heating mode AND the temperature is low, OR if you turn on a manual override. Using these logic operators, you can program your Photon RedBoard to make intelligent decisions and take control of the world around it!
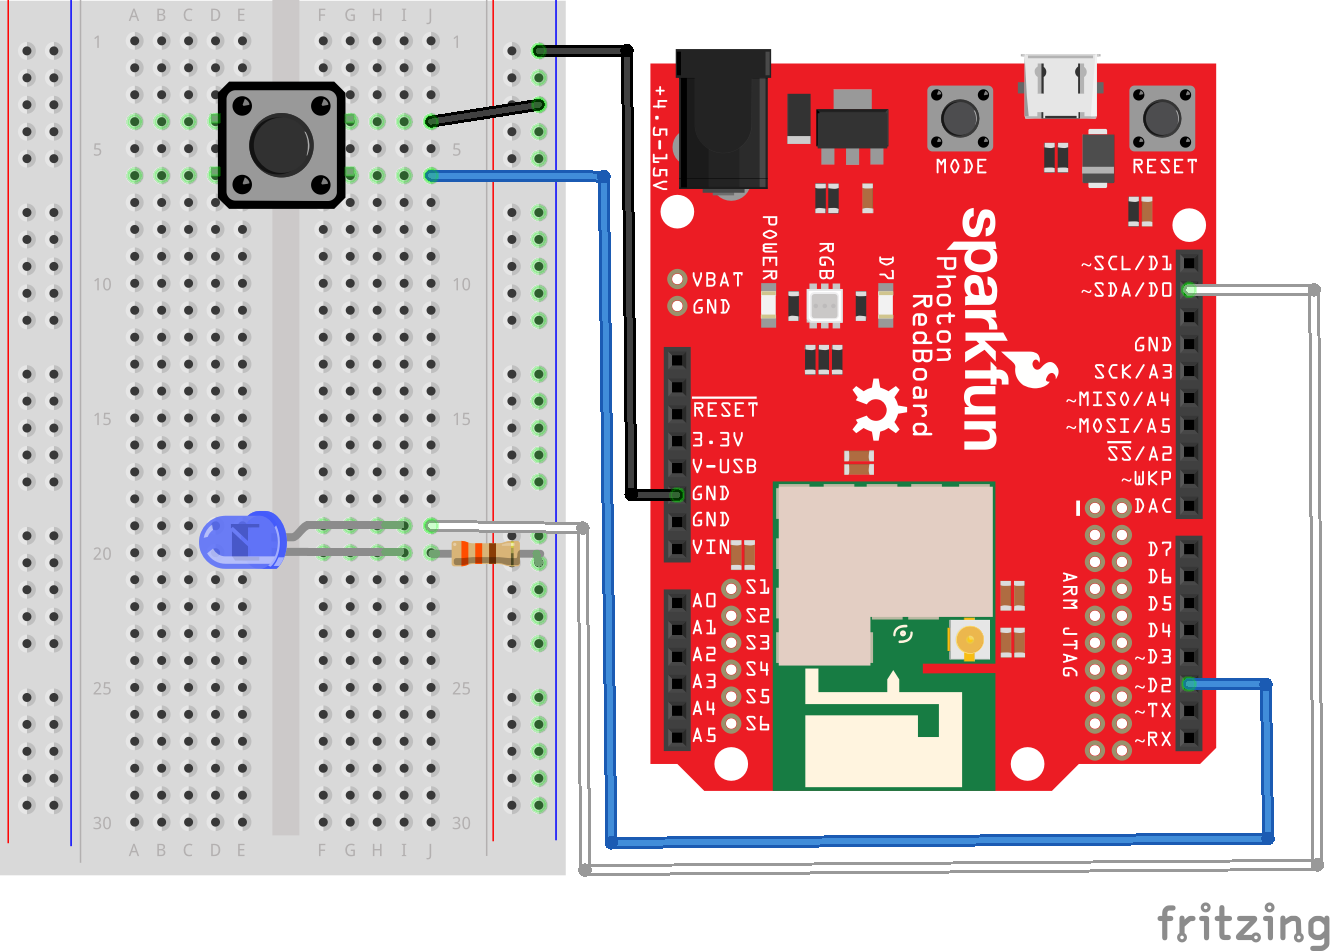
Hardware Hookup
Your kit comes with a bunch of different color push button. All push buttons behave the same, so go ahead and use your favorite color! Add the push button to the same LED circuit from the first experiment. Follow the Fritzing diagram below.
Photon Code
Copy and paste this code into the IDE. Then upload.
language:c
/*  SparkFun Inventor's Kit for Photon
    Experiment 2 - Part 1: With a Touch of a Button
    This sketch was written by SparkFun Electronics
    August 31, 2015
    https://github.com/sparkfun

    This is a simple example sketch that turns on an LED
    when pushing down on the push button

    Development environment specifics:
    Particle Build environment (https://www.particle.io/build)
    Particle Photon RedBoard
    Released under the MIT License(http://opensource.org/licenses/MIT)
*/

int led = D0; // LED is connected to D0
int pushButton = D2; // Push button is connected to D2

// This routine runs only once upon reset
void setup()
{
  pinMode(led, OUTPUT); // Initialize D0 pin as output
  pinMode(pushButton, INPUT_PULLUP);
  // Initialize D2 pin as input with an internal pull-up resistor
}

// This routine loops forever
void loop()
{
  int pushButtonState;

  pushButtonState = digitalRead(pushButton);

  if(pushButtonState == LOW)
  { // If we push down on the push button
    digitalWrite(led, HIGH);  // Turn ON the LED
  }
  else
  {
    digitalWrite(led, LOW);   // Turn OFF the LED
  }

}
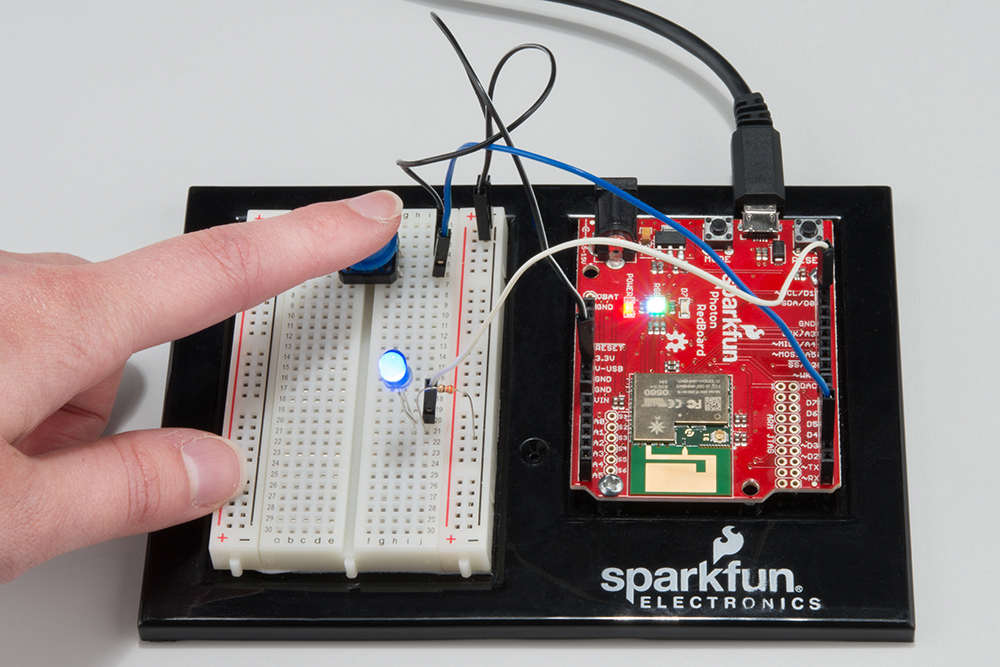
What You Should See
When you hold down the push button, those warm fuzzy feelings from the first experiment should happen again, and the LED should shine brightly. The LED will be off when the button is released.
Code to Note
pinMode(pushButton, INPUT_PULLUP);
The digital pins can be used as inputs as well as outputs. Before you do either, you need to tell the Photon which direction you're going. Normally, with push buttons we would use a pull-up resistor. However, you can program the Photon RedBoard to use its internal pull-up and pull-down resistors.
pushButtonState = digitalRead(pushButton);
To read a digital input, you use the digitalRead() function. It will return HIGH if there's 5V present at the pin, or LOW if there's 0V present at the pin.
if(pushButtonState == LOW)
Because we've connected the button to GND, it will read LOW when it's being pressed. Here we're using the "equivalence" operator ("==") to see if the button is being pressed.
Troubleshooting
If nothing is happening when holding down the push button, don’t panic! Double check your jumper wire and LED connections. It is easy to miss a jumper wire or two.
Code refuses to flash -- Try putting your Photon RedBoard into safe mode. Then, hit Flash. Sometimes to get your Photon RedBoard breathing cyan again, unplugging from USB and replugging back can get your board connecting to WiFi again. Please keep in mind if you just starting working with the Photon RedBoard it might take a couple minutes for the firmware to upload when first connected to the Internet.
Part 2: Control the Internet with IFTTT and Push Button
Have you ever wanted to control something on the Internet with a touch of a button? How about having a button that orders new laundry detergent when pressed? Okay, that has already been done with Amazon Dash Button. However, you can make one too! For the second part of this experiment, we are going to use IFTTT to send an email when the push button is pressed.
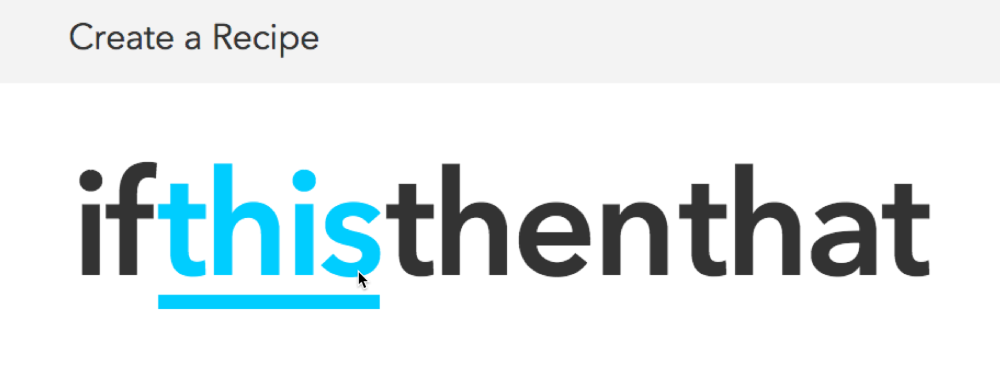
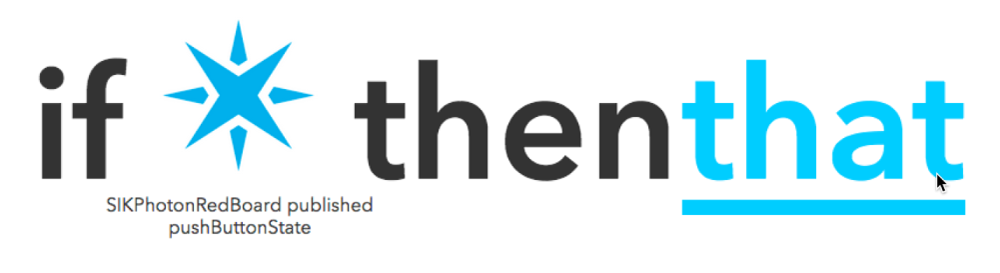
A fun feature of the Photon RedBoard is that it works with Particle's IFTTT channel. IFTTT is short for "if this then that." It is a free site that makes connecting different popular apps or products really easy and fast!
Let's get started!
New Photon Code
language:c
/*  SparkFun Inventor's Kit for Photon
    Experiment 2 - Part 2: Control the Internet with IFTTT and Push Button
    This sketch was written by SparkFun Electronics
    August 31, 2015
    https://github.com/sparkfun

    This is a simple example sketch that sends an email
    with IFTTT when the push button is pressed

    Development environment specifics:
    Particle Build environment (https://www.particle.io/build)
    Particle Photon RedBoard
    Released under the MIT License(http://opensource.org/licenses/MIT)
*/

int led = D0; // LED is connected to D0
int pushButton = D2; // Push button is connected to D2

// This routine runs only once upon reset
void setup()
{
  pinMode(led, OUTPUT); // Initialize D0 pin as output
  pinMode(pushButton, INPUT_PULLUP);
  // Initialize D2 pin as input with an internal pull-up resistor
}

// This routine loops forever
void loop()
{
  int pushButtonState;

  pushButtonState = digitalRead(pushButton);

  if(pushButtonState == LOW){ //If we push down on the push button
    digitalWrite(led, HIGH);  // Turn ON the LED
    Spark.publish("pushButtonState","Pressed",60,PRIVATE);
    // Add a delay to prevent getting tons of emails from IFTTT
    delay(5000);
  }
  else
  {
    digitalWrite(led, LOW);   // Turn OFF the LED
  }

}
Code to Note
Spark.publish("pushButtonState", "Pressed",60,PRIVATE);
What is great about IFTTT is that you do not need a lot of extra code. This is the only piece of code we added. Visit the Spark.publish() page to learn more.
Setup IFTTT
Now that the code is loaded on your Photon RedBoard, we can jump into setting up IFTTT.
Sign up, or log into IFTTT, and activate your account from your email address. For this experiment we are going to create an IF recipe. The IF recipe is connecting two different apps and products in an if this then that statement. Click on My Recipe on the top navigation bar on the IFTTT site.
Follow the 7 steps below to create an IF recipe.
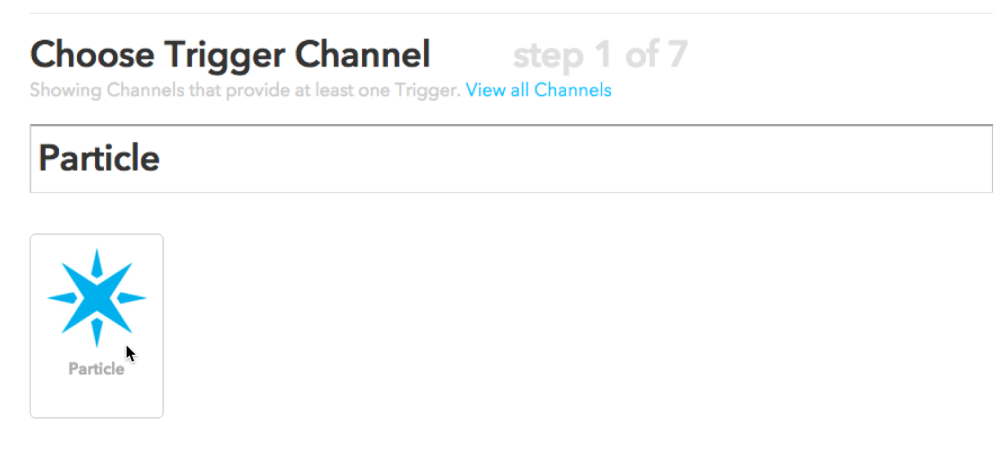
1: This
Click on this
Find and select the Particle Channel. You will need to connect to the Particle channel.
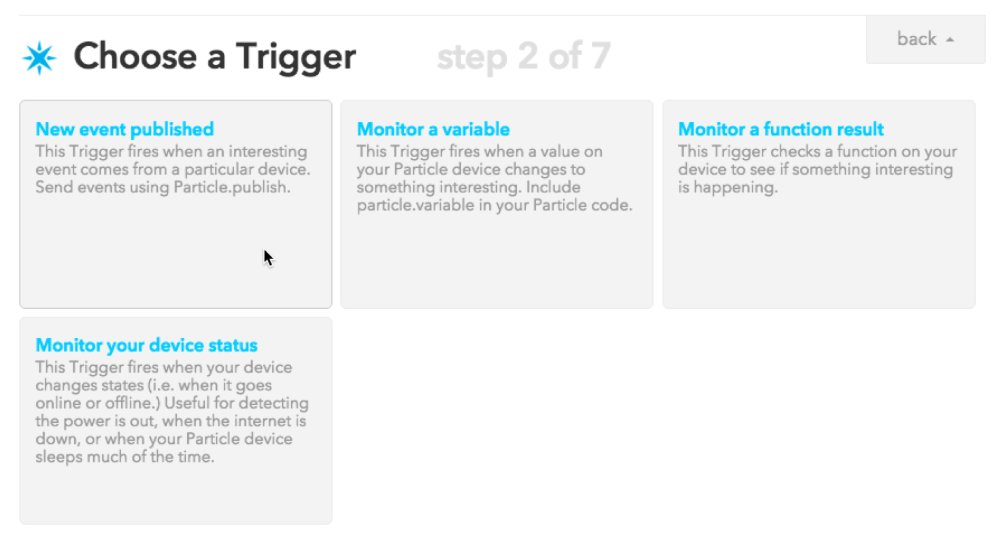
2: Choose a Trigger
Selected New event published
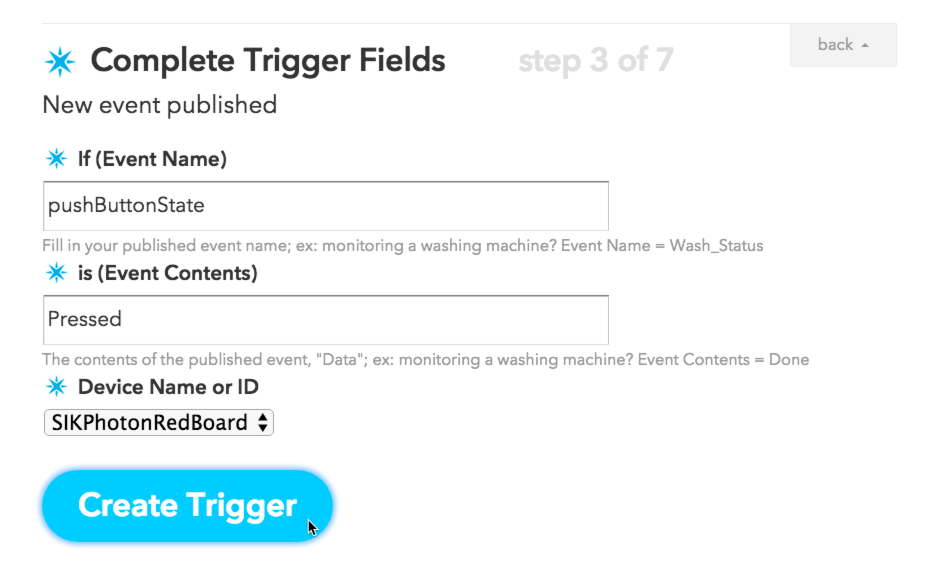
3: Complete Trigger Fields
This is where you will enter the published event name. Type in pushButtonState in the If (Event Name) field. Go ahead and select your personal Photon RedBoard from the drop down menu.
4: That
Click on the that button and find the Email Channel.
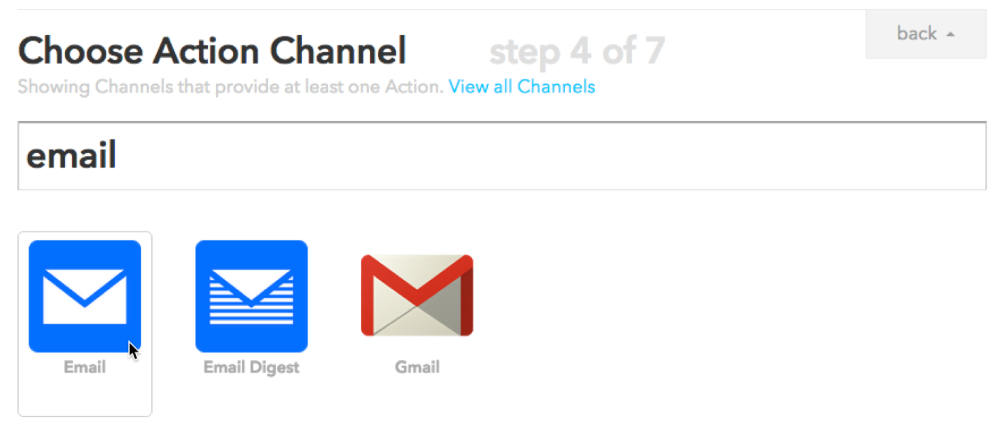
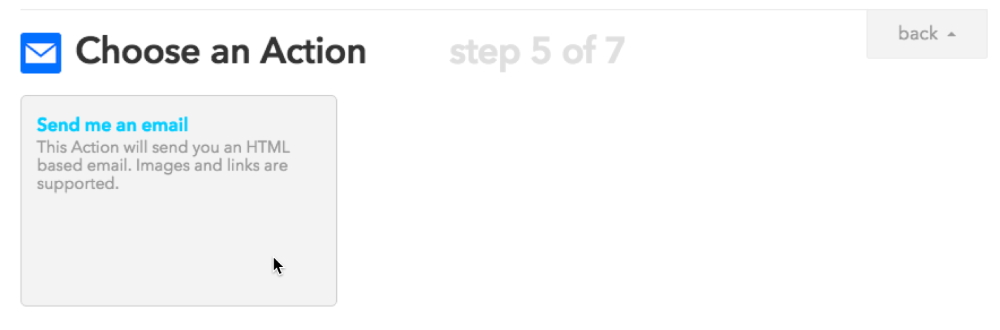
5: Choose an Action
Depending on what Channel you are using, there might be one or more different actions you can choose from. For this experiment, we will send an email.
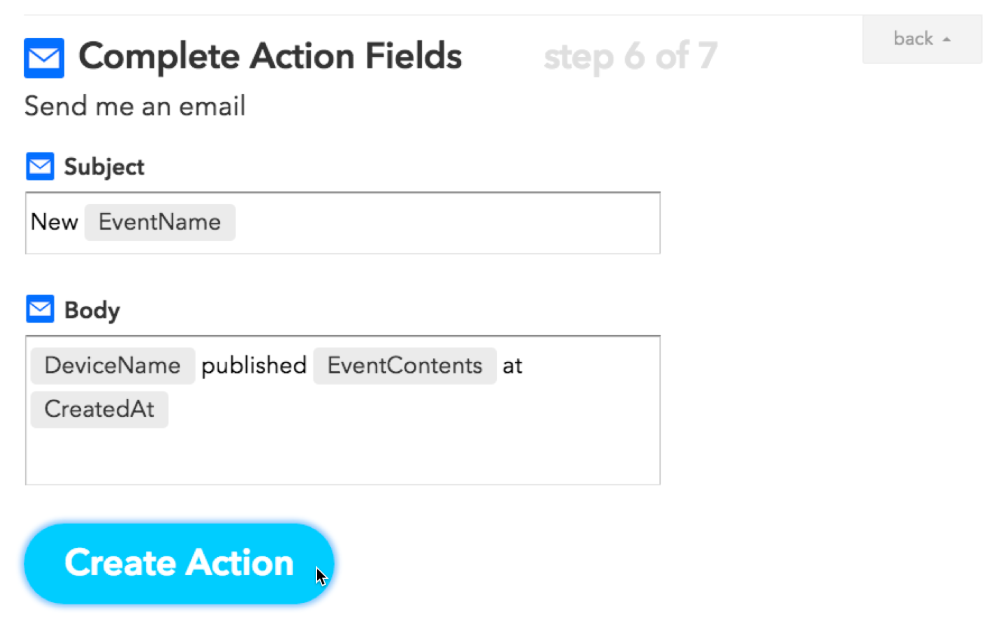
6: Complete Action Fields
You can customize what you want to see in the subject and body of your email.
7: Create and connect
Name your recipe and hit Create Recipe.

You've just created your first IFTTT recipe!
What You Should See
When you push down on the button, an email will send! You might have allow the gearworks of the internet to churn for a minute or two, but you should be able to see a new email. If you don't feel like waiting, go ahead and click on the refresh-looking icon, named "Check Recipe now".
You might have noticed there's a vast amount of options for creating recipes. The possibilities are endless! Using the same code, here are a few more examples on what you can do:
- Post on social media and websites like Facebook, Twitter, Reddit, GitHub, Pinterest, Tumblr, and more!
- There are tons of products you might already use that have their own Channels. Including appliances and other home products
- Send a text message
- Shop at different sites
Troubleshooting
- Not seeing the email? A lot of people have multiple email addresses. Double check the same email you used to sign up for IFTTT. There is a Check Recipe now button for testing your recipes. This can be found under the My Recipes page.
- Still not working? Try redoing the IFTTT recipe again or check for typos.
- Sometimes the IFTTT mail server might take longer than expected to send the email. Check the recipe log to see if the event was triggered. If you see the log has been updated then wait for the email, it will come!
- You can also try setting up the GMAIL channel instead, it works like a charm!