Getting Started with the MyoWare® 2.0 Muscle Sensor Ecosystem
MyoWare 2.0 Arduino Shield
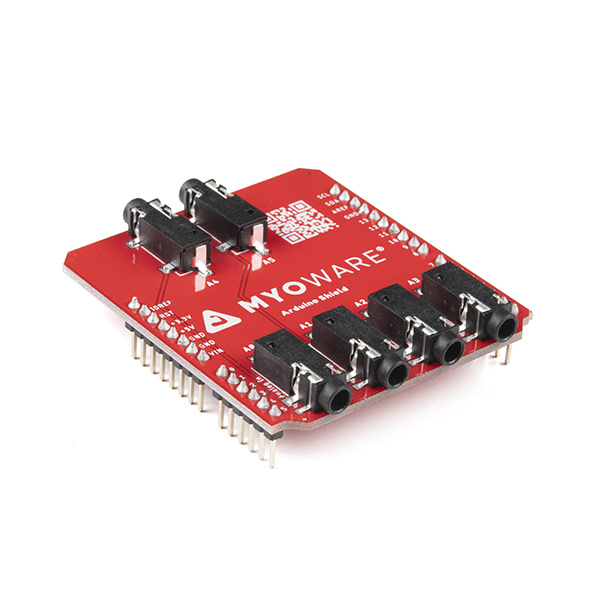
The MyoWare 2.0 Arduino Shield is designed to easily connect up to six MyoWare 2.0 Muscle Sensors and Link Shields using 3.5mm TRS-to-TRS audio cables. The board comes pre-populated with male headers so all you need to do is stack it on your Arduino and connect the sensors to read up to six muscle groups! The Arduino shield form-factor mates directly with development boards that have the Arduino Uno R3 standard footprint. You'll need a MyoWare 2.0 Link Shield and TRS-to-TRS cable for each MyoWare 2.0 Muscle Sensor.
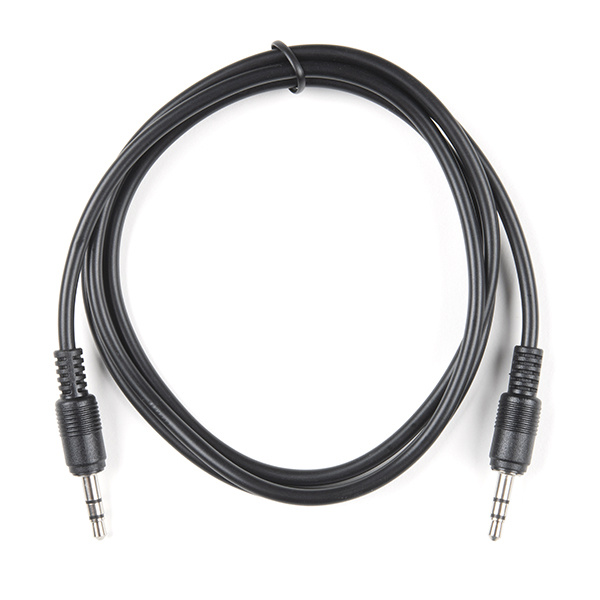
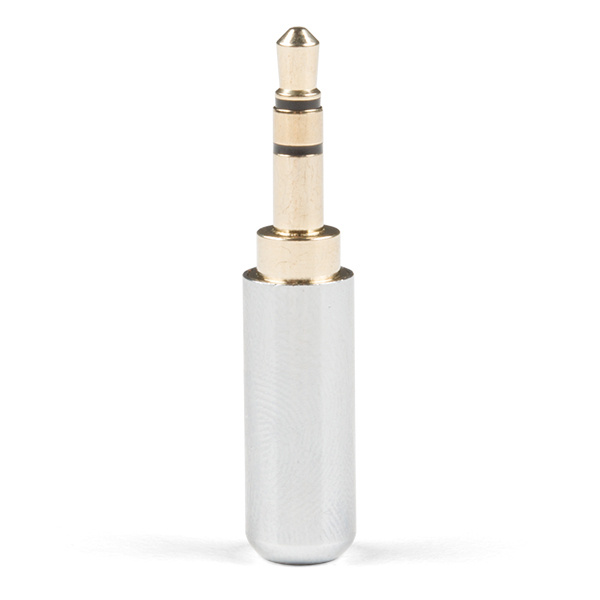
You'll need a TRS-to-TRS cable to link the boards together. Of course, you could solder wire to a TRS connector as well to make your own. Just make sure to solder wires to the correct pins.
TRS Audio Plug - 3.5mm (Metal)
COM-15438Hardware Overview
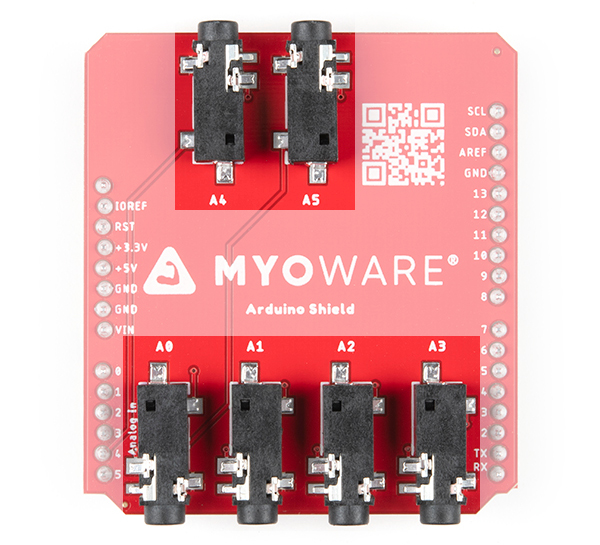
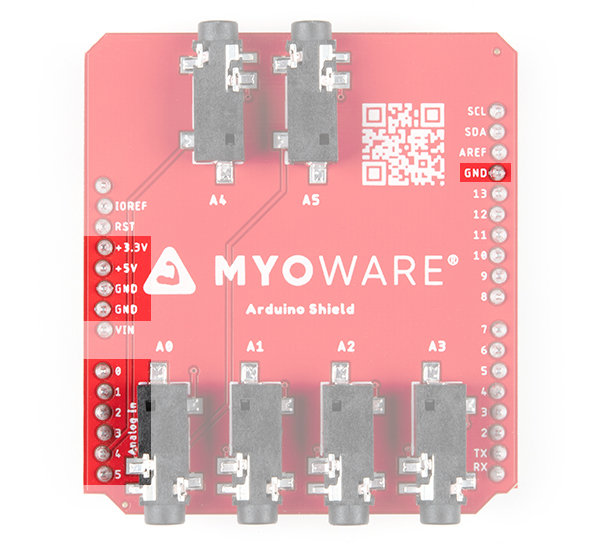
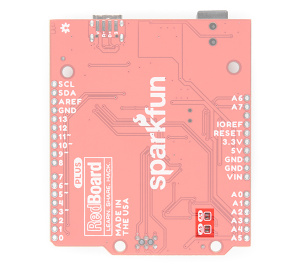
The top side of the board includes the TRS connectors and the QR code. Feel free to take out your smartphone and scan the QR code to head on over MyoWare's official site! The bottom side has the male headers to mate with female headers on Arduino development boards with an R3 footprint.
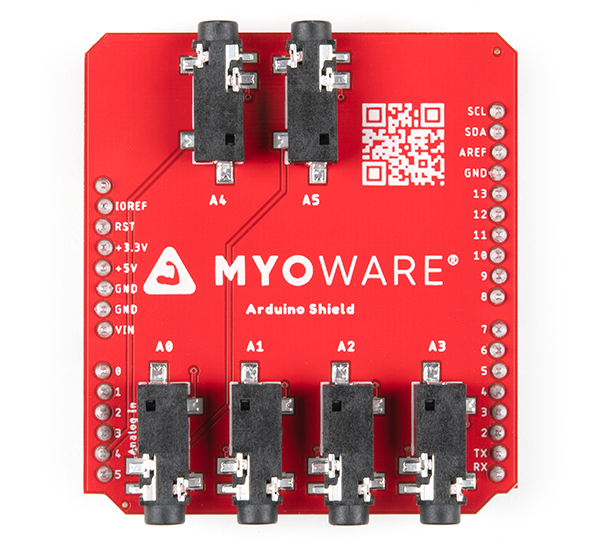 |
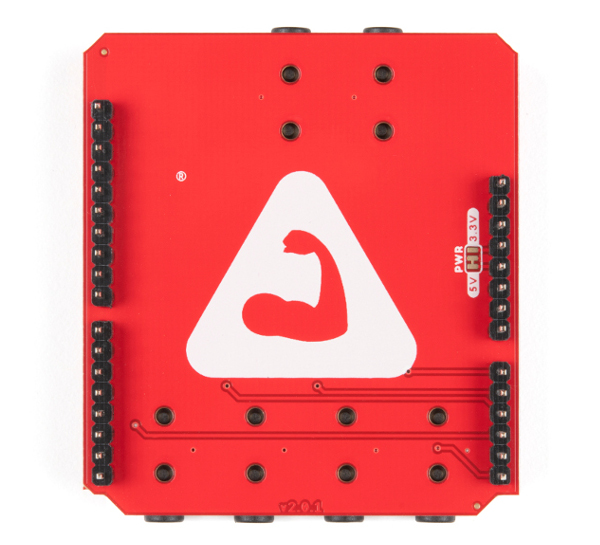 |
| Top Side | Bottom Side |
3.5mm TRS Connectors
On the top side of the board you will find six 3.5mm TRS jacks. Each connector is connected to power and your Arduino's analog pins ranging from A0 to A5.
The 3.5mm TRS Connector is connected to the following electrode pins.
| Electrode Pin | TRS Pin |
|---|---|
| Ground [GND] | Sleeve |
| Voltage [VIN] | Ring |
| ENV/RECT/RAW [OUTPUT] | Tip |
Reserved Pins
The 5V, 3.3V, GND net, and analog pins (A0 - A5) are reserved for the shield.
Jumpers
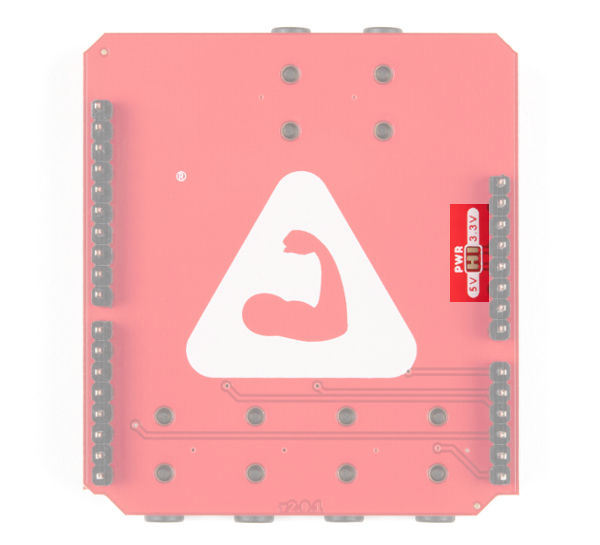
There's not too much going on the bottom of the board. On the back, there is a jumper labeled as PWR. By default, the 3-way jumper connects the 5V pin and the 5V plane on the back of the board. The center pad is connected to the TRS connectors to power any MyoWare 2.0 Muscle Sensors through the Link Shield. Cut the trace and add a solder blob between the center pad and 3.3V for an alternative voltage. For more information on modifying the jumpers, check out our tutorial on working with jumper pads and PCB traces.
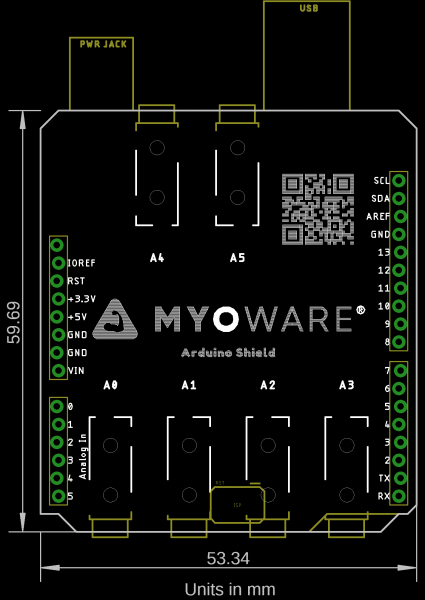
Board Dimensions
The shield uses the Arduino Uno R3 form factor and has board dimensions of 53.34mm x 59.69mm (2.10” x 2.35”).
