Smart Home Expansion Kit for Arduino 101
 D___Run___
 Experiment 7: Moisture Sensor
Introduction
In this experiment, you'll use the SparkFun soil moisture sensor to alert you when your plants are getting sad and need a bit of water to cheer up, or if your watering system in Experiment 6 is going on the fritz.
Remember Experiment 3? In that experiment, you built a voltage divider circuit to read light intensity data as voltage from a photoresistor. Good news: the SparkFun moisture sensor has an onboard voltage divider --- it does that part for you! All you need to do is power it and read the analog values coming from its signal (third) pin.
We will use that voltage reading to detect the level of moisture in the soil (as water conducts electricity) and build a dashboard for your most coveted house plant. Hope you have your green thumb ready!
Suggested Reading
The following tutorials provide in-depth background on some of the hardware concepts in this experiment:
Parts Needed
You will need the following parts for this experiment:
- 1x Arduino 101 Board (From your Arduino 101 SIK)
- 1x Breadboard (From your Arduino 101 SIK)
- 1x Soil Moisture Sensor
- 5x Jumper Wires (From your Arduino 101 SIK)
- 1x Pocket Screw Driver (Not Included)
Didn't Get the Around-the-Home Expansion Kit?
If you are conducting this experiment and didn't get the Around-the-Home Expansion Kit, we suggest using these parts:


Headers or No Headers?
Note:If you are buying the breakout boards (Moisture Sensor) seperate from this kit you will also need to buy screw terminals and assemble (solder) them to your board yourself.
Arduino 101
DEV-13787Introduction to the Soil Moisture Sensor

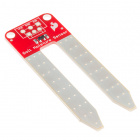
The SparkFun Soil Moisture Sensor is a simple breakout board for measuring the moisture in soil and similar materials. The soil moisture sensor is straightforward to use. The two large, exposed pads function as probes for the sensor, together acting as a variable resistor. The more water that is in the soil, the better the conductivity between the pads will be, which will result in a lower resistance and a higher SIG (output voltage).
To get the SparkFun Soil Moisture Sensor functioning, all you need to do is connect the VCC and GND pins to your Arduino 101. You will receive a SIG out, which you will read using an Analog Input pin (A0), which will depend on the amount of moisture in the soil. Oh, and you'll also need a bit of dirt in a pot to test it all out!
One commonly known issue with soil moisture sensors is their short life span when exposed to a moist environment. To combat this, we've had the PCB coated in Gold Finishing (ENIG, or Electroless Nickel Immersion Gold), which will extend the life of your sensor.
->
Hardware Hookup
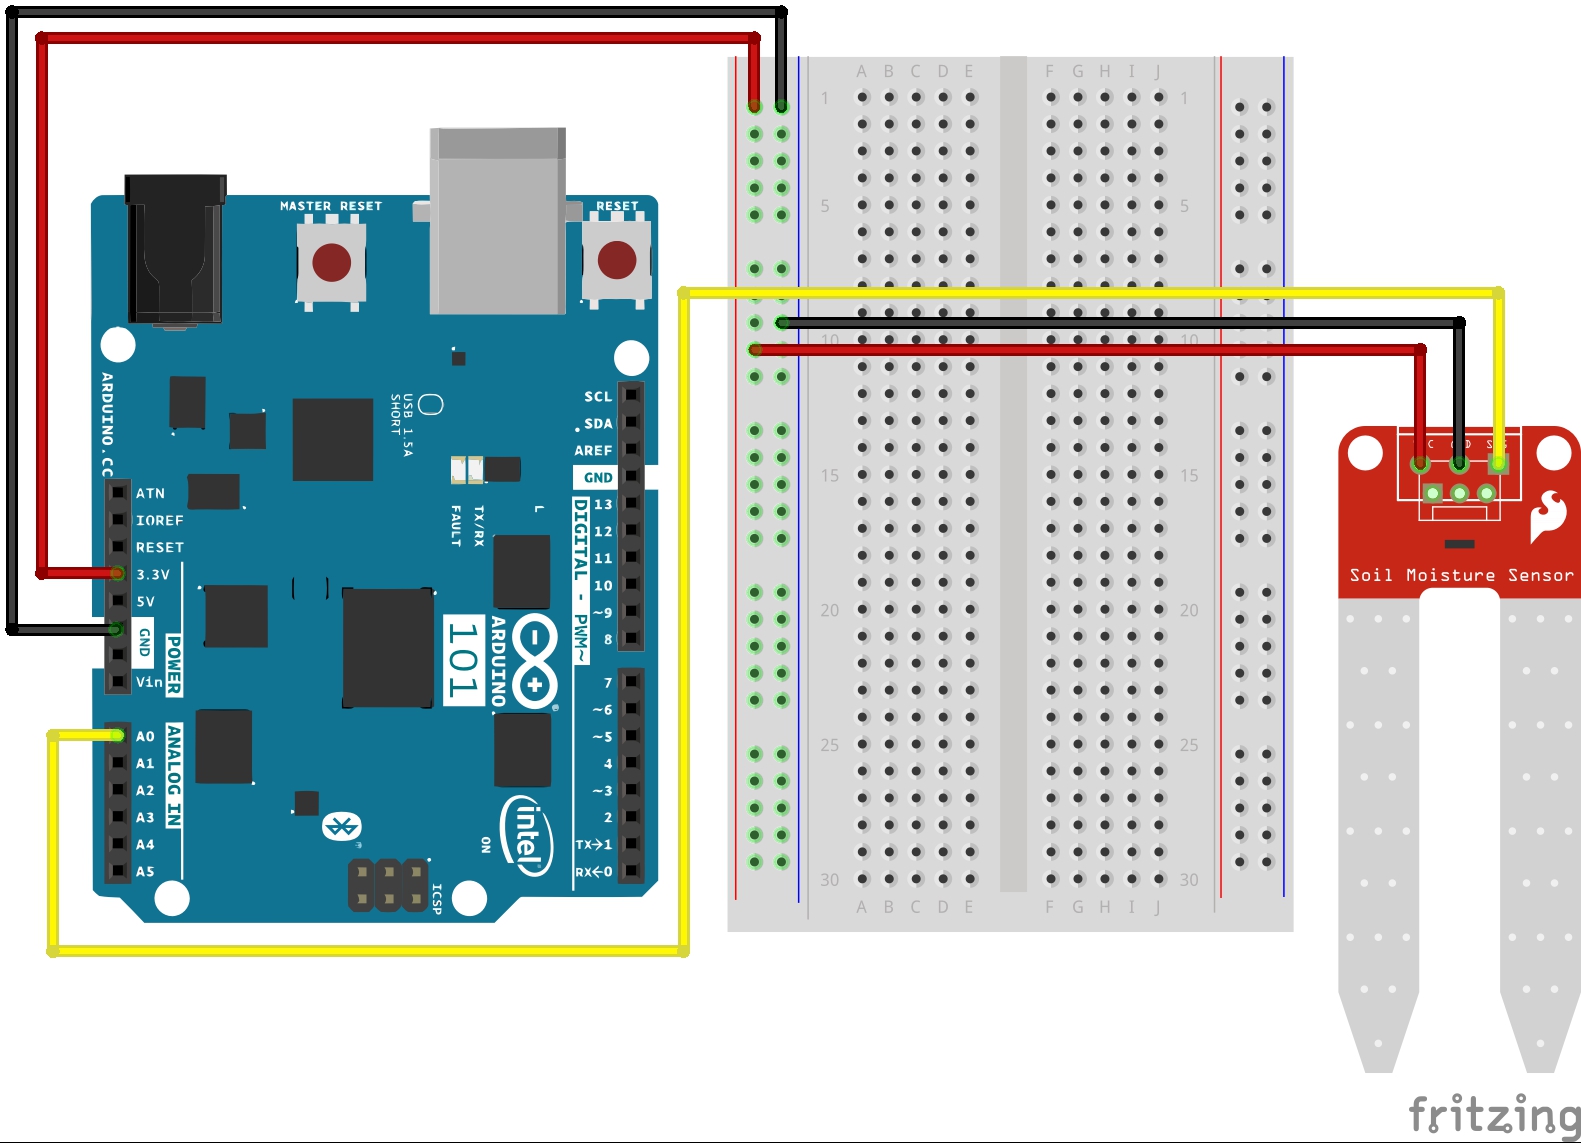
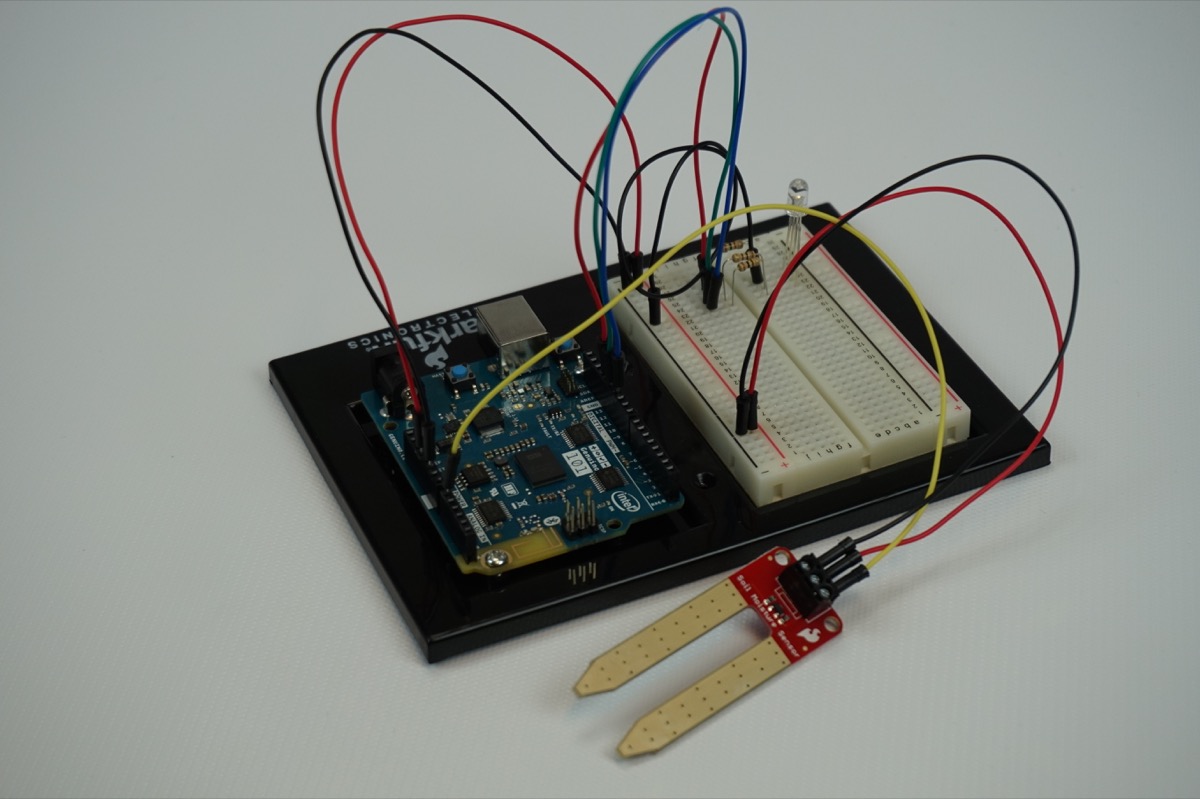
Ready to start hooking everything up? Check out the wiring diagram below to see how everything is connected.
Wiring Diagram for the Experiment
Build Your Blynk App
The Blynk app half of this project should be pretty straightforward for you, but it is good experience using the LCD widget and writing data to it. Again, be sure to create a new app in Blynk and check your email for the authorization token for your sketch.
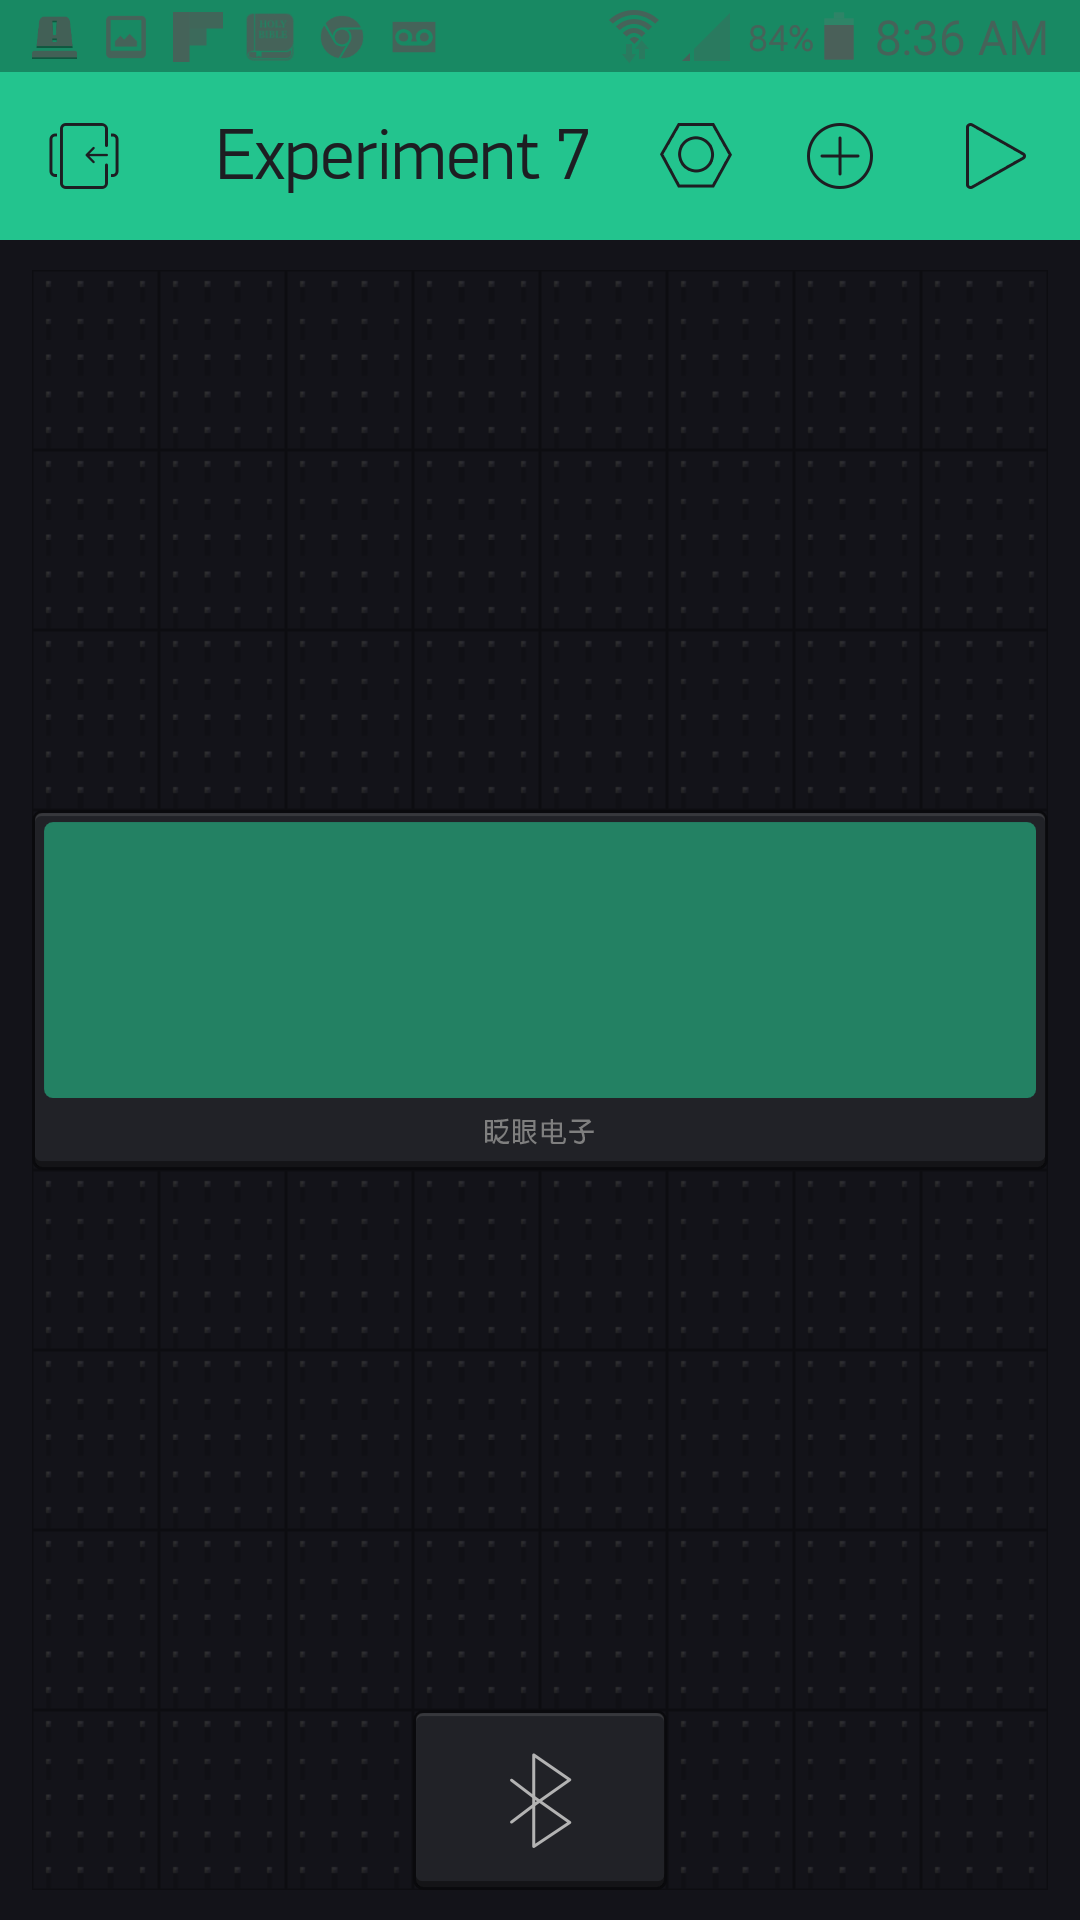
As with all Blynk apps when you are using the Arduino 101, be sure to add the BLE widget into your app and make sure Bluetooth and Location are turned on for your phone.
Next add the LCD widget and place it wherever you like. We centered ours, as it will be the only widget other than the BLE one on the screen.
Now open the settings for the LCD widget. You have two pins that you need to assign, and each one has its own row in the LCD. Set the first one to V0 and the second one to V1 as shown. Next set the reading rate; since moisture monitoring is a pretty slow process, a five-second period is fine, and you could probably even go longer. Finally comes the fun part: the message itself!
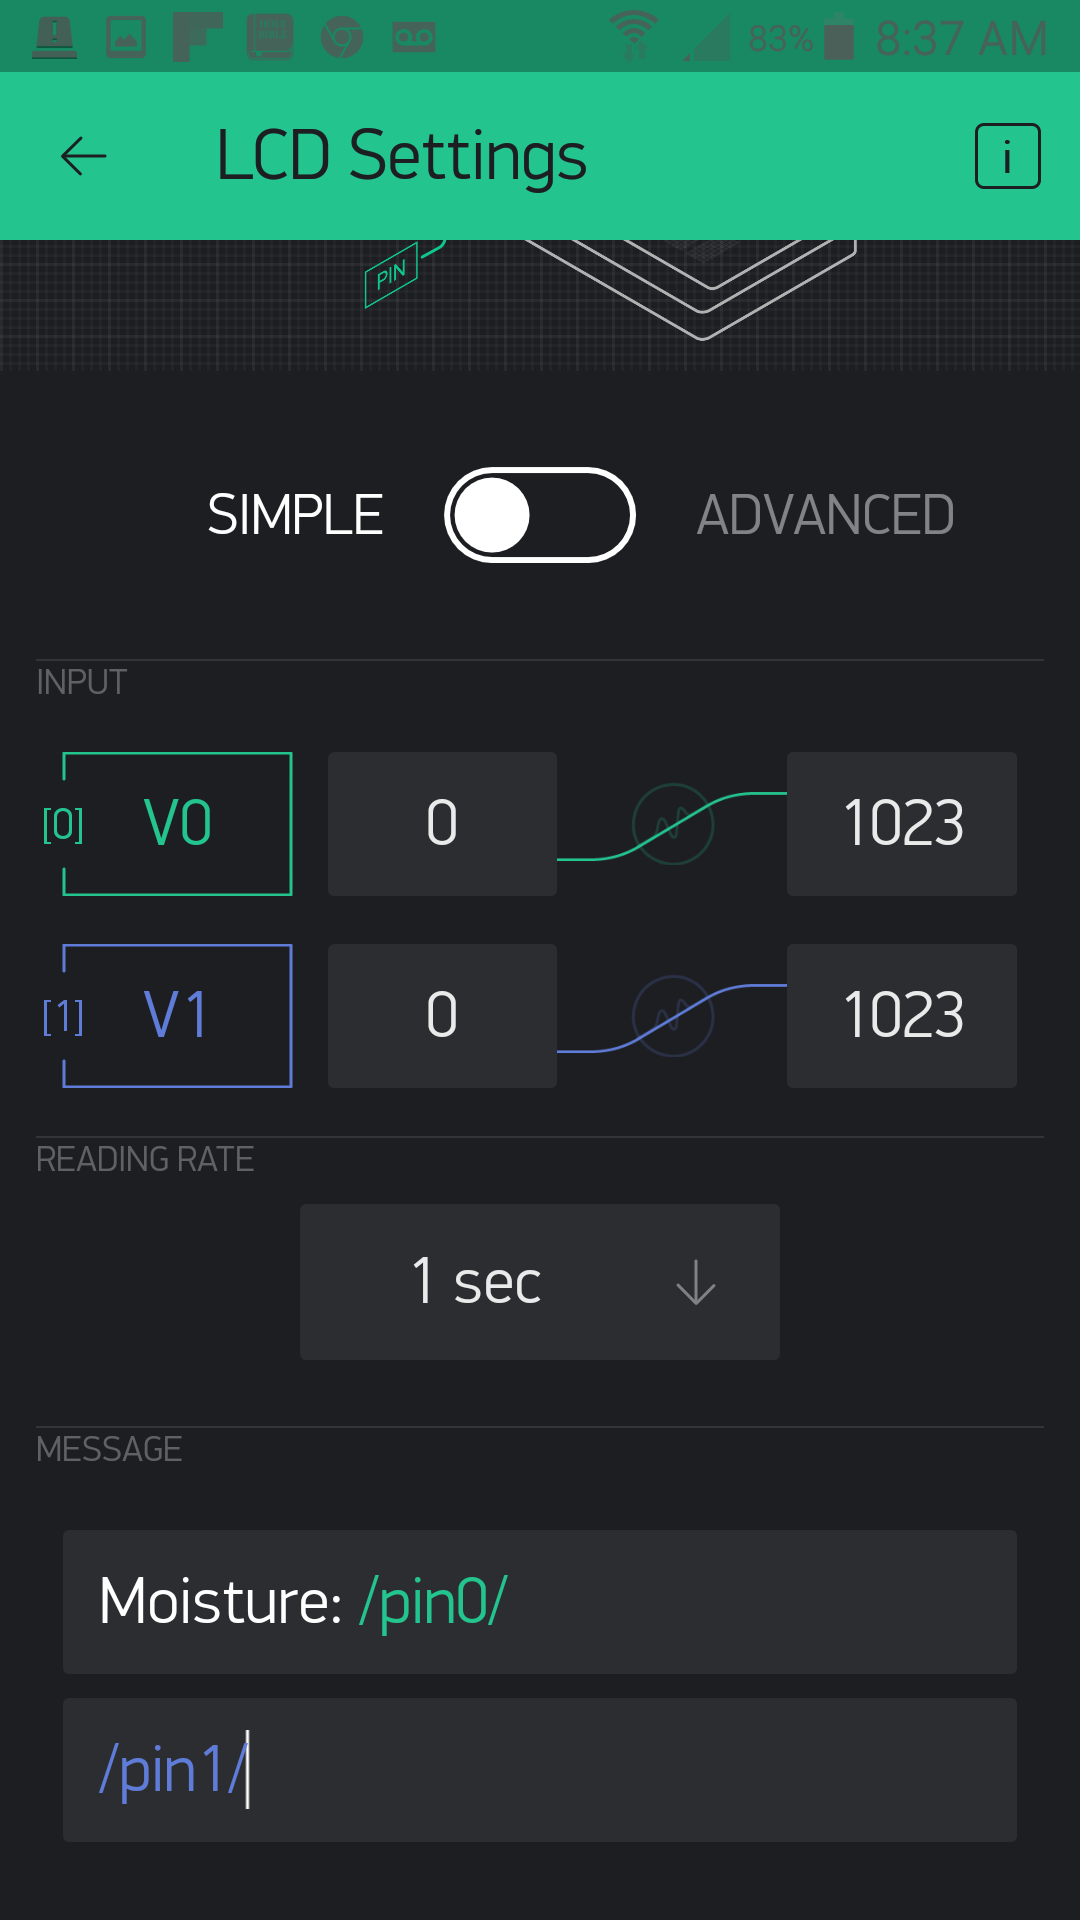
There are two rows to the message. In the first one we are going to display the raw moisture value. You can insert whatever test you want; we added "moisture: " and then /pin0/. Whenever you see /pin0/ or /pin1/ that is a placeholder for the data being sent to pins V0 and V1. Blynk will insert that data in its place. So, the second row will be whatever string of text is sent to pin V1 and will change as the moisture level changes.
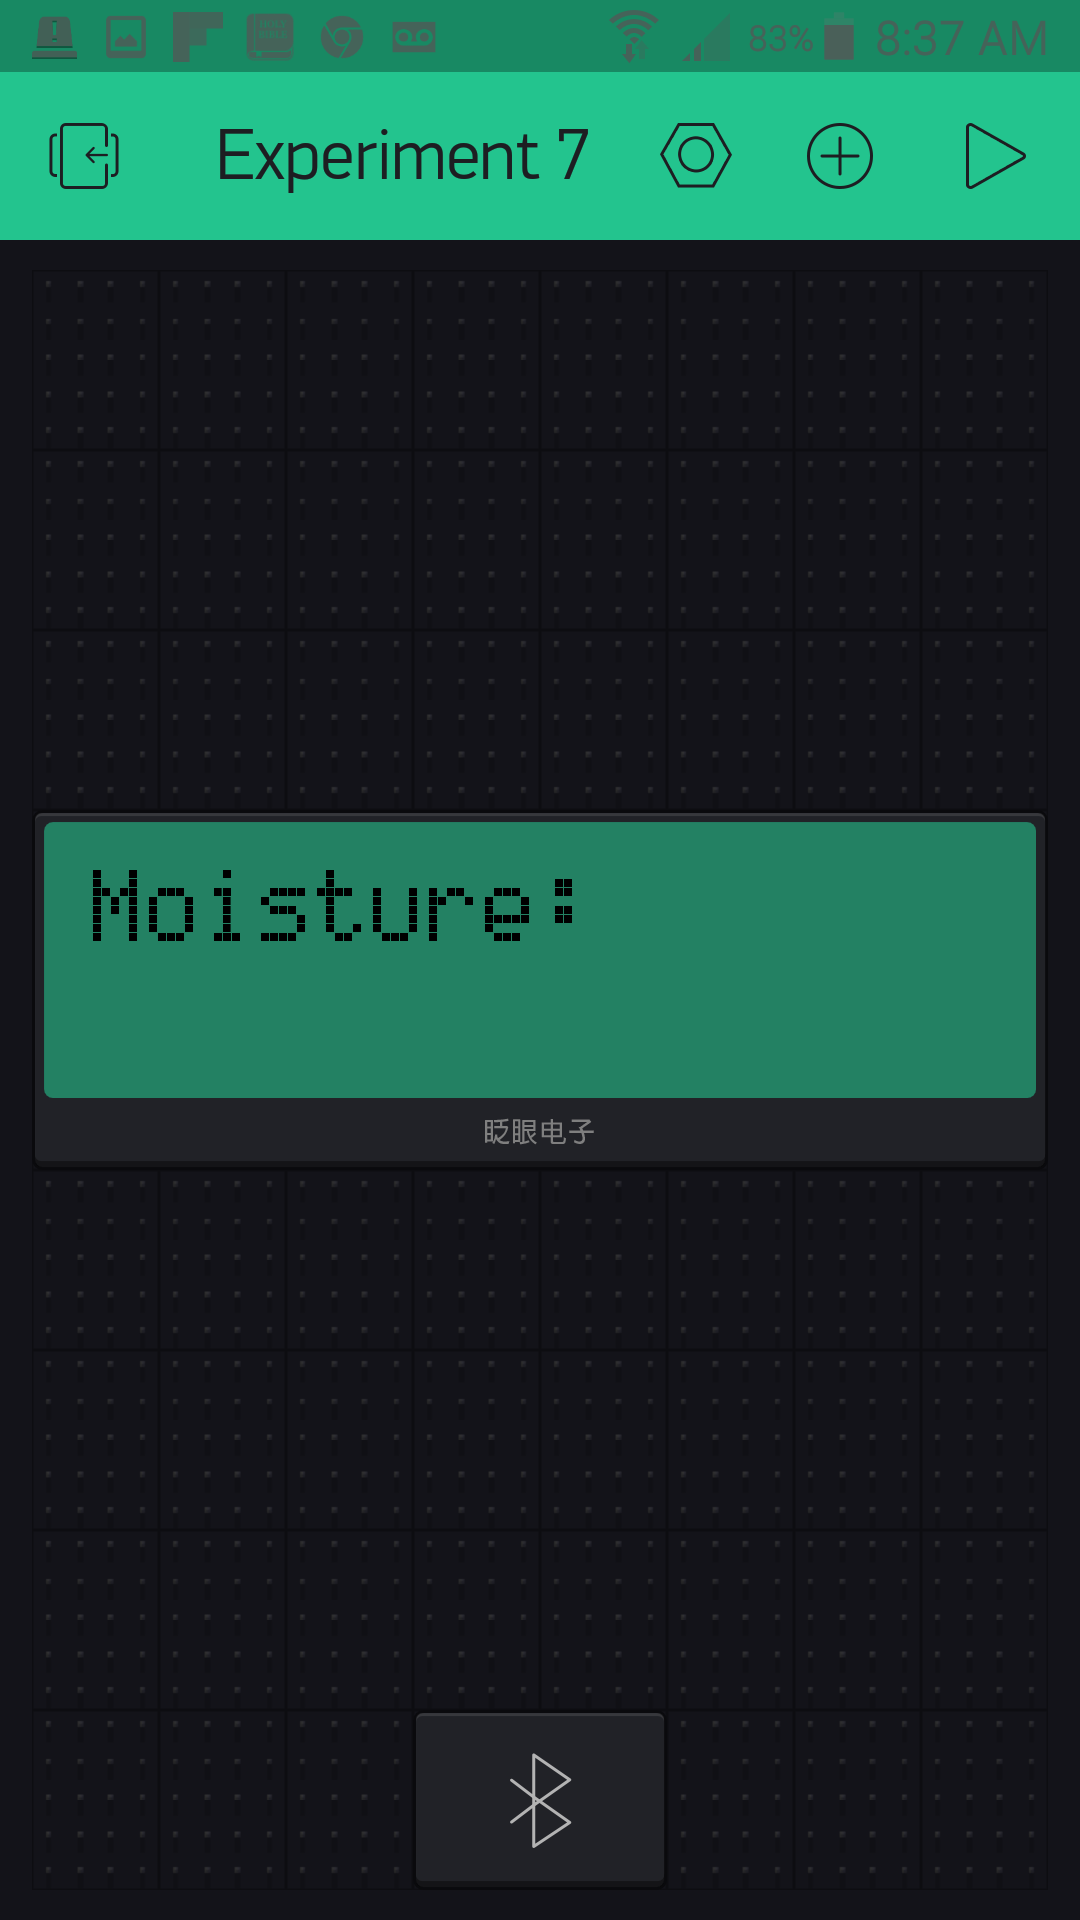
That's it! We told you this app would be simple, but powerful in terms of displaying data. Your app should look something similar to this before you upload and run your sketch.
Uploading Your Sketch
Open the Arduino IDE software on your computer. Coding in the Arduino language will control your circuit.
You can type out or copy and paste the following code into the Arduino IDE. Hit upload, and see what happens!
language:cpp
/********************************************************************************
SparkFun Around-The-Home SIK Expansion Kit, Experiment 7
SparkFun Electronics
Product URL

Detect the soil moisture of a potted plant using the Arduino 101 and then display whether you should water it or not through a Blynk app.

This example is written by: Derek Runberg, Educational Technologist

This sketch was written by SparkFun Electronics, with lots of help from the Arduino community.
This code is completely free for any use.

View circuit diagram and instructions at:https://learn.sparkfun.com/tutorials/around-the-home-expansion-kit

********************************************************************************/

//#define BLYNK_USE_DIRECT_CONNECT

/* Comment this out to disable prints and save space */
#define BLYNK_PRINT Serial


#include <BlynkSimpleCurieBLE.h>
#include <CurieBLE.h>

// You should get Auth Token in the Blynk App.
// Go to the Project Settings (nut icon).
char auth[] = "YOUR_AUTH_TOKEN";

BLEPeripheral  blePeripheral;

//Moisture preset values
int dry = 100;
int damp = 600;

//sensor pin constant set at A0
const int SENSOR_PIN = A0;

//create a BlynkTimer object called timer
BlynkTimer timer;

void setup()
{
  // Debug console
  Serial.begin(9600);

  delay(1000);

  blePeripheral.setLocalName("Exp_07");
  blePeripheral.setDeviceName("Exp_07");
  blePeripheral.setAppearance(384);

  Blynk.begin(blePeripheral, auth);

  blePeripheral.begin();

  Serial.println("Waiting for connections...");
  //set interval of 1 second to trigger the sendValues function
 timer.setInterval(500L, sendValues);
}

void loop()
{
  blePeripheral.poll();
  Blynk.run();
}

//custom function called sendValues
void sendValues() {
  //read moisture sensor value


}

BLYNK_READ(V0){
  int moisture = analogRead(A0);
  //write raw value to Blynk on pin V0
  Blynk.virtualWrite(V0, moisture);

  //if moisture is less that or equal to dry...
  if (moisture <= dry) {
    //write the string "I'm parched" to virtual pin 1
    Blynk.virtualWrite(V1, "I'm Parched!");
  }
  //else if moisture is greater than or equal to damp...
  else if (moisture >= damp) {
    //write the string "I'm drowning" to virtual pin 1
    Blynk.virtualWrite(V1, "I'm Drowning!");
  }
  else {
    //write the string "I'm good!" to virtual pin 1
    Blynk.virtualWrite(V1, "I'm Good!");
  }
}
Code to Note
If Arduino is not new to you, then you are well aware of the delay() command. It is how you slow down your sketch or deal within timing of things. But, as you may have noticed in previous sketches, sometimes using a delay() will cause latency, or the piling up of delay commands that add up to your sketch acting sluggish and not doing what you expect. Working with Blynk is really sensitive to this! The way this problem is solved is by using event functions within the Blynk library!
BLYNK_READ(V0){....}
Certain Blynk widgets have timed intervals at which they read or poll specific pins, either physical or virtual. There is an event function called BLYNK_READ(), which is triggered every time one of these widgets reads that pin. In this case, the LCD widget reads pin V0 once every five seconds. You can set this interval with the widget settings in your app. In this use case of a moisture sensor and a potted plant, you would probably want a longer interval, but we shortened it to make it more responsive for a better demonstration.
language:cpp
int moisture = analogRead(A0);
//write raw value to Blynk on pin V0
Blynk.virtualWrite(V0, moisture);
Within the BLYNK_READ() event function we read the moisture sensor on pin A0 and store it in a local variable called moisture. We then write this value to virtual pin V0 every time the Blynk app calls a read over pin V0. In this case, as stated before, every five seconds.
language:cpp
  //if moisture is less that or equal to dry...
  if (moisture <= dry) {
    //write the string "I'm parched" to virtual pin 1
    Blynk.virtualWrite(V1, "I'm Parched!");
  }
  //else if moisture is greater than or equal to damp...
  else if (moisture >= damp) {
    //write the string "I'm drowning" to virtual pin 1
    Blynk.virtualWrite(V1, "I'm Drowning!");
  }
  else {
    //write the string "I'm good!" to virtual pin 1
    Blynk.virtualWrite(V1, "I'm Good!");
  }
}
We use a series of if() statements to write different strings depending on the moisture level, from "I'm Parched" to "I'm Drowning" --- all using the Blynk.virtualWrite() method, but this time to pin V1. The great thing about virtual pins is that they are more buckets than pins. They can store pretty much any data you want to write to them. In this case, whole strings of characters.
What You Should See
Now, plug your project into the wall using the power supply and insert the moisture sensor into a potted plant, or if you don't have a green thumb, maybe just some soil outside.
Then open your Blynk app and connect to your project via BLE. The LCD screen on your app should display two lines. The first line should say "Moisture: XXX" with XXX being a number value. The second string should be one of the statements we wrote to pin V1..."I'm Parched!" or "I'm Good!" or "I'm Drowning!"
Add water to the soil and see what happens!
[Video]
Troubleshooting
Blynk Shortcut!
If you are having troubles duplicating the functionality above in the Blynk app, scan this QR code with Blynk to get a clone of this experiment!