Smart Home Expansion Kit for Arduino 101
 D___Run___
Setting Up Blynk and the Arduino 101 Board
To make sure everything works smoothly and to ensure that your Arduino 101 board works seamlessly with the device you are going to use to control it with we have some specific steps for you to take to properly configure your Arduino IDE.
Arduino 101 Board Definitions and Libraries
Blynk over BLE with the Arduino 101 requires you to install the newest Blynk Arduino library which needs to be installed through downloading it from gitHub. It also requires you to use an older version of the Arduino 101 board definition files. This portion of the guide will walk you through getting your Arduino environment setup.
Board Definition Files
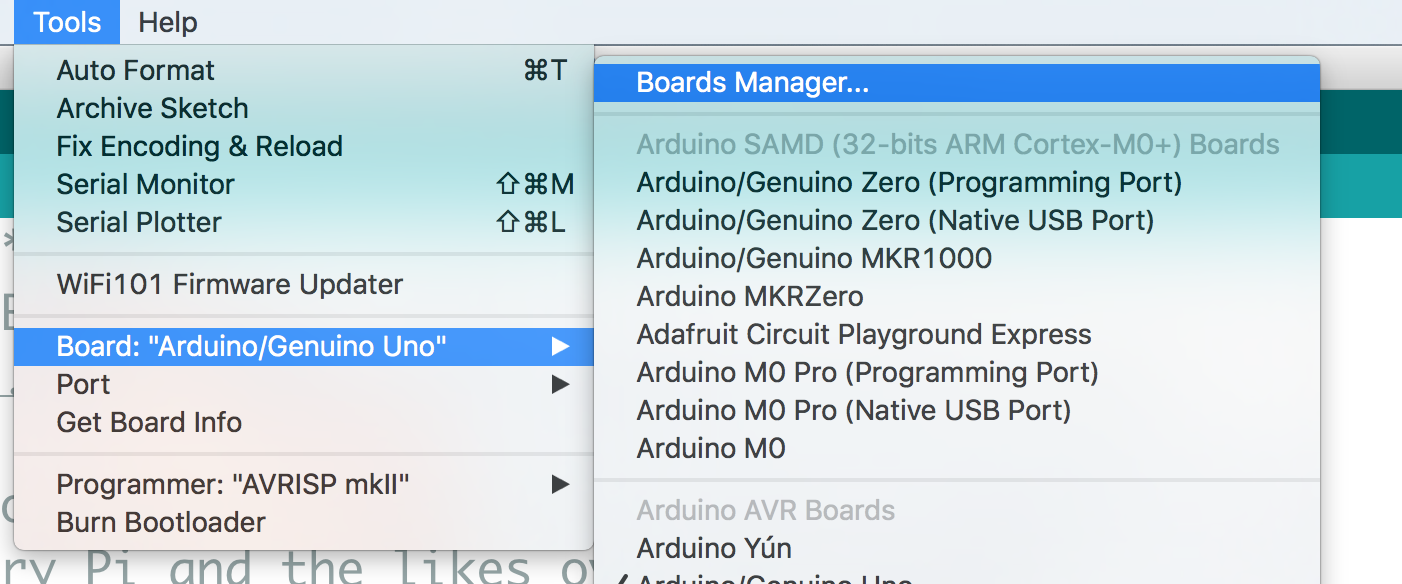
When you installed the Arduino 101 in your Arduino IDE you probably installed the most recent board definition file. Depending on when that was, you may need change that version. To check your board definition version select Tools > Board: > Boards Manager...
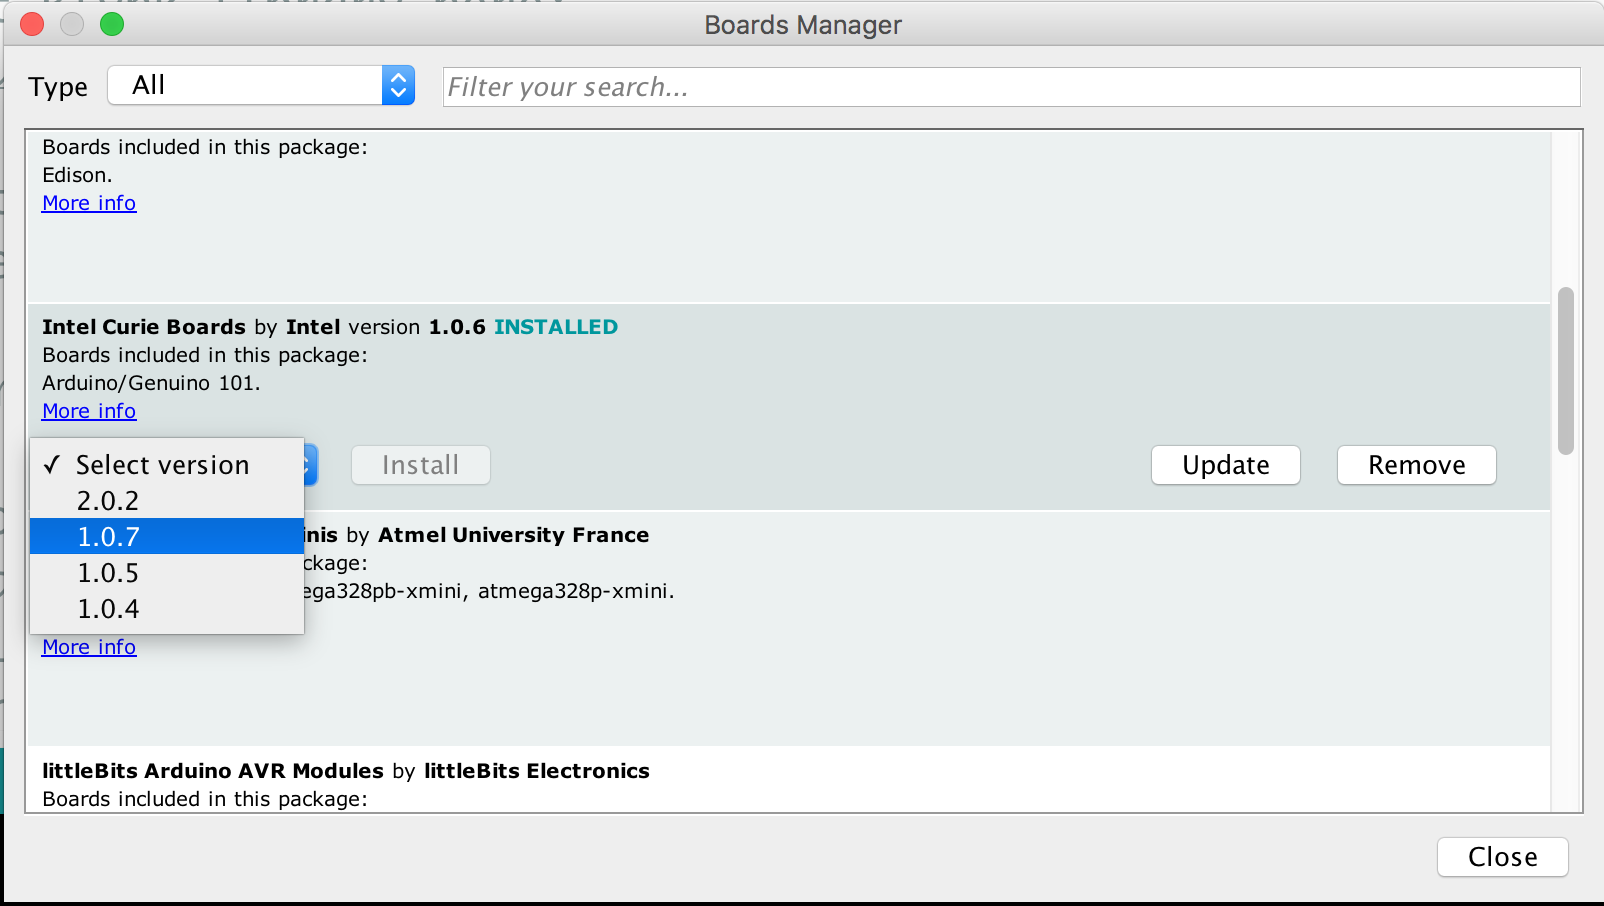
Once you open the boards manager scroll down to your Intel Curie boards and select it. Your board definition file version should be next to the "Intel Curie Boards" title. If the version is higher than 1.0.7 you need to install an older version. To do this use the version drop down menu and select 1.0.7 and click "install". This will change your board definitions.
Finally, for these board definition files to take effect restart your computer.
If You Need to Walk Your Board back to 1.0.7
If you have been working with an Arduino 101 board that has the newest firmware on it (2.2.0) you will need to rewrite the bootloader firmware of the board. To do this, be sure that you have installed the 1.0.7 board definitions as shown above. Then connect your Arduino 101 Board to your computer using a USB Cable and in the Arduino IDE set your board to Arduino/Genuino 101 (Tools > Board > Arduino/Genuino 101) and set your correct port (Tools > Port > COM## (Arduino / Genuino 101).
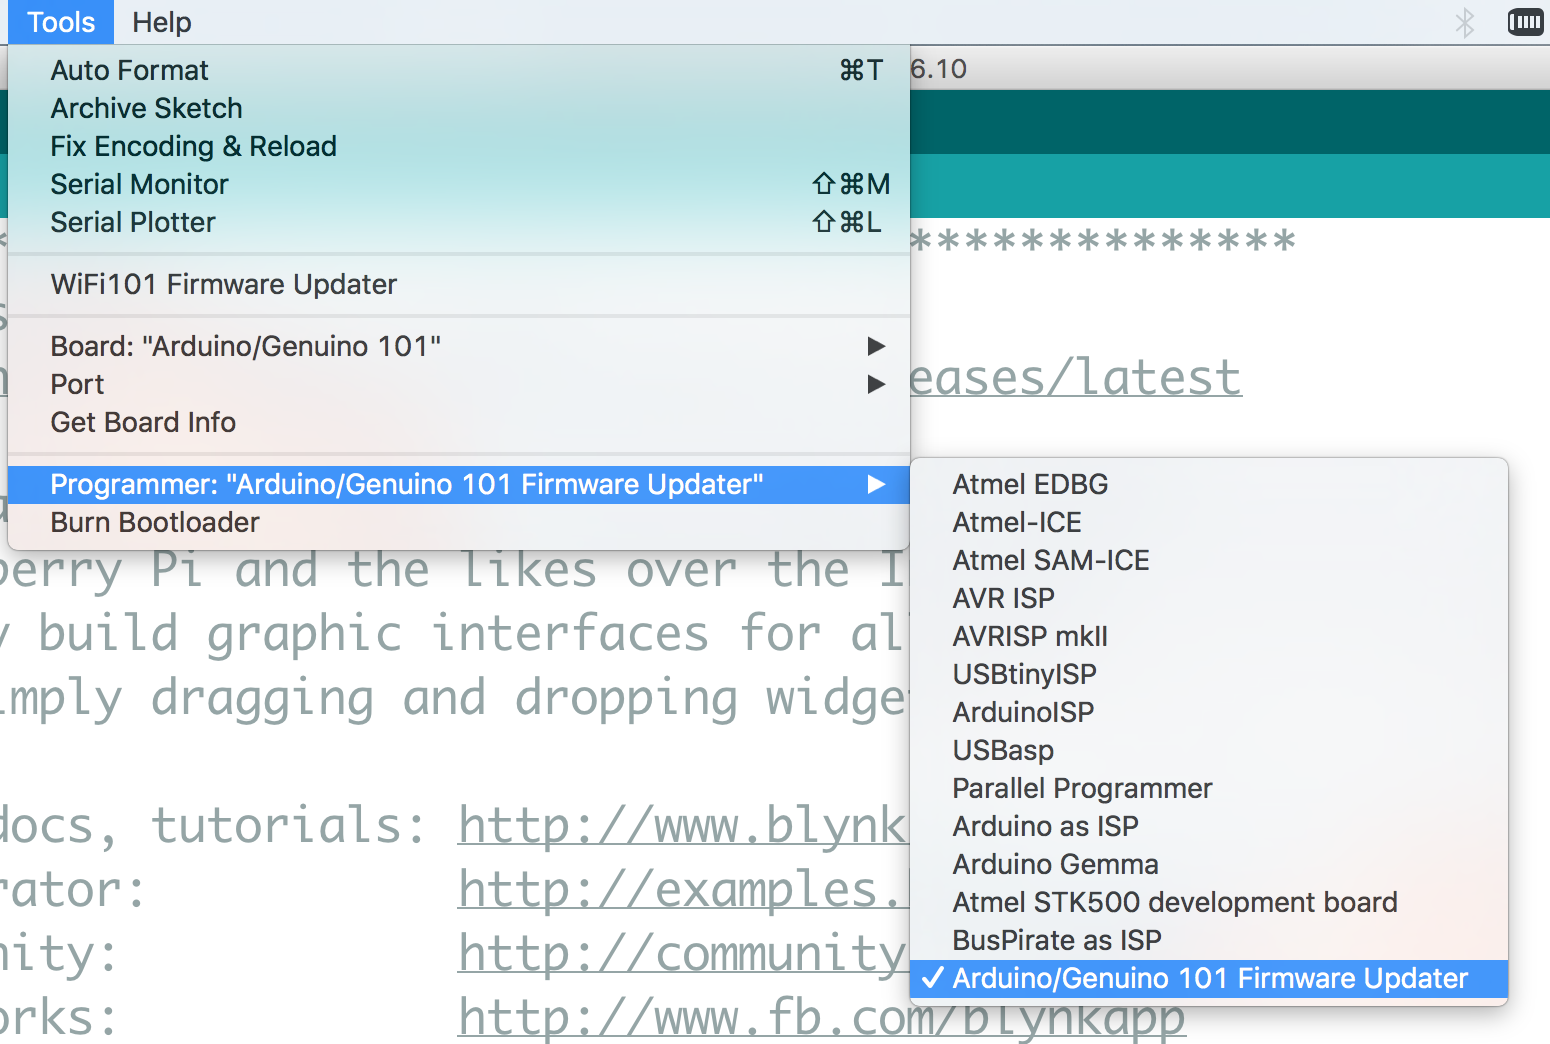
Next, select your programmer by selecting Tools > Programmer > Arduino / Genuino 101 Firmware Updater
Finally, burn the firmware (bootloader) by selecting Tools > Burn Bootloader
You will see the firmware updater stream by in the Arduino IDE console. If you succeeded in updating / back dating your version to 1.0.7 you should see the following output.
Installing the Blynk Libraries
Yes, the heading is not a typo, blynk is actually multiple libraries to make it easier for you in the long run. But, this requires a bit more leg work on your part at the beginning. You need to download the zip file of the library and install it manually. To do so click the button below to download the most current version of the library.
This should download to your Downloads folder, or wherever you have specified your browser to install.
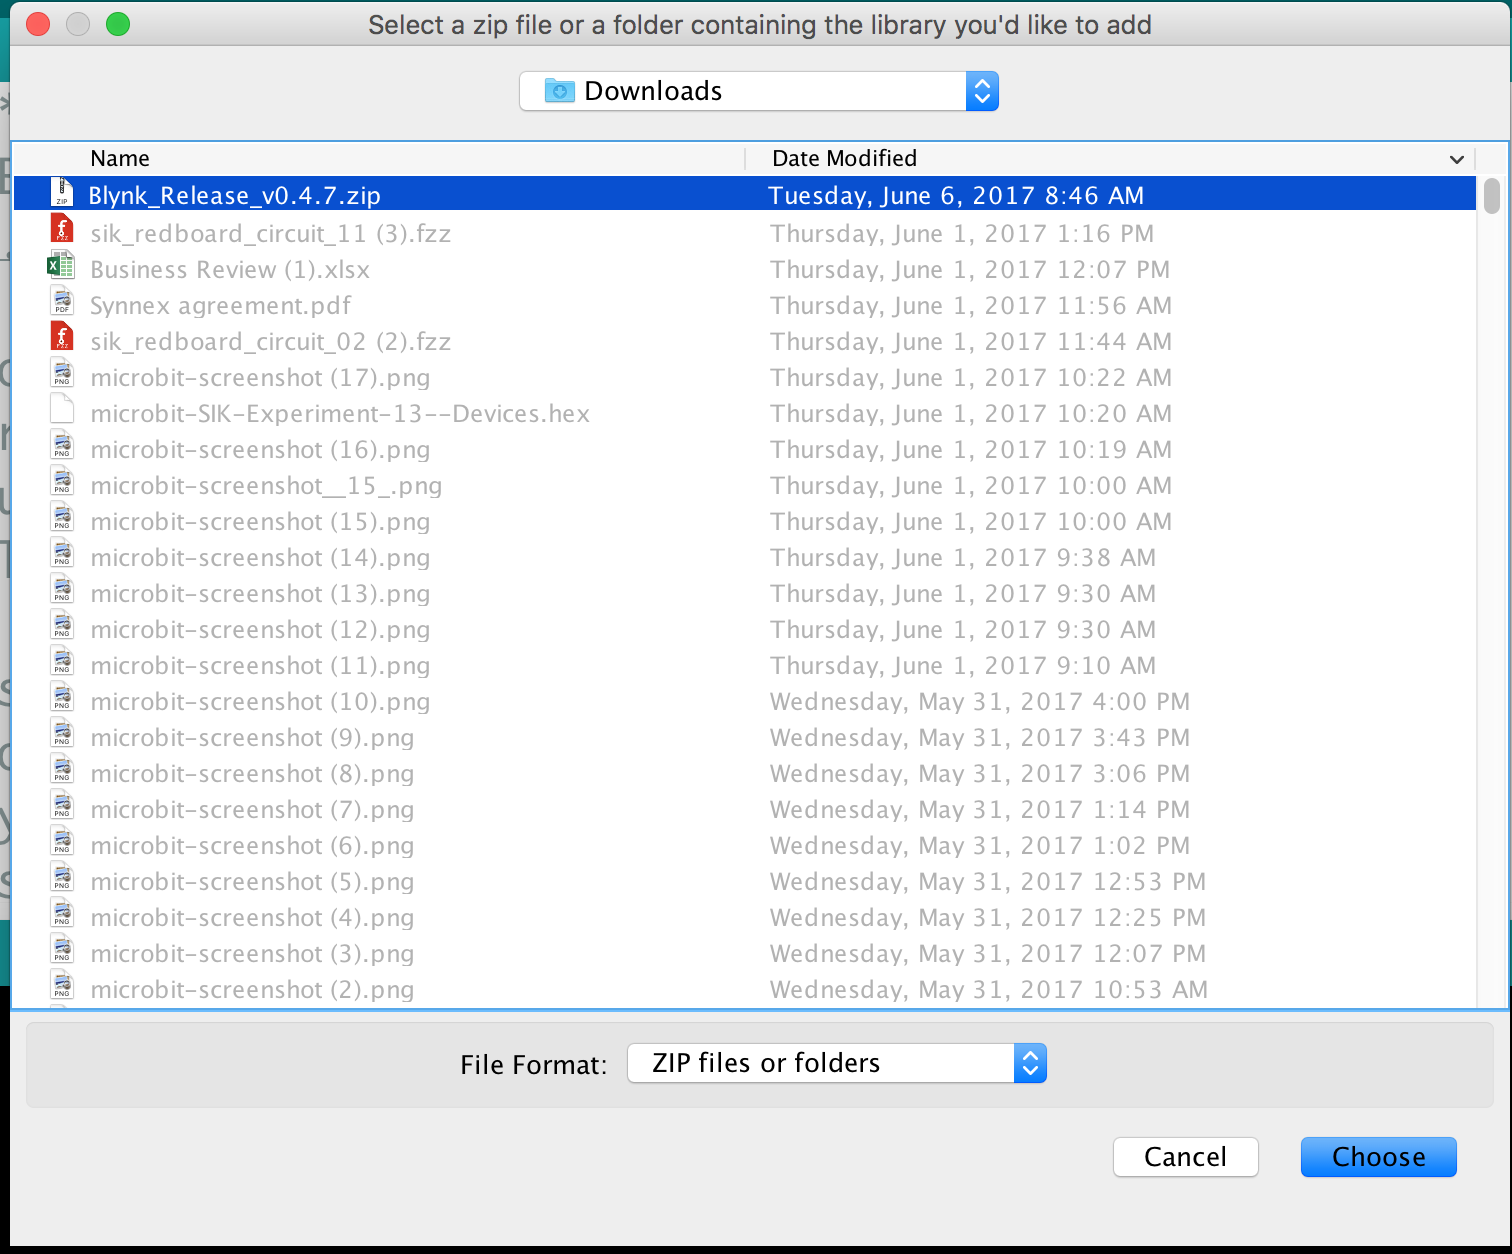
Next, in Arduino navigate to Sketch > Include Library > Add zip Library.... Point the dialog box at the zipped version of the library you just downloaded and select "choose".
This will unzip and install the library for you. You may need to restart Arduino for the library to be visible in your drop down menus.
With that you are ready to go on the hardware side of things, now to get the Blynk app up and running on your phone!
The Blynk App
The Blynk smartphone app comes in two flavors: iOS and Android. But, BLE is only supported by Andriod devices at this time! Before going any further, download the app to your smart device:

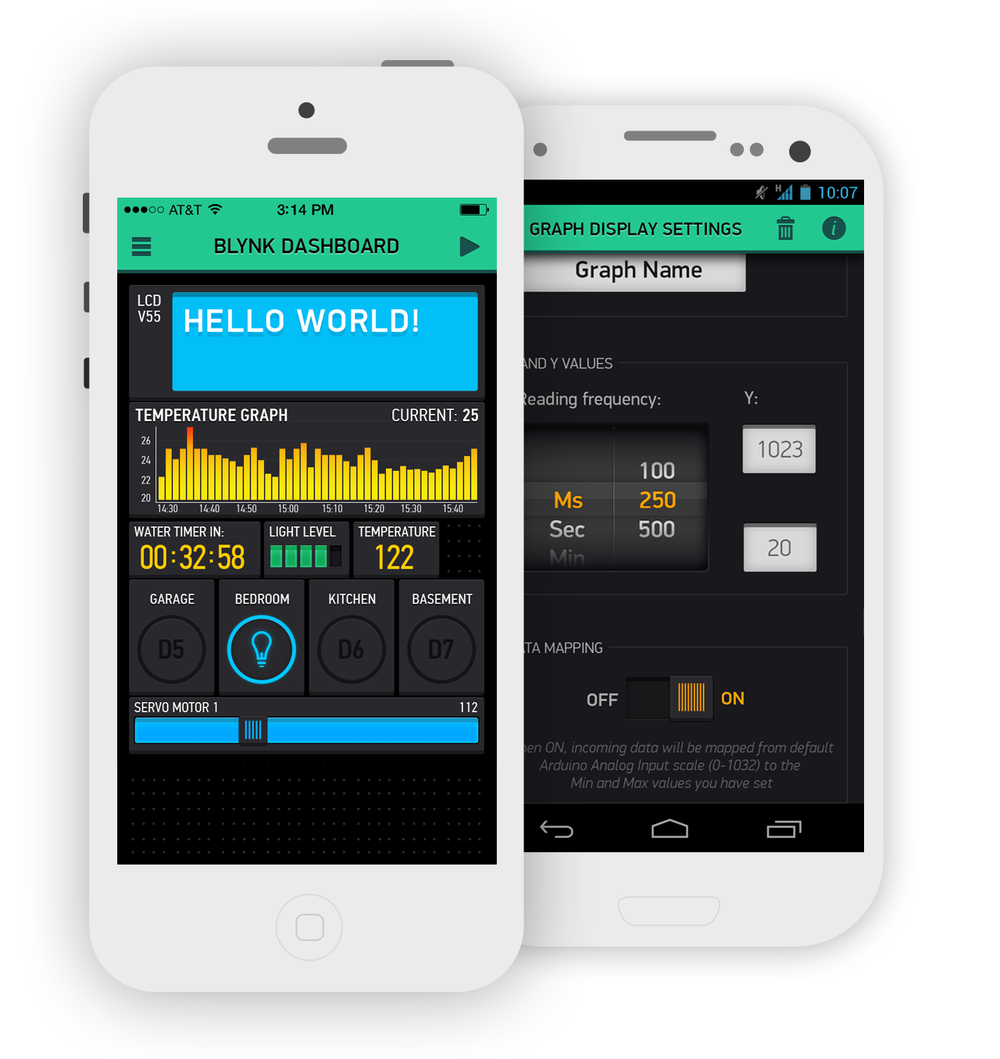
The Blynk app is compatible with Android devices running any version above or equal to 4.0. Blynk was originally designed to control your DIY electronics projects through WiFi. In recent releases Blynk has adopted the ability to control your projects through Bluetooth/BLE, which is exciting for us because that includes support for the Arduino 101!

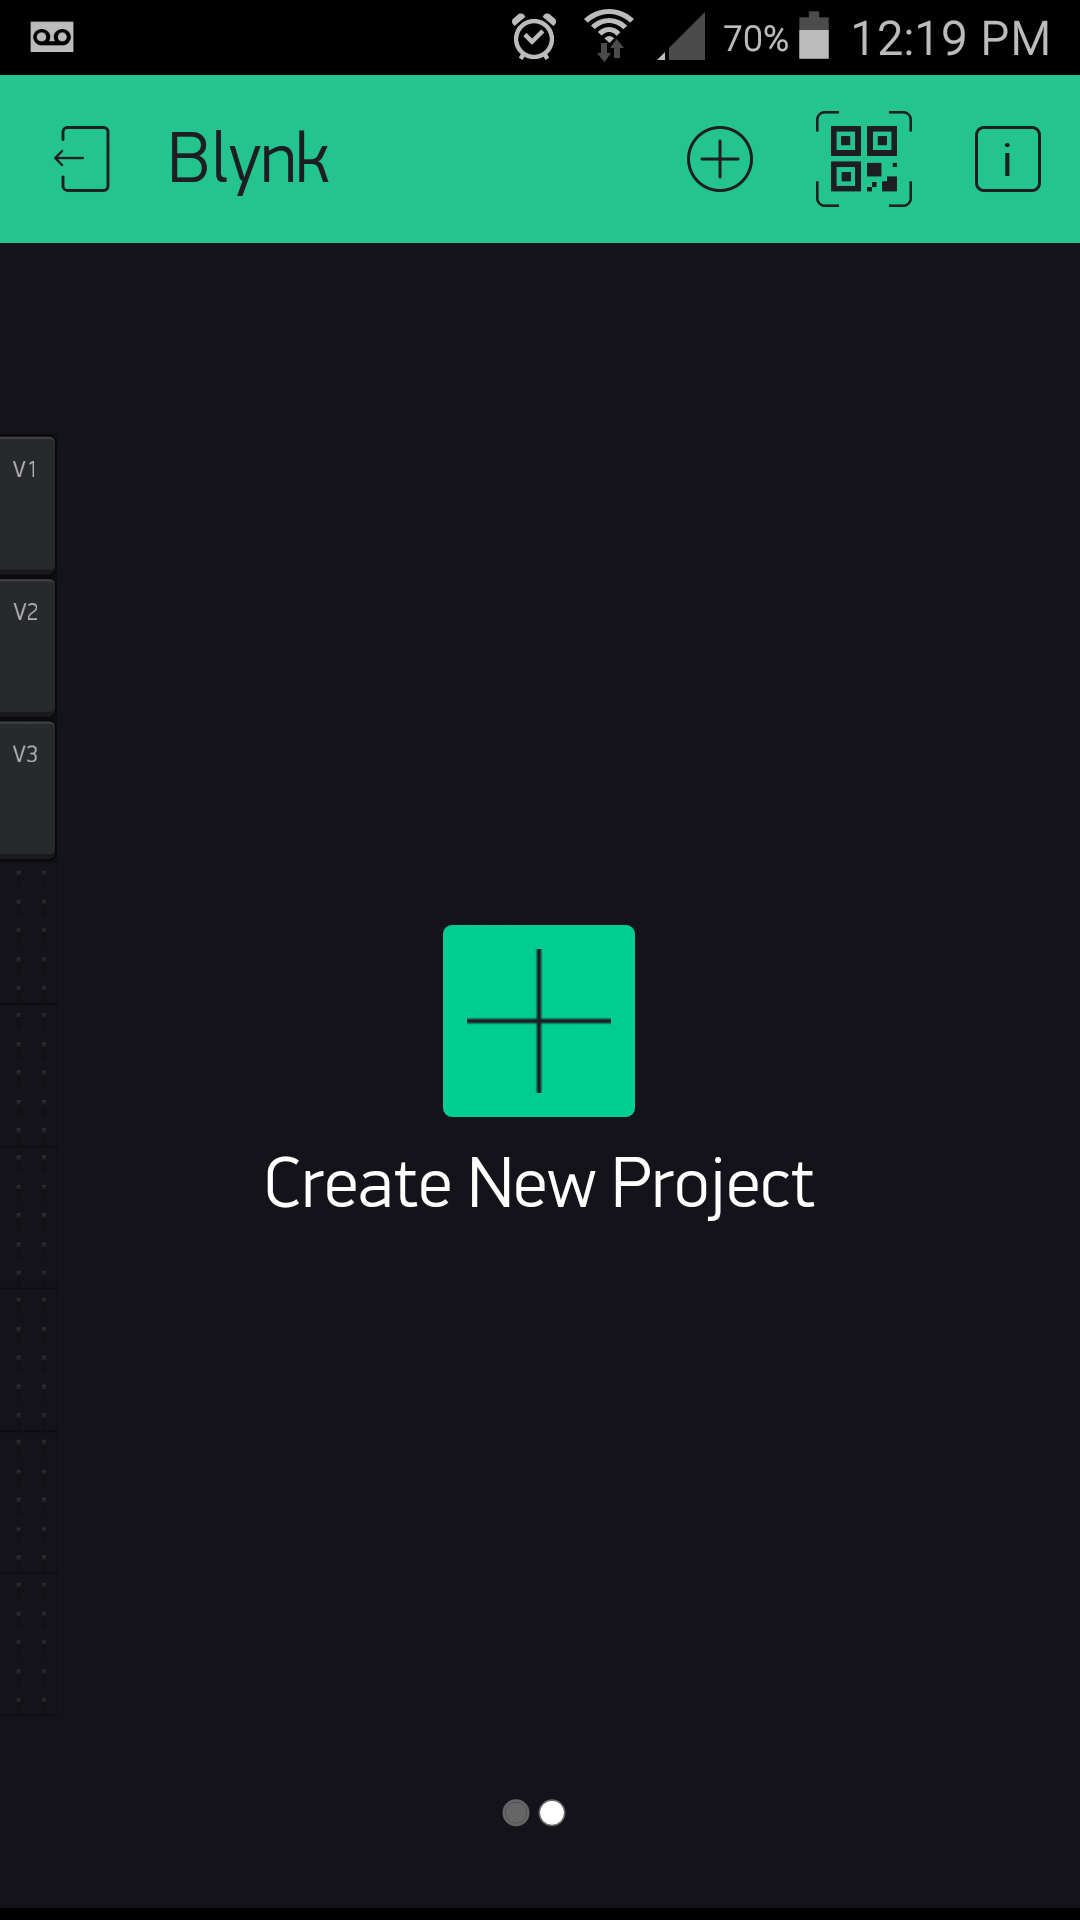
Once you have installed Blynk on your phone or tablet, you can create a project in your app.
Once you name your project, you can select a board and communication method. In this case you should select Arduino 101 and BLE.
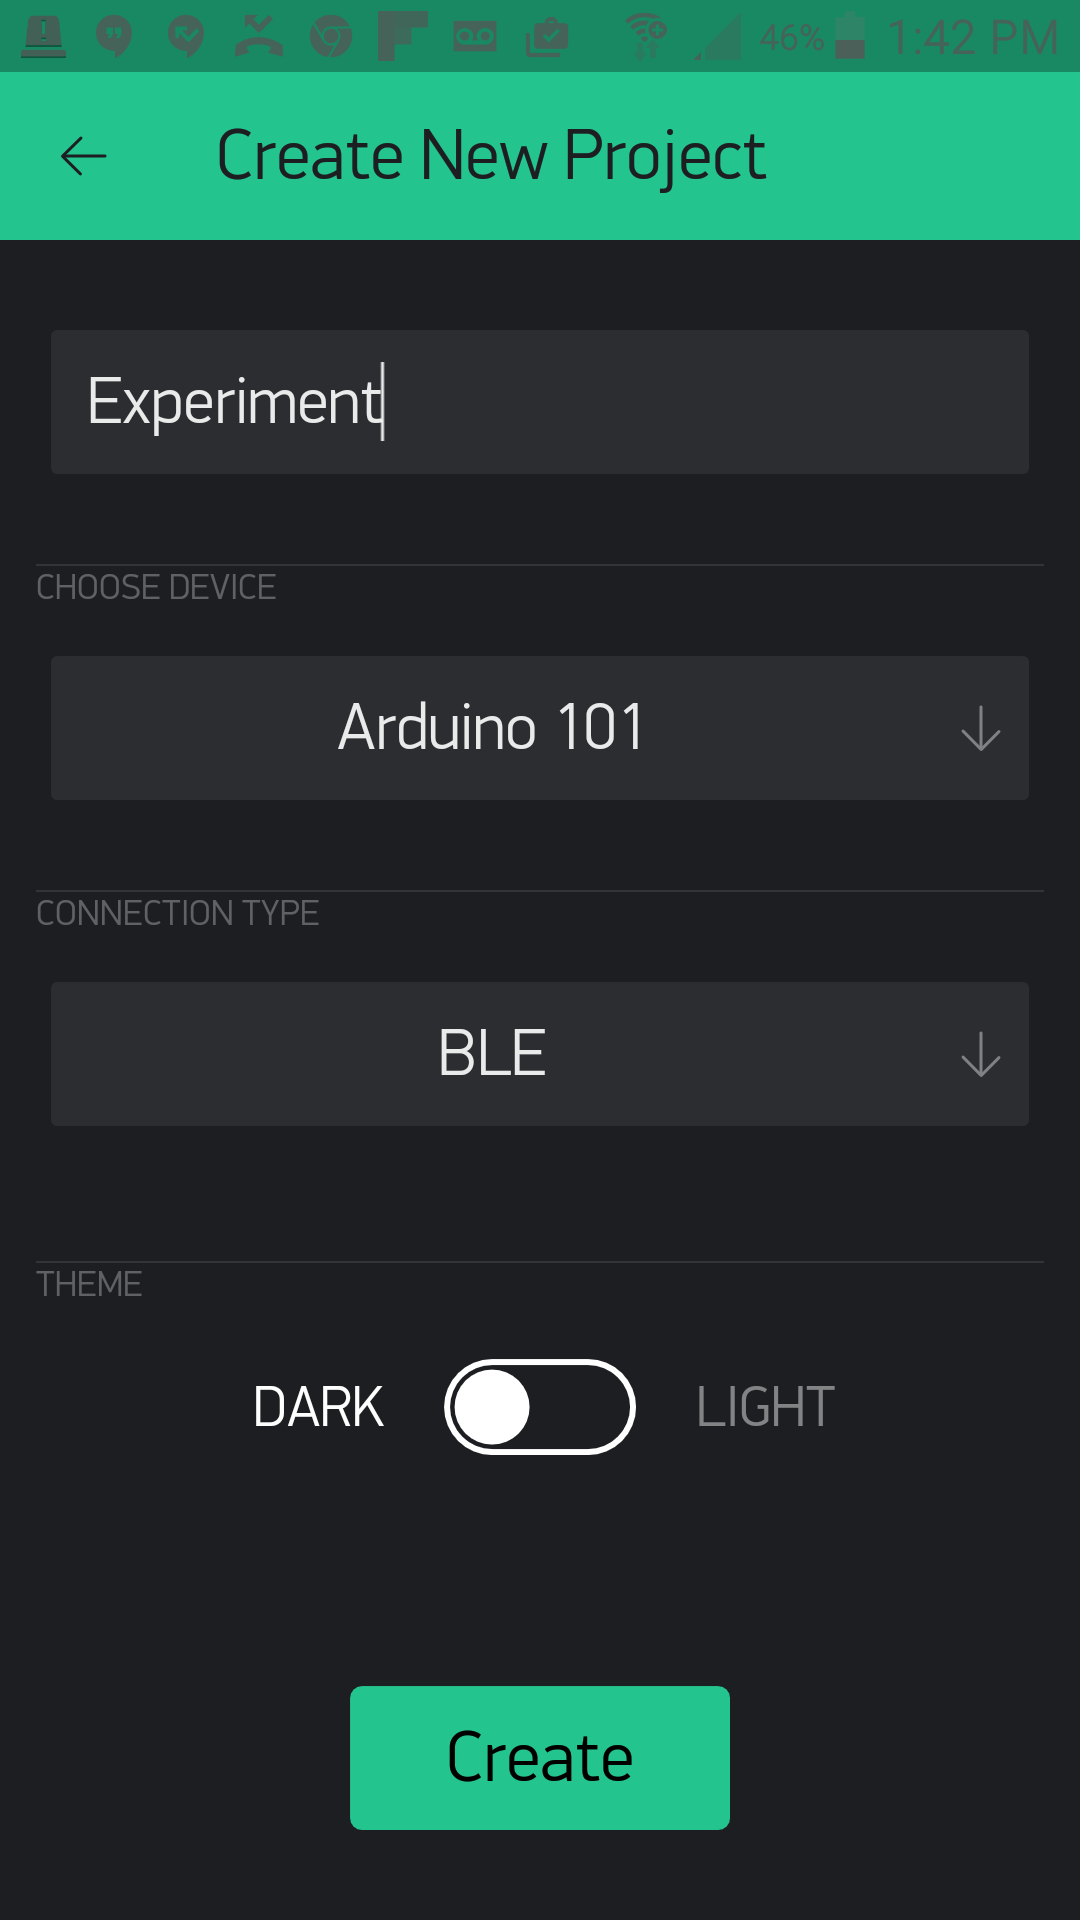
You can then create your app and start to add widgets to it!
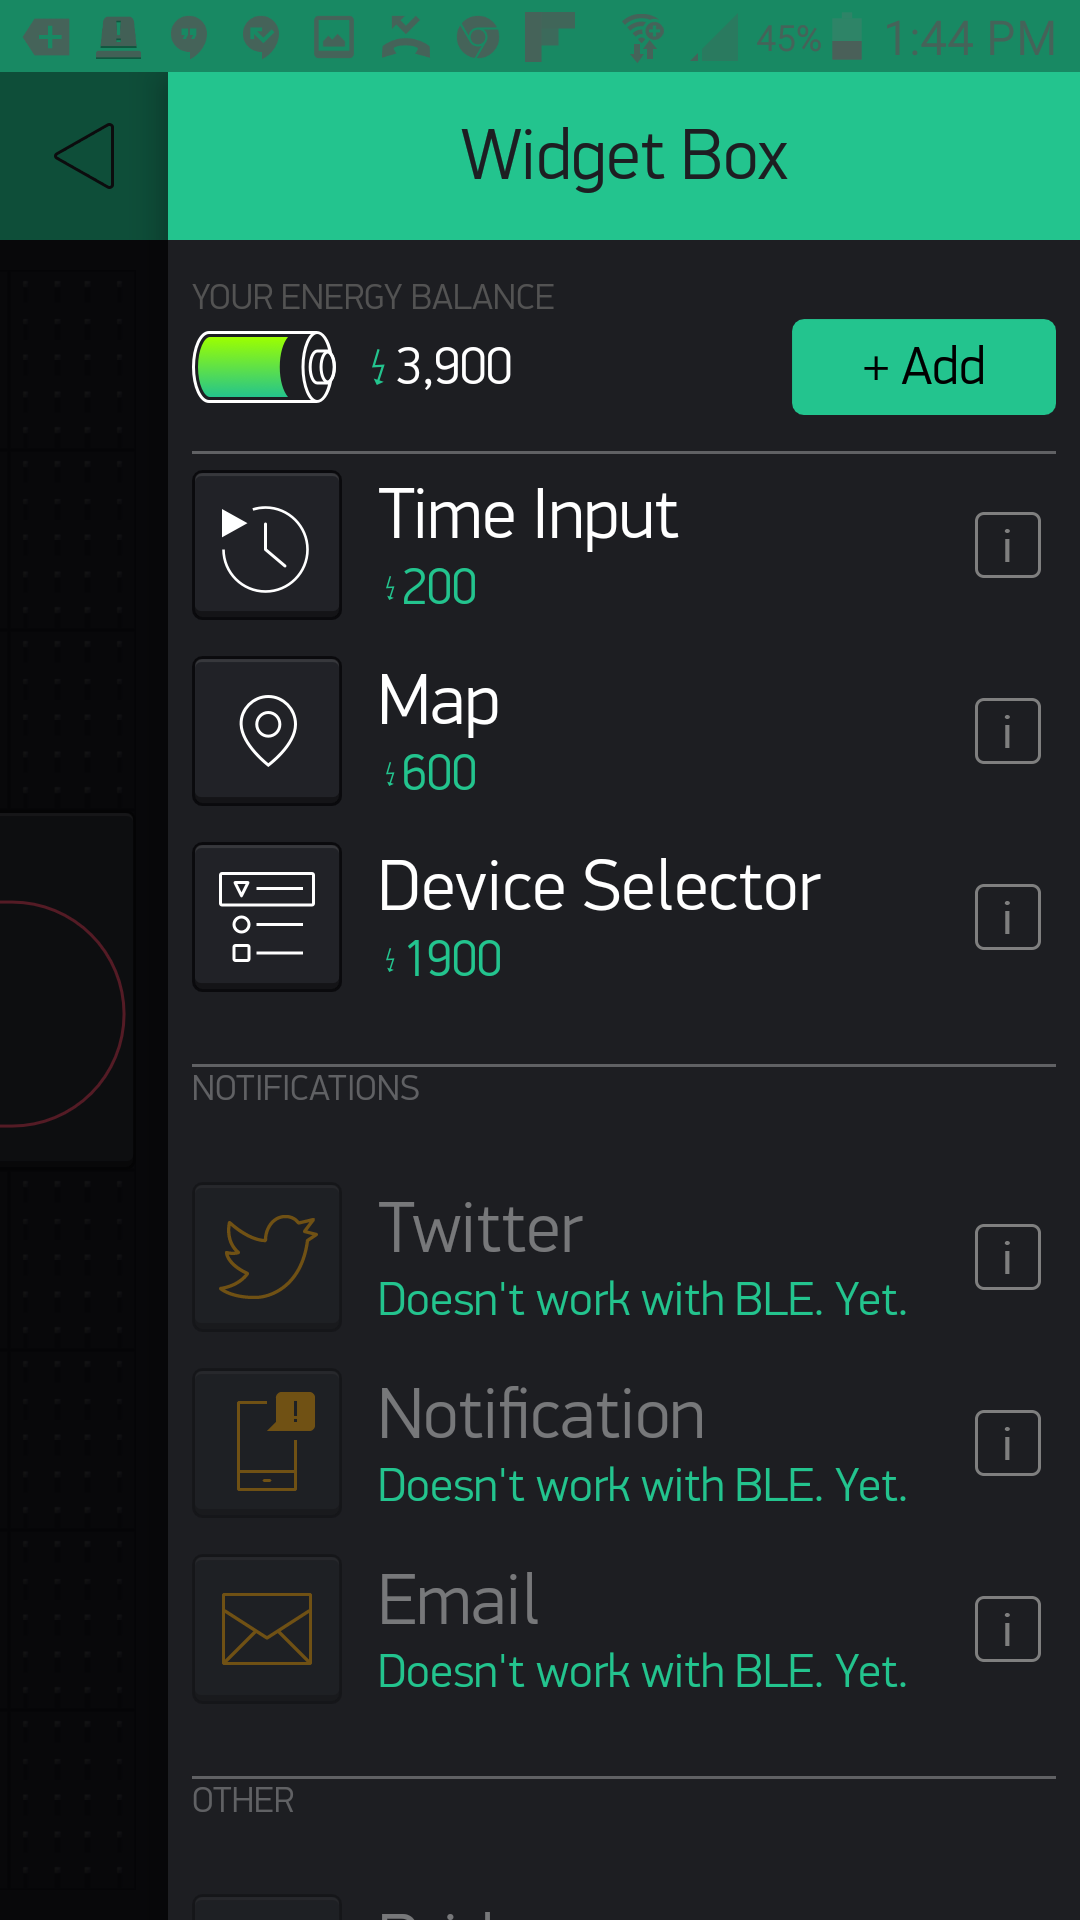
Blynk With BLE Has Its Limits
We want to make sure you realize that at this point using Blynk over BLE limits the options of different widgets and tools you can use in your Blynk apps. Once you add the BLE widget to your app, you will notice that other widgets will be grayed out, accompanied by a note about them not being supported yet.
Blynk is well-maintained and updated regularly, so we foresee more and more of these widgets becoming available over time. For now, this documentation uses the widgets that are supported by BLE, and we will update this guide with more experiments as new widgets are supported for use with the Arduino 101 board.