Smart Home Expansion Kit for Arduino 101
 D___Run___
 Introduction
Expanding From the SparkFun Inventor's Kits
Probably the top question we get from returning customers is, "So, I finished a SparkFun Inventor's Kit...what do I do now?" We have never really had a concrete answer...until now.
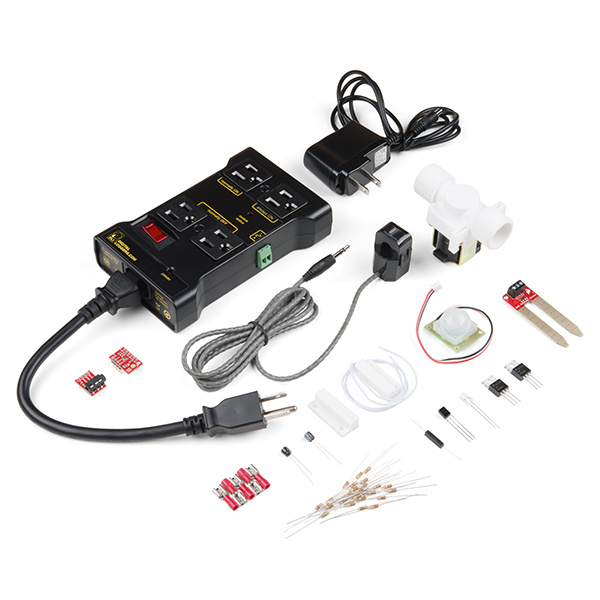
SIK Expansion Kit - Smart Home
KIT-14156We know that our SparkFun Inventor's Kit (SIK) line of products helps build a great foundation for building circuits and programming a development board to control those circuits. But, if you want to build your own robot, explore the Internet of Things (IoT) or even track the weather in your backyard, it is a big step to take on your own if your only background in electronics is the SIK, the Arduino 101® SIK or the SparkFun Tinker Kit.
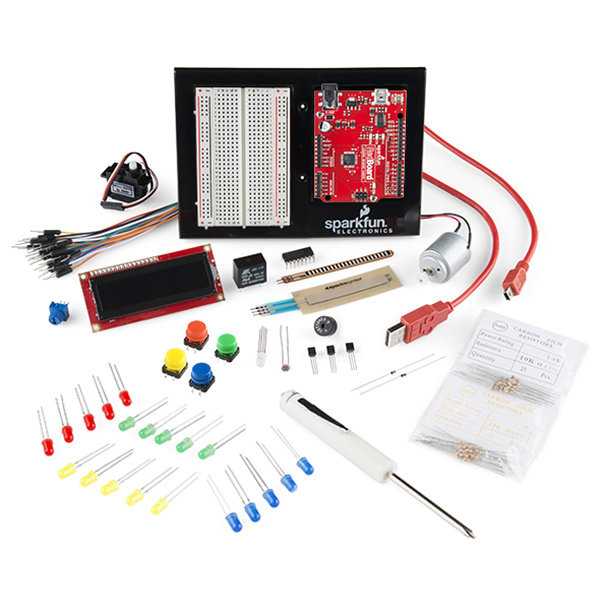
SparkFun Inventor's Kit - V3.3
KIT-13969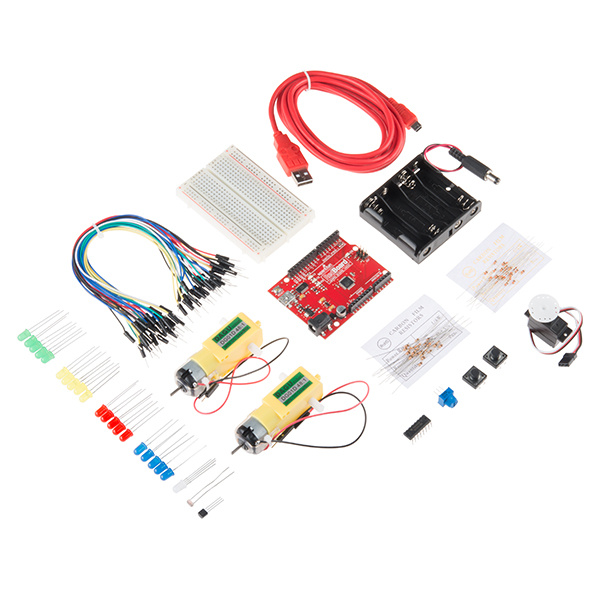
SparkFun Tinker Kit
KIT-13930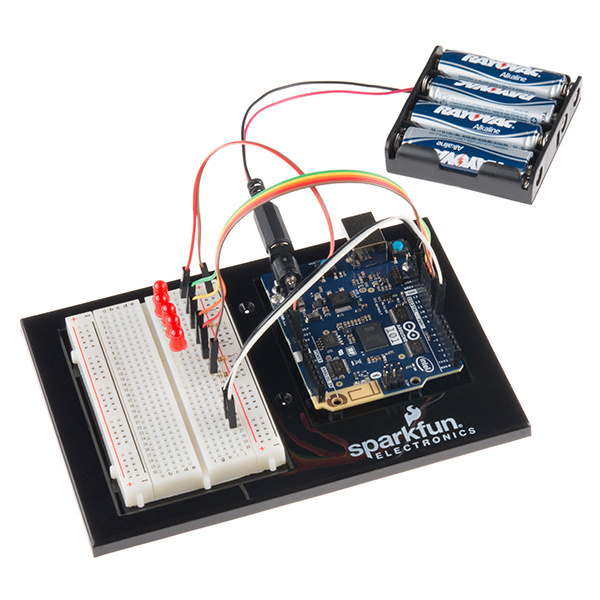
SparkFun Inventor's Kit for Arduino 101
KIT-13844So, we are developing Expansion Kits that are designed to work with our Inventor's Kits to help you dive deeper into the concepts, circuits and code required to build more complicated projects with specific themes in mind.
Smart Home...What Is It?
Here at SparkFun we are always hacking our lives to be easier, faster and just plain cooler with the electronics we build and use. Even though we may like to portray the idea that we live and breathe the office, most of us spend a good deal of time at home, so it is just natural for us to hack our homes.
We have packaged the top sensors and actuators that we have used for hacking and modifying our homes into a single kit to make your life easier and more connected. This guide will be your road map to making your house smarter and more in tune with your life.
You probably bought this kit because you have a voice in your head saying, "I really wish I could detect when a door is opened," or maybe, "How can I tell when my sister has been in my room?" Fear not; this kit will help you answer those questions, but be warned...it will also raise just as many new questions, if not more, which we consider a good thing.
Automation vs. IoT
There is a huge misconception at the moment around home automation. When it comes to a smart home, sometimes the best solution is not always an Internet of Things (IoT) option, especially in terms of security. Sometimes the best solution is not connected to anything at all, but may be the right sensor or actuator for the job used in a creative way.
With that being said, home automation is a great application point for IoT concepts of connectivity, GET requests and interconnected devices. This kit can easily be used with your favorite web-enabled microcontroller to build a number of IoT projects.
This guide, however, will focus on the automation side of things, using the Arduino 101 board and its onboard Bluetooth Low Energy (BLE) capabilities paired with a phone app called Blynk. The focus is on how to make things happen automatically, or at least with minimal control/input from you, to make your life easier, faster and smarter.
A Touch of Blynk
If you have already gone through the SIK for the Arduino 101 board, you have already dabbled a bit with the onboard BLE aspect of the board. Well, this guide will take a deeper dive into BLE using the Arduino 101 board with a smartphone app called Blynk. A number of experiments leverage Blynk in a way that makes sense to give you remote control or sensing capabilities. We don't use Blynk in every experiment, but all circuits have the potential to be integrated into a Blynk project on your own. By the end of this guide, you should be well-versed enough in Blynk and the circuits to go back and build your own around the home Blynk projects.
Choose Your Own Adventure!
This guide is specifically written for the Arduino 101 board to leverage the onboard BLE when using Blynk. But if you have a different development board you are using --- or an Arduino with a WiFi shield, BLE shield or even just a standard UNO tethered to your laptop --- you can still follow along with this guide!
Here are a couple of components that will help you connect your Around-the-Home Kit to Blynk with BLE, WiFi or something else!
BLE
The Arduino 101 board has onboard BLE support for Blynk, but there are a number of other boards and shield that you can connect to Blynk using BLE. Here are a few that we carry, but you can always look up supported hardware on the Blynk website for the most up-to-date hardware list!
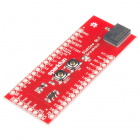
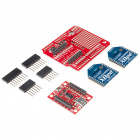
SparkFun Simblee BLE Breakout - RFD77101
WRL-13632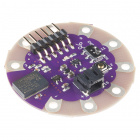
LilyPad Simblee BLE Board - RFD77101
DEV-13633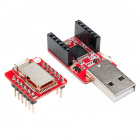
RedBearLab BLE Nano Kit - nRF51822
WRL-14071Wired (Ethernet)
Blynk works through an ethernet connection and is as simple as adding an Ethernet shield to your UNO, using a Yun or even a Raspberry Pi or Tessel 2 if you want to go fancy!
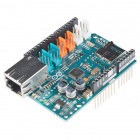
Arduino Ethernet Shield 2
DEV-11166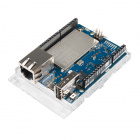
Arduino Yun
DEV-12053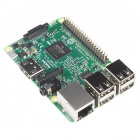
Raspberry Pi 3
DEV-13825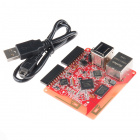
Tessel 2
DEV-13841WiFi
The next layer of connectivity with Blynk is using WiFi. This is by far the most flexible way to connect to your project and offers a truly IoT experience, with your project being able to connect to WiFi that it is within range of and you being able to control and monitor your project from anywhere you have cellular data. There are a number of board options, including a Blynk Board, the ESP8266/ESP32 Thing Boards, and the Intel Edison.
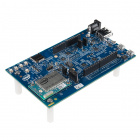
Intel® Edison and Arduino Breakout Kit
DEV-13097
SparkFun Blynk Board - ESP8266
WRL-13794XBee
This has the farthest range of the options above (without going to a cellular development board) but is still tethered to a computer for serial connection. XBee can be used as a USB cable replacement when you are talking to a development board over serial connection. As with the Blynk tethered option, this gives you wireless communication while not having access to a WiFi infrastructure. To explore using XBee with Blynk, check out the kit below and this documentation on using Blynk with an Arduino and no shield.