Qwiic Kit for Raspberry Pi Hookup Guide
This Tutorial is Retired!
View the updated tutorial: Qwiic Kit for Raspberry Pi V2 Hookup Guide
 M-Short,
  bboyho
Configure Your Pi
We are going to assume you already have a Raspberry Pi up and running with Raspbian. We'll also assume that it is connected to the Internet. If not, check out our starter kits and tutorials on setting up a Raspberry Pi.
Raspberry Pi 3 Starter Kit Hookup Guide
Make sure to update the image so that we have the latest distribution. Enter the following commands in the command line individually to update your image.
language:bash
sudo apt-get update
sudo apt-get dist-upgrade
sudo.User Configuration Settings
Once you are set up, I highly recommend changing your password. At this point, we are going be dealing with the Internet of things and don't want unsavory characters sneaking into your system using the default login: (username: pi, password: raspberry).
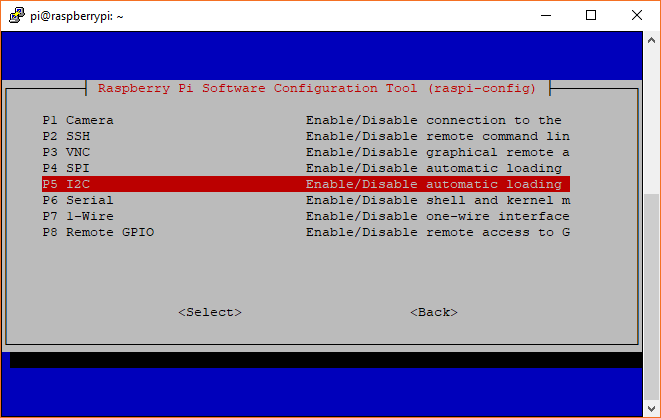
The raspi-config tool is a quick way to change your password as well as setup the network, language, keyboard, etc. Type the following command using the command line and then go through the menus to update your information.
language:bash
sudo raspi-config
You'll want to enable the I2C pins using the tool to read the sensors on the I2C bus.
I2C Clock Stretching
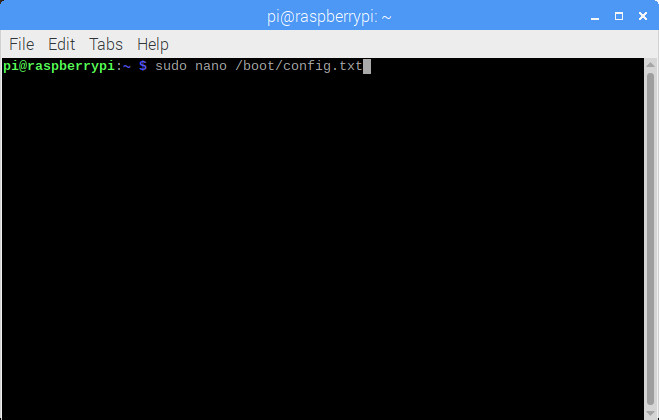
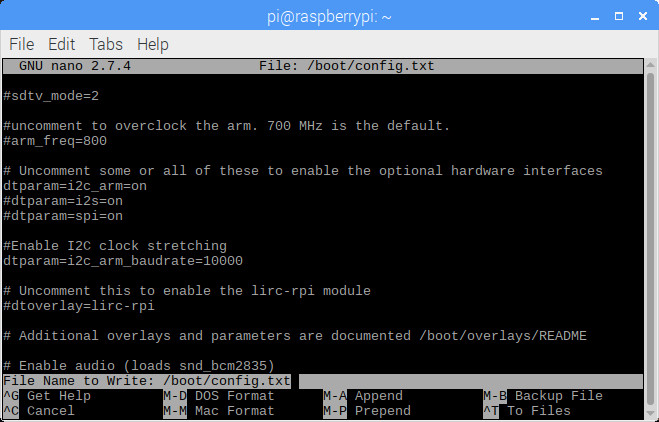
The CCS811 sensor requires something known as I2C clock stretching to work, so let's get this setup as well. Open up the file /boot/config.txt in your favorite editor. We'll use the following command to edit the file through the command line.
language:bash
sudo nano /boot/config.txt
After typing the command, hit ENTER on your keyboard.
Scroll down until you find the block of code that contains the following lines. It will look similar to the following lines.
language:bash
dtparam=i2c_arm=on
#dtparam=i2s=on
#dtparam=spi=on
=" signs. The Pi will not be able to recognize the changes.
Add the following line(s) to enable the clock stretching.
language:bash
# Enable I2C clock stretching
dtparam=i2c_arm_baudrate=10000
When you are finished, you should see something similar to the image below.
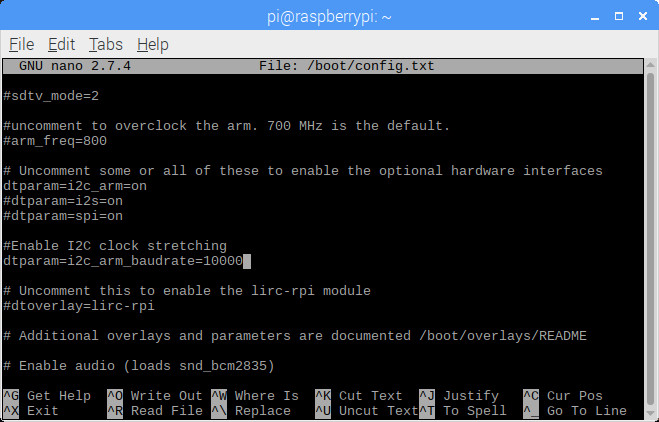
10000 is still too high, try using a slower baud rate like 5000 or 1000. After adjusting the value for clock stretching, make sure to restart your Pi for the changes to take effect.
Then save your file and exit out. We'll use the following commands CTRL+ O and then Enter to save. Then CTRL + X to exit.
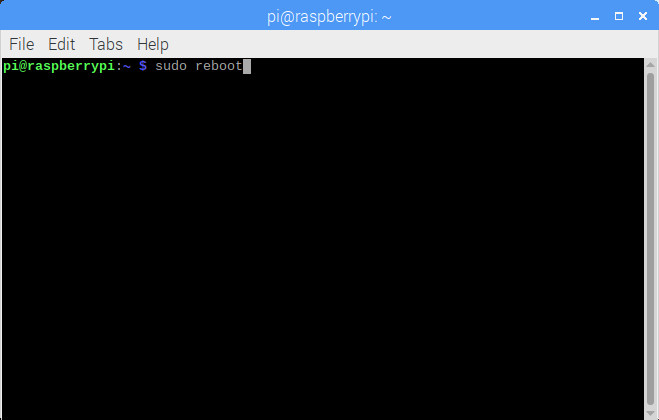
You will need to restart your Pi before the settings can take effect after every change to the config.txt. After all that hard work, let's reboot your Pi with the following command.
language:bash
sudo reboot
After typing the command, hit the ENTER key.