Qwiic Kit for Raspberry Pi Hookup Guide
This Tutorial is Retired!
View the updated tutorial: Qwiic Kit for Raspberry Pi V2 Hookup Guide
Setting Up MQTT and Cayenne
MQTT is a messaging protocol that works great for IoT devices. Devices can post to a topic, and/or subscribe to a topic to receive information. Alex wrote a tutorial all about MQTT, which is a great read if you are unfamiliar with MQTT. Amongst other things, our setup is going to act as an MQTT client and publish information to an online service called Cayenne.
Introduction to MQTT
Cayenne
Cayenne is a product from myDevices that allows you to not only display data but also set up triggers, monitor devices, control devices, etc. You can view your home's temperature remotely from their site (or app), but you can also tell it to text you when the temperature goes below 40 so you can figure out why your furnace isn't working. But don't worry, none of the exercises in this tutorial require you to give myDevices any money (or even a credit card).
If you have not already, the first thing to do is make an account. Head over to Cayenne to sign up by clicking on the link below using one of the Raspberry Pi's Internet browsers. If you have an account, just make sure to login in.
Once you have an account we're going to start by setting up the Raspberry Pi. This is a good introduction that provides you with some information on your Pi (RAM usage, temperature, network speed). It also allows you to remotely reset or shutdown you Pi, toggle I/O pins and even give you the IP address of your Pi. That is one of the nice things about Cayenne, it doesn't define devices based on IP address or network. You provide a small script and your Pi basically tells Cayenne where it is. This is helpful if you loose power, reset your device etc., and need to know the IP address to log back in remotely.
Adding a Device in Cayenne
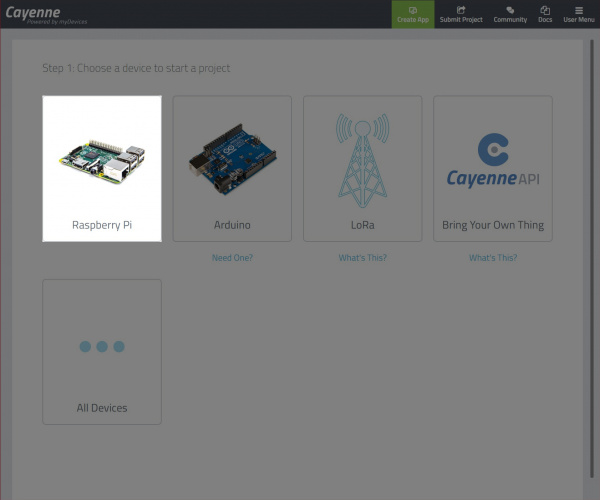
You'll be greeted with a few devices. Select the Raspberry Pi.
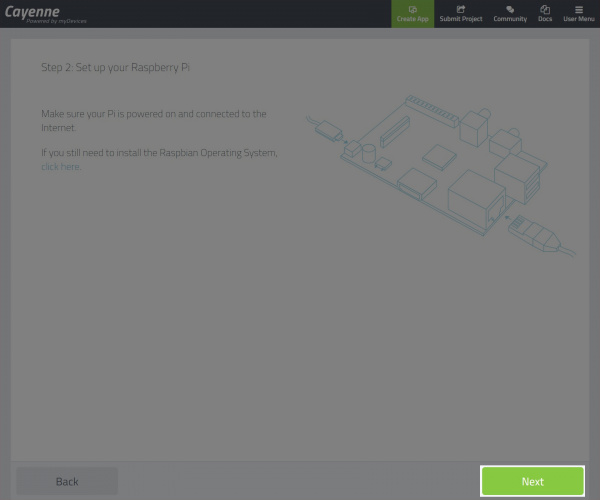
You'll be prompted with an image of the Raspberry Pi before continuing on. Hit on the next button.
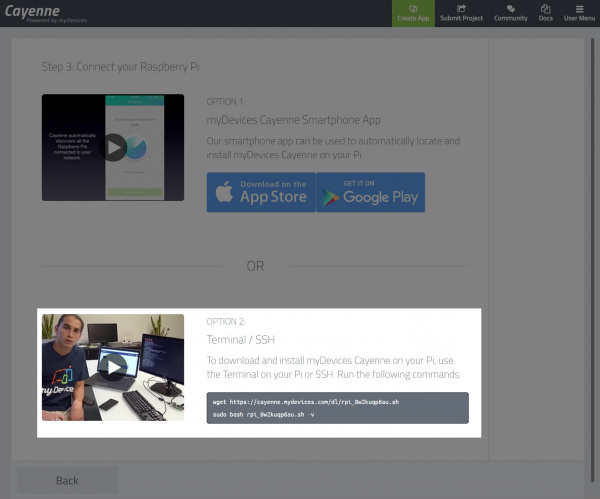
You'll be provided with a few options. We'll be following option 2. Follow the instructions provided (Cayenne has very good instructions in when setting up your Raspberry Pi).
At this point you should have a working Cayenne account. Type (or copy and paste using your mouse's right click) the first command and hit the ENTER button. The command will begin executing. When it is done, type (or copy and paste) the second command and hit the ENTER button. The process may take a few minutes. When the the command is finished executing, your Raspberry Pi will automatically restart.
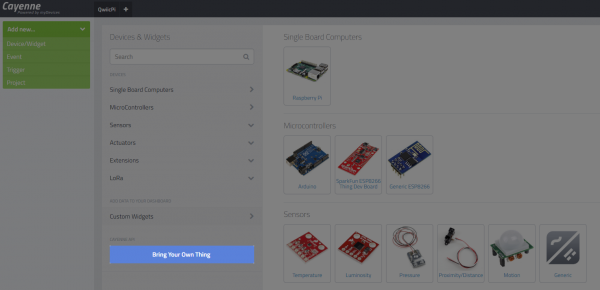
After the reboot, open the browser back up and head back to Cayenne. Next, go back to adding a new device or widget. This time you are going to select the blue "Bring Your Own Thing" button.
This will provide you with your MQTT username, password, and client ID, as well as the server information for our project. We'll use this information later. You might want to do this on your Pi which will make it easier to copy and paste these values into your code.


