Qwiic Kit for Raspberry Pi Hookup Guide
This Tutorial is Retired!
View the updated tutorial: Qwiic Kit for Raspberry Pi V2 Hookup Guide
 M-Short,
  bboyho
 Introduction
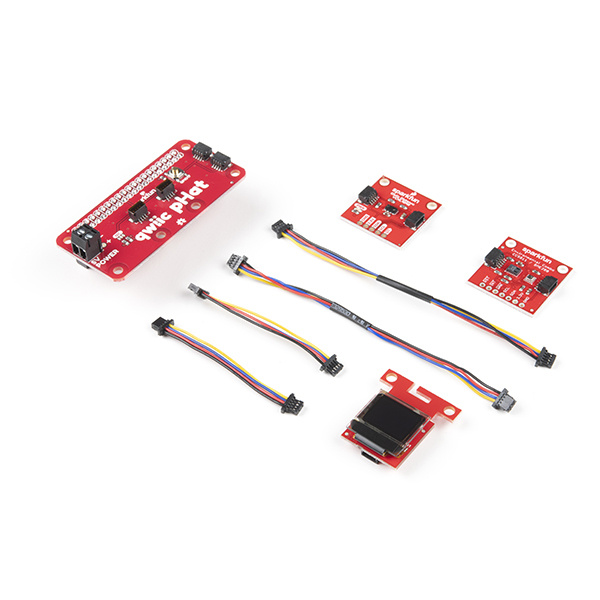
Welcome to the Qwiic Kit for Raspberry Pi hookup guide. Here we are going to get started with some of the basics surrounding I2C and Python on your Raspberry Pi. Don't worry, we've done most of the work with the Python Libraries we've written for the boards in our Qwiic Kit. This kit should help you get started whether you just want to get data and display it on your Pi, display it on our OLED screen, or post it to the Internet.
Required Materials
To follow along with this tutorial, you will also need a few pieces of hardware. Single board computers with the Raspberry Pi 40-pin GPIO header will work. We'll be using a Raspberry Pi throughout this tutorial. If you have not worked with a Raspberry Pi, we recommend getting started with the Raspberry Pi starter kit.
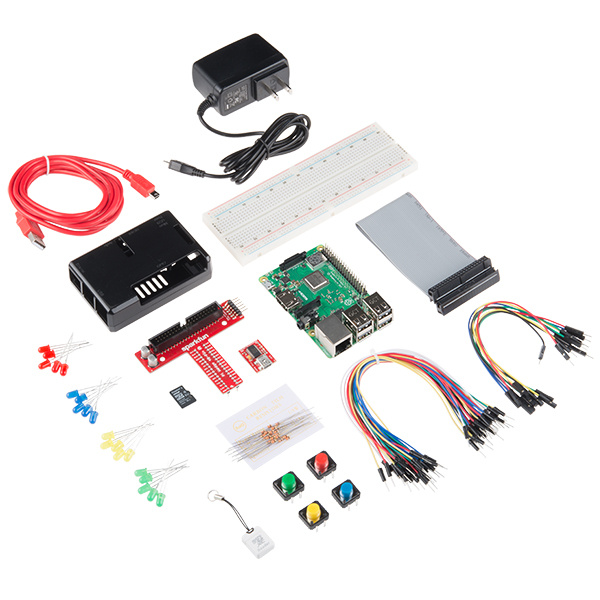
Raspberry Pi 3 B+ Starter Kit
KIT-15361Optional Materials
You have several options when it comes to working with the Raspberry Pi. Most commonly, the Pi is used as a standalone computer, which requires a monitor, keyboard, and mouse (listed below). To save on costs, the Pi can also be used as a headless computer (without a monitor, keyboard, and mouse). This setup has a slightly more difficult learning curve, as you will need to use the command-line interface (CLI) from another computer.

SmartiPi Touch
PRT-14059Suggested Reading
Before you get started, I recommend taking a look at some of our other tutorials and familiarizing yourself with some of these topics. We will end up working with the Raspberry Pi, Python programming language, and MQTT protocol to send data over the Internet.