Qwiic Kit for Raspberry Pi Hookup Guide
This Tutorial is Retired!
View the updated tutorial: Qwiic Kit for Raspberry Pi V2 Hookup Guide
 M-Short,
  bboyho
Customizing Data on Cayenne's Dashboard
Once Cayenne sees this data, you should get a green box pop up on your Cayenne dashboard. Click the "+" in the upper right hand corner to permanently add it to your dashboard. By default, the values will be displayed with the associated channel. You will need to head into the settings and assign a name to be displayed for each channel in order to easily read the sensor data. You can also assign an icon to the channel, drag and drop widgets, and resize each window if you prefer.
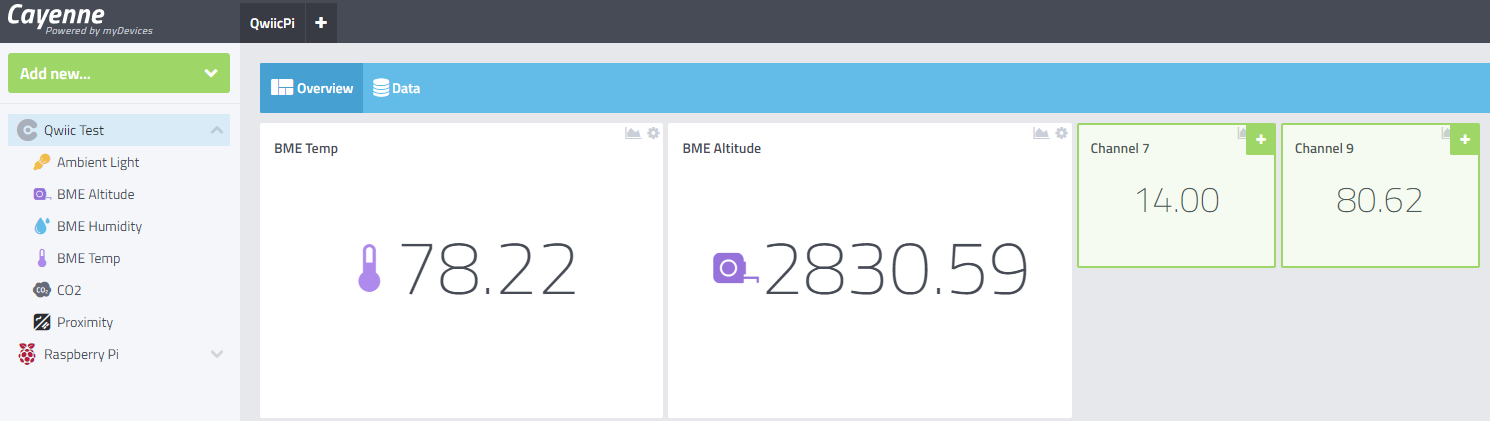
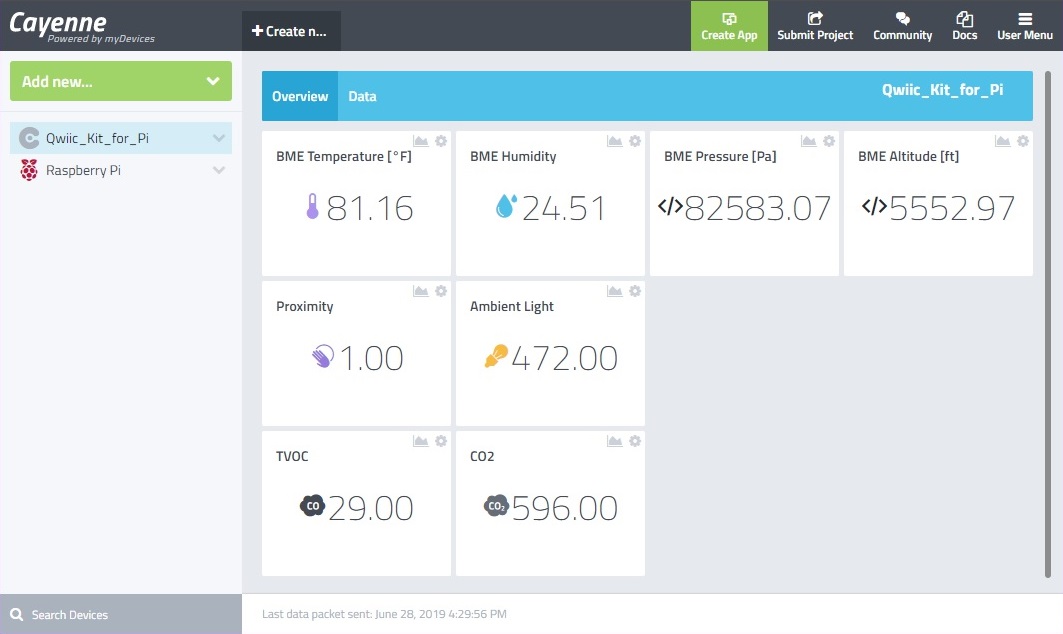
After customizing according to your personal preference, the channels may look similar to the image below.
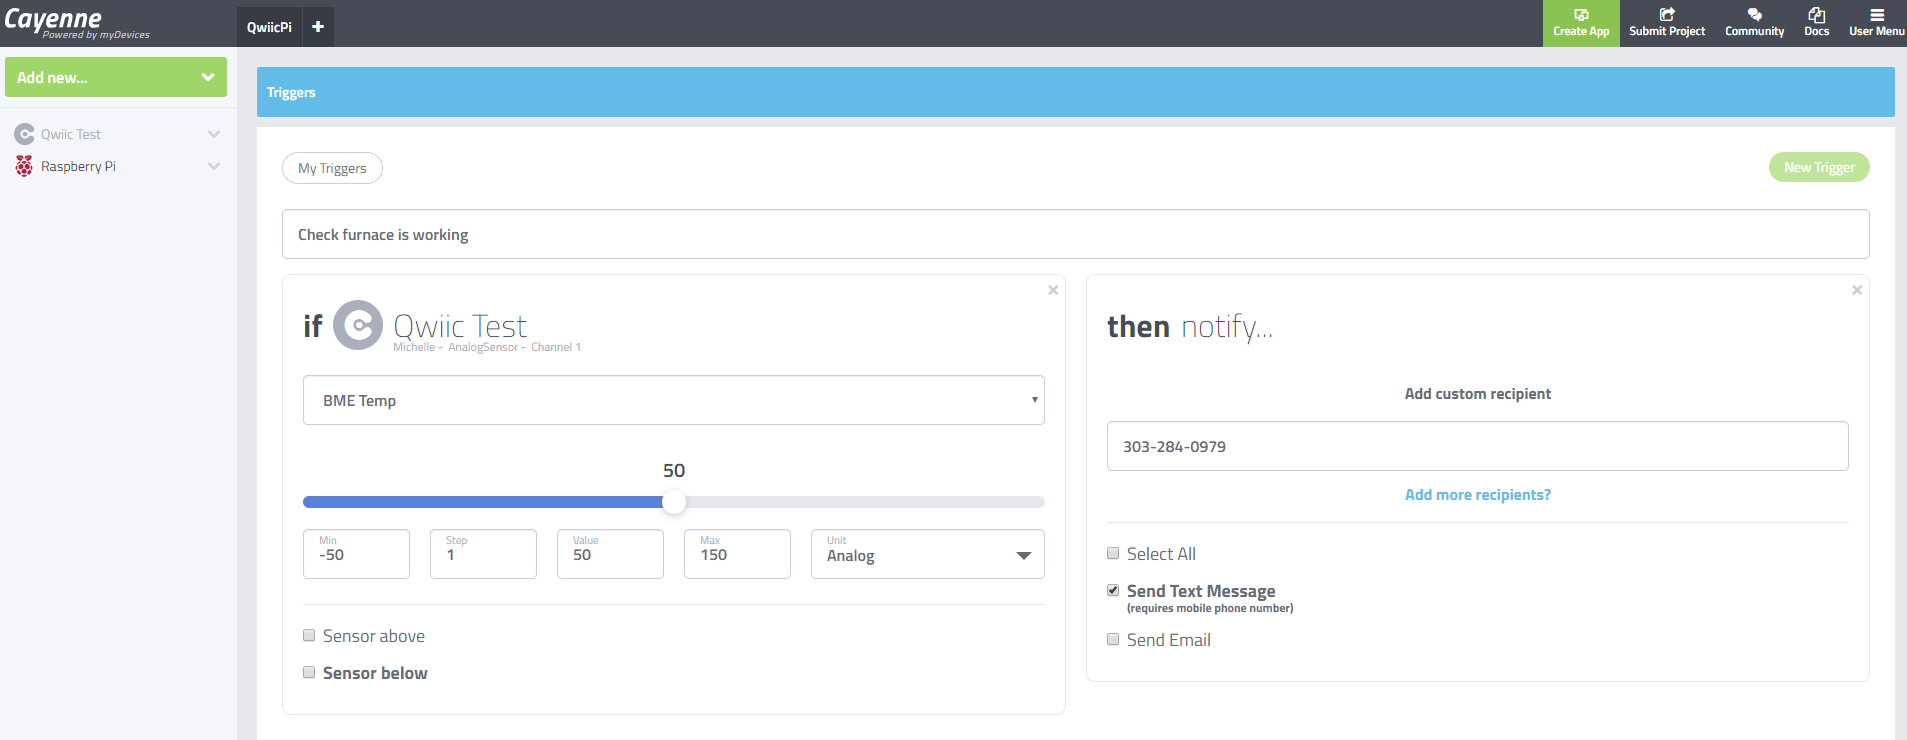
Triggers and Notifications
While we are not going to go into this in this tutorial, Cayenne will also let you setup triggers and other things to text you, email you, or change things on any of your other devices (such as turn on an I/O pin on the Pi). You can start playing with Cayenne and its various features. Just make sure you don't overwhelm your inbox with notifications by sending texts 100 times per second.