STK-node
 D___Run___
Software Installation and Setup
Node.js

Node.js is a JavaScript runtime, that is, it's software that can execute your JavaScript code. Node.js has special features that support some of the best potentials of the JavaScript programming language, like event-driven, non-blocking I/O. npm is Node's package manager. It's a giant repository of encapsulated bits of reusable useful code, called modules, that you can use in your programs. npm will get installed for you when you install Node.js.

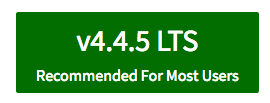
Installing Node.js is a straightforward download-and-double-click process. Head on over to the Node.js website. Heads up: You'll want to select the "LTS" version for download (LTS stands for long-term support). At time of writing, LTS is v4.4.5:
Text Editor (Atom)
You will need a text editor in which to edit and save your JavaScript files. This means a plain text editor, not a Word document. If you've already got one, like SublimeText, Notepad++, vim, etc., groovy. If not, go ahead and install Atom.
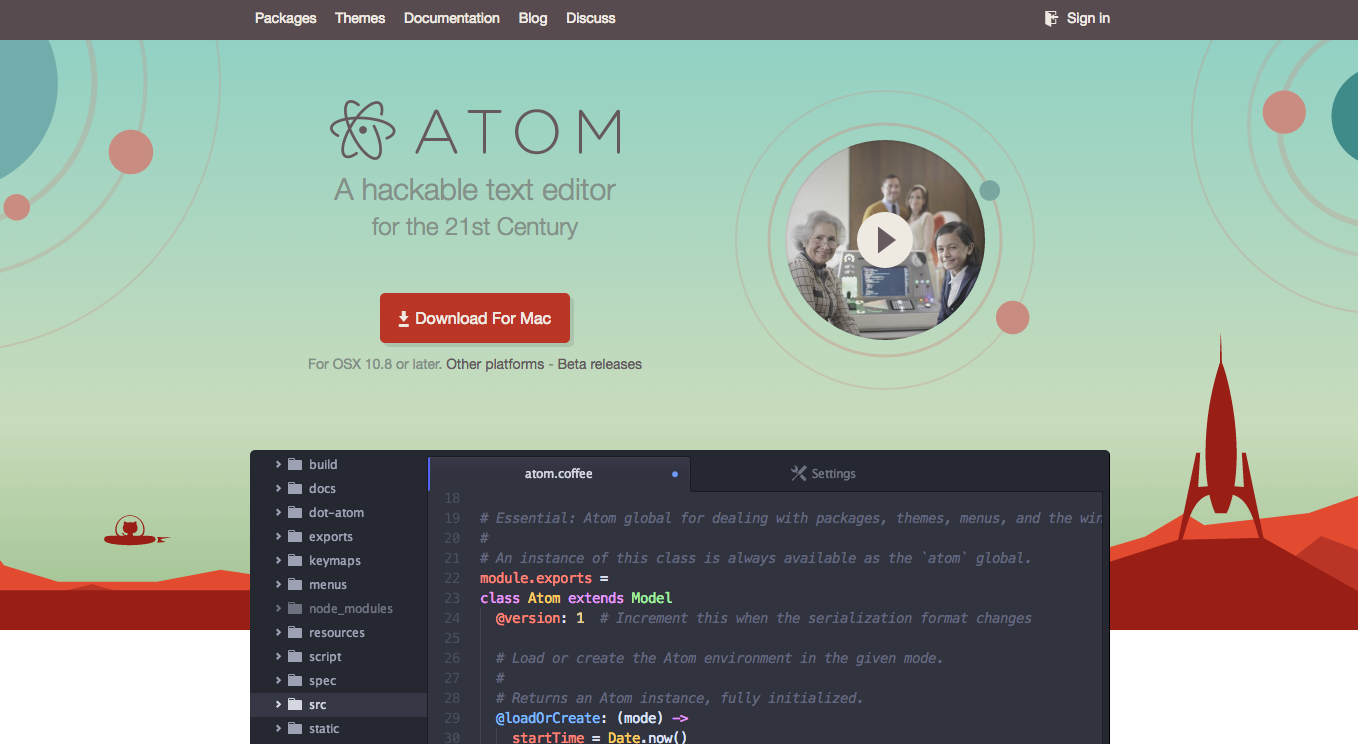
You can use any text editor you like if you already have on installed and are up and running. But, if you have never used a text editor to write JavaScript, HTML, etc. we recommend using Atom. Atom is a free and open source text editor that works on all three major operating systems, is light weight and when you get comfortable...it's hackable!
Download Atom by heading to the Atom website.
FTDI Drivers
To use the RedBoard or Arduino with Node.js and Johnny-Five you will need FTDI Drivers installed on your computer. We have a tutorial to help walk you through that process. Don't worry we will wait for you to come back before moving on.
How to Install FTDI Drivers
Flashing Firmata
To use Johnny-Five with an Arduino we need to install the Firmata firmware on the board. Firmata is a firmware for microcontrollers that turns the microcontroller into a slave of sorts. It sets it up so that is listening for commands from another device or computer. In essence it allows us to control the Arduino without uploading code and just running it on our computer.
There are two ways to install firmata on your redBoard. These are dependent on whether you have the Arduino IDE installed on your computer or not.
Installing Firmata through Arduino
If you already have Arduino installed you can install Firmata from the examples that come with Arduino. To do this, open your Arduino IDE and plug your board into your computer using a USB cable.

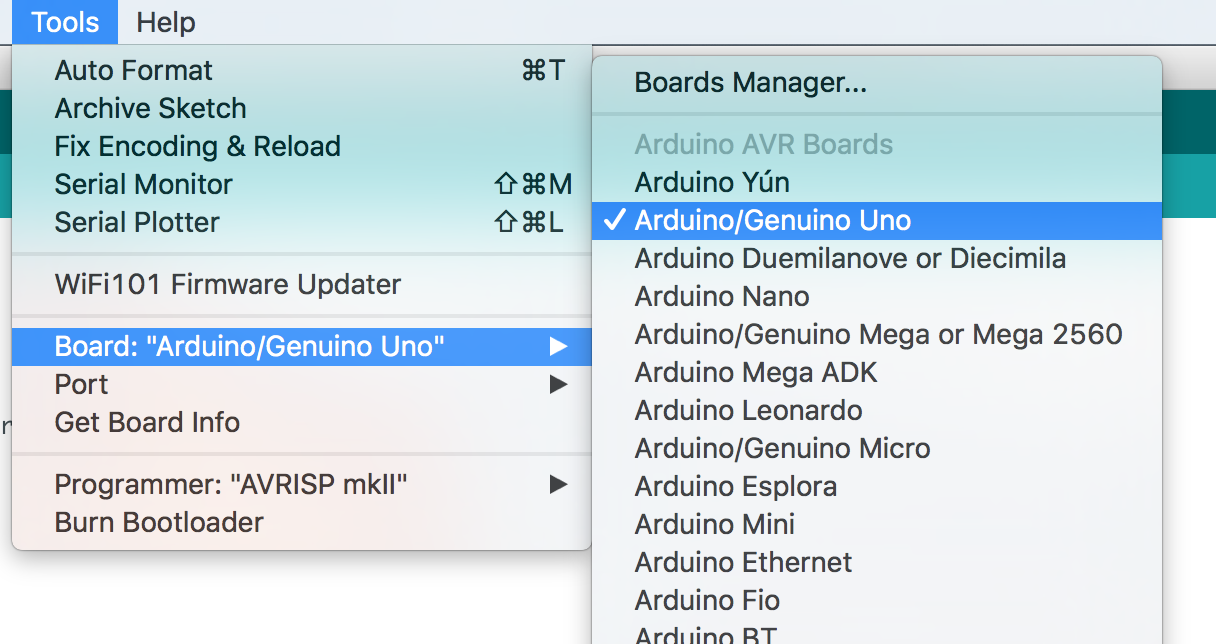
Then in the Arduino IDE at the Tools drop down menu set the board type by selecting the following Tools > Board > Uno.
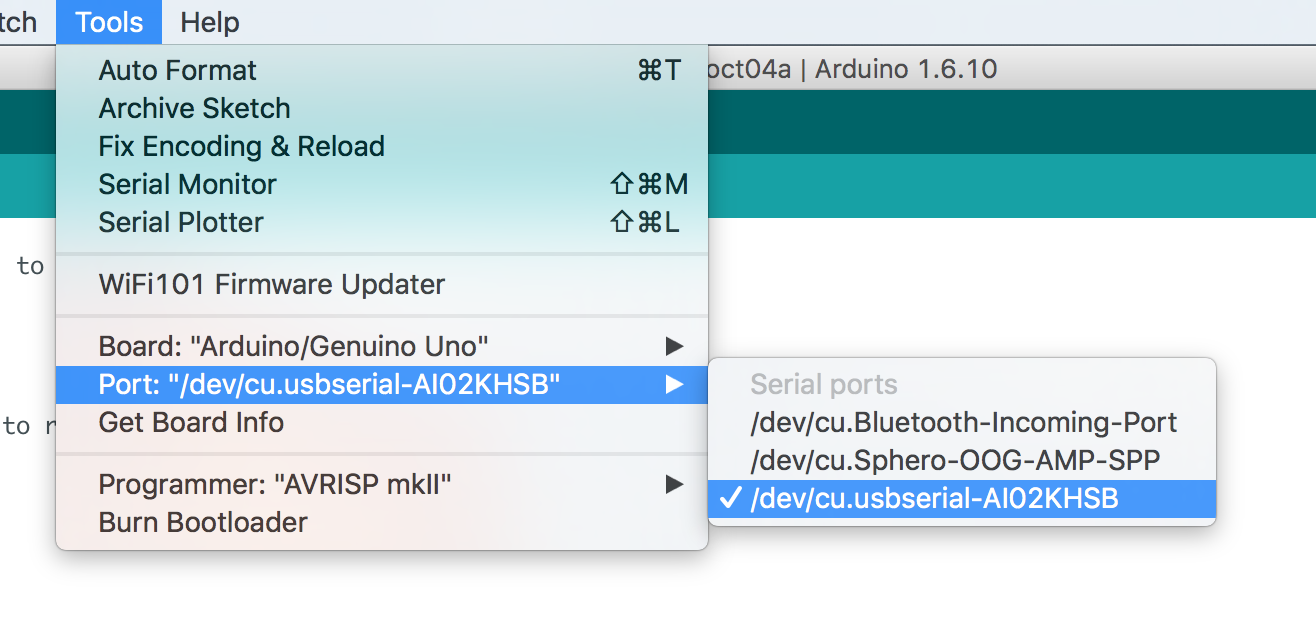
Now, from the Tools menu select your Serial port by selecting the following Tools > Port > COM## The COM## will probably be somewhere in the 3 to 5 range.
Note: Mac users your port list will look different. You are looking for "/dev.cu.usbserial-XXXXX" rather than "COM##"
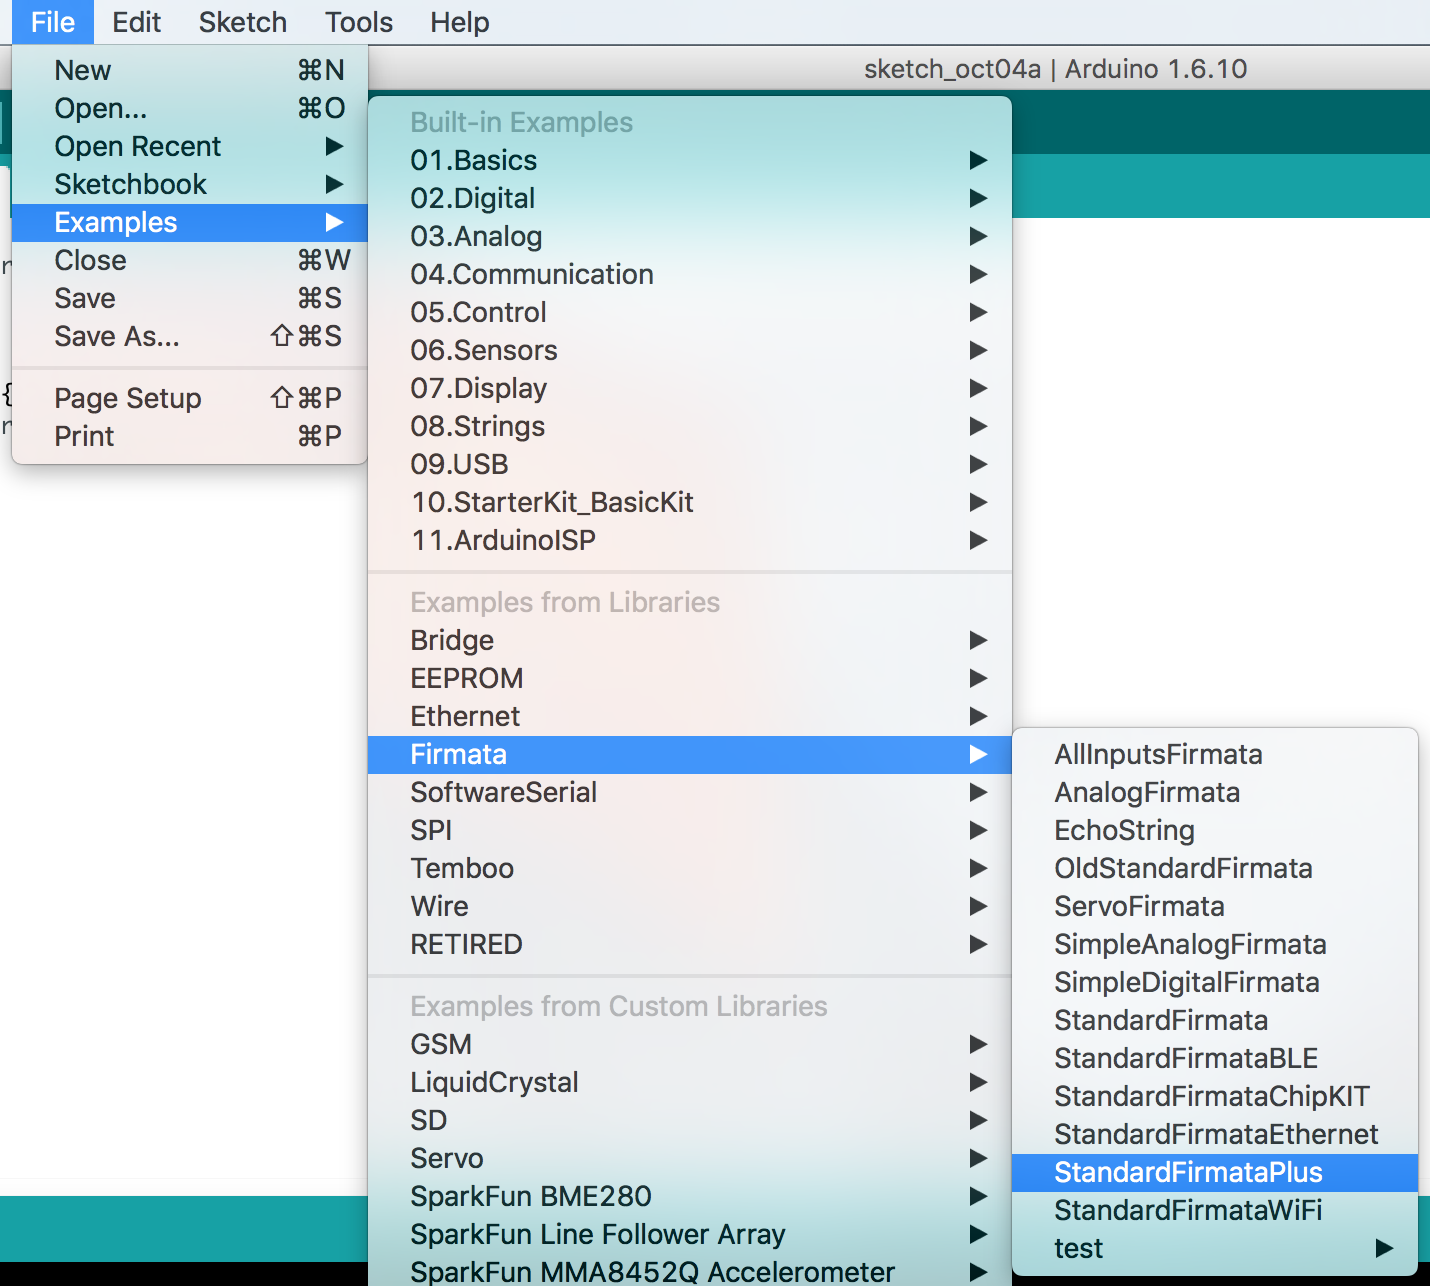
Now, to open Firmata from the examples folder! Select the following File > Examples > Firmata > standardFirmataPlus
Now click the upload (Arrow button at the top left) to upload Firmata. With that you are done installing Firmata from the Arduino IDE. You can now close Arduino.
Installing Firmata through Interchange
If you have never used Arduino and/or installed the Arduino IDE, there is no point in installing it for a single time use. There is a command line tool that you can use to install Firmata without the fuss of installing Arduino only to use it once and then never use it again (that is if you stick with Node.js)
The command line tool we are talking about is called Interchange and it is designed specifically for this reason.
Installing interchange through npm
To install interchange type the following into your console.
npm install nodebots-interchange -g
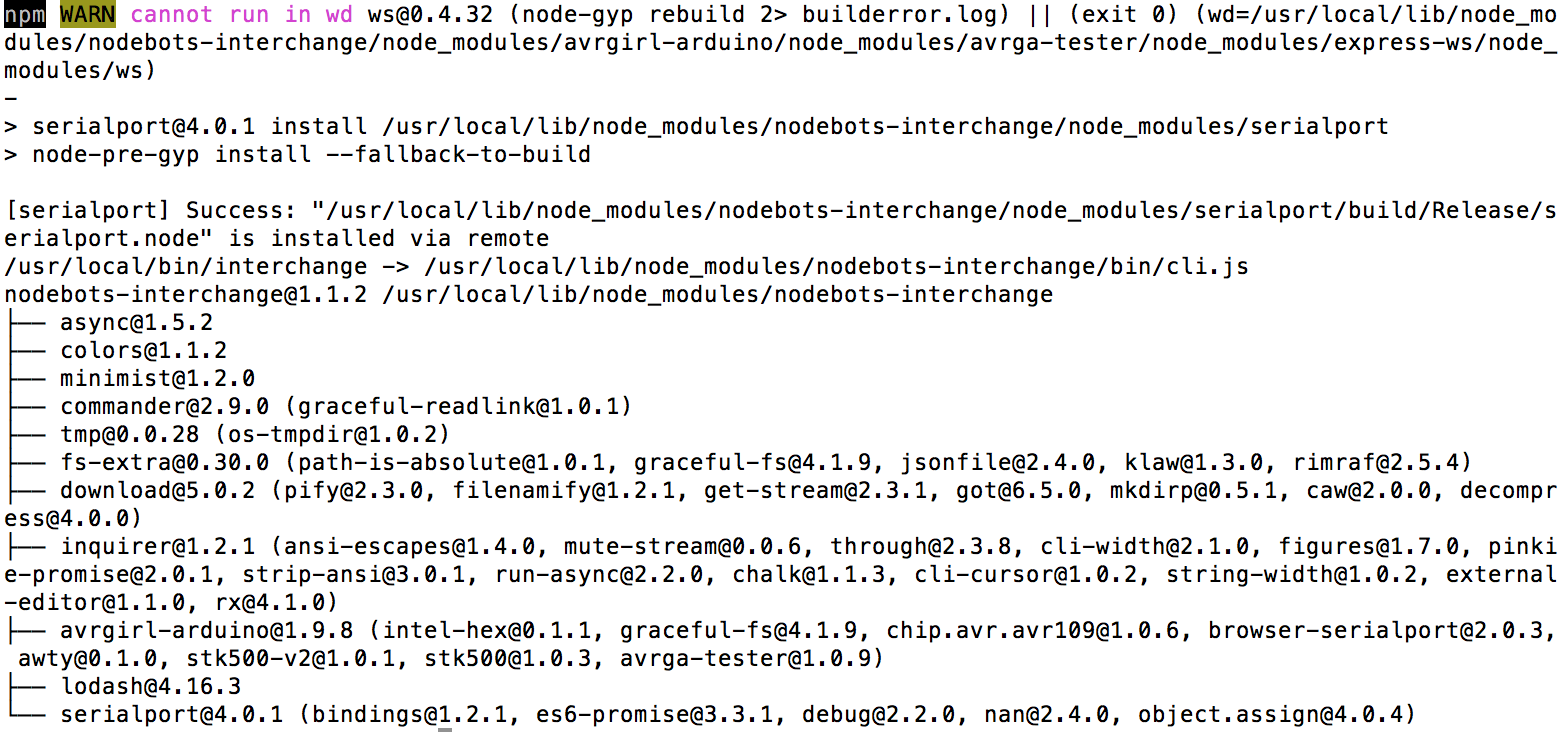
Interchange will install with an output that will look somewhat scary to a newcomer of Node.js. It will look like this.
Flashing the RedBoard with Interchange
Now, to install Firmata onto your redboard, plug the board into your computer using a USB cable then type the following command to launch the Interchange tool.
interchange install --interactive
The --interactive flag allows you to use the user interface to select your board and firmware options.
Select your firmware that you would like to install. We want to install Standard Firmata. Select it using your arrow keys.
language:console
 ? Choose a firmware
  node-pixel
  hc-sr04
❯ StandardFirmata
Next select your board. The RedBoard is the same as the Arduino Uno. So, select 'Uno' from the list.
language:console
? Choose a firmware StandardFirmata
? Choose a board
❯ uno
  nano
  pro-mini
Finally, select your port, it should be "COM##" on windows or "/dev/tty/cu.usbserial-XXXX..." on mac.
language:console
? Choose a firmware StandardFirmata
? Choose a board uno
? Choose a port
  /dev/cu.Bluetooth-Incoming-Port
  /dev/cu.Sphero-OOG-AMP-SPP
❯ /dev/cu.usbserial-AI02KHSB
With that Interchange will install firmata for you. You should see the terminal out information similar to this...
language:console
? Choose a firmware StandardFirmata
? Choose a board uno
? Choose a port /dev/cu.usbserial-AI02KHSB
 Retrieving manifest data from GitHub
 Downloading hex file
 connected
 reset complete.
 flashing, please wait...
 flash complete.
Now your RedBoard is ready to be programmed using Johnny-Five and Node.js
Project Directory Setup
When you want to build a Johnny-Five project you want to build a directory for the project. Why? you may ask. Because like any other Javascript project it can scale up to be pretty large using a number of modules and files beyond the basic single file you end up creating in Arduino.
For Example when you install a node module a node_modules directory is created. We want to keep each node_modules directory seperate from your other projects.
Node Projects Directory
From the command line you should navigate to where you would like to store all of your node.js projects. For example I store all of my projects in a directory in my documents folder. Let's do that.
From the command line change directory (cd)to your documents directory. As an example I typed the following.
cd documents
Now create a new directory to store all of your node projects by typing the following.
mkdir node_projects
Once you have created your directory you can now cd into it by typing
cd node_projects
SIK Project Directory
now that you are in your projects folder you will want be creating a project directory for each experiment. You will do this at the beginning of each experiment so that each one will be a standalone project. We highly recommend that you group them all together in one directory. I created one called sik and then navigated into it by typing the following commands.
mkdir sik
cd sik