STK-node
 D___Run___
 Experiment 8: Servo
Introduction
Note: If you ARE using the Chrome App you will skip any console commands and run the example code directly in the app
This experiment is your introduction to the servo motor, which is a smart motor that you can tell to rotate to a specific angular location. You will program it to rotate to a series of locations, then sweep across its full range of motion, and then repeat.
Parts Needed
You will need the following parts:
- 1x Breadboard
- 1x SparkFun RedBoard
- 1x Servo
- 3x Jumper Wires
Didn't Get the Tinker Kit?
If you are conducting this experiment and didn't get the Tinker Kit, we suggest using these parts:


Suggested Reading
Before continuing with this experiment, we recommend you be familiar with the concepts in the following tutorial:
Introducing the Servo Motor

Unlike the action of most motors that continuously rotate, a servo motor can rotate to and hold a specific angle until it is told to rotate to a different angle. You can control the angle of the servo by sending it a PWM (Pulse Width Modulation) pulse train; the PWM signal is mapped to a specific angle from 0 to 180 degrees.
Inside of the servo there is a gearbox connected to a motor that drives the shaft. There is also a potentiometer that gives feedback on the rotational position of the servo, which is then compared to the incoming PWM signal. The servo adjusts accordingly to match the two signals.
In this experiment, the servo is powered through 5 volts on the red wire, ground on the black wire, and the white wire is connected to a digital GPIO (General Purpose Input/Output) pin on which you can use PWM (11, 10, 9, 6, 5 and 3 on the RedBoard).
Hardware Hookup
Ready to start hooking everything up? Check out the wiring diagram below to see how everything is connected.
| Polarized Components | Pay special attention to the component’s markings indicating how to place it on the breadboard. Polarized components can only be connected to a circuit in one direction. |
Connect 3x jumper wires to the female 3-pin header on the servo. This will make it easier to breadboard the servo.
Wiring Diagram for the Experiment

Writing the Script
Remember to Setup Your Project Directory!
From your `SIK` directory make sure that create a new project directory for this experiment and create an empty project by typing in the following commands while in your `SIK` directory.
mkdir exp_08;cd exp_08;
npm init -y;
npm install johnny-five
Once done you will have created a project directory, moved into it, created an npm project and installed Johnny-Five. Wahoo!
Now, create a new javascript file called "servo.js" using the following command.
touch servo.js
Now open your servo.js file and either type out or copy and paste the following code in your file.
language:javascript
const five = require('johnny-five');

const board = new five.Board();

board.on('ready', ()=>{
   const servo = new five.Servo({
      pin: 9,
      range: [0,180]
      startAt: 90,
   });

   servo.sweep();
});
Once you are done, make sure to save your file and then run your script with the following command.
node servo.js
Once your script loads, your servo should start moving!
Code to Note
language:javascript
const servo = new five.Servo({
      pin: 9,
      range: [0,180]
      startAt: 90,
   });
Like any other component class objects, the servo has its own setup where you define a "shape". The servo has a number of shape parameters, many of them are optional, but make the functionality of using a servo easier in the long run. We tend to use the three above. You specify the pin number as well as the range as an array of two values. The first value of the array is the minimum angle and the second value is the maximum of the range. Finally we give a startAt value which is the angle at which you want the servo to start at. In this case 90 degrees.
language:javascript
servo.sweep();
Once the servo object is created we can now use any of the methods available to us. This script just uses the sweep() method which sweeps the servo hub back and forth between the minimum and maximum of the range parameter.
What You Should See
You should see your servo motor move to various locations at several speeds. If the motor doesn't move, check your connections and make sure you have verified and uploaded the code, or see the Troubleshooting section.

Troubleshooting
Servo Isn't Moving and is Hot
You are trying to write beyond the servos limits of 180 degrees or less than 0 degrees. Unhook the circuit to let the motor cool and check your code.
Servo still isn't Moving
Double check your wiring, you may have it hooked up to the wrong pin. Or, you may be trying to use a non-PWM pin. Make sure you are using PWM (~) pins with a servo.
Still No Success
A broken circuit is no fun. Send us an email, and we will get back to you as soon as we can: techsupport@sparkfun.comBeyond Sweep
min
The Servo.min() method takes the servo to its specified minimum which if is not defined is defaulted to 0.
max
The Servo.max() method takes the servo to its specified maximum position.
home
Servo.home() returns the servo to its specified home position. If this isn't specified the default is 90.
stop
Servo.stop() is used to, well, stop the servo from moving.
Exploring Node.js
Servos are used for a number of physical applications, a little known one is as an analog gauge needle. What better way to create an analog gauge other than to create a barometer / weather gauge for the weather in your area?
This project will read the weather from the Openweathermap service API and then move the servo accordingly to whatever weather conditions you put on a dial face.
Weather Gauge with openweathermap
Openweathermap is a free and open data source of weather all around the globe. It responds to API calls in a couple of different data formats, but we will be using JSON for our project which will simplify the parsing of the data. We will then write a servo angle depending on the weather condition.
A small abstraction layer for the openweathermap API
First of all, we need to install the openweathermap node module as well as the request module. Use the following command in your console to do so.
npm install openweathermap request
Signing up and Developer Keys
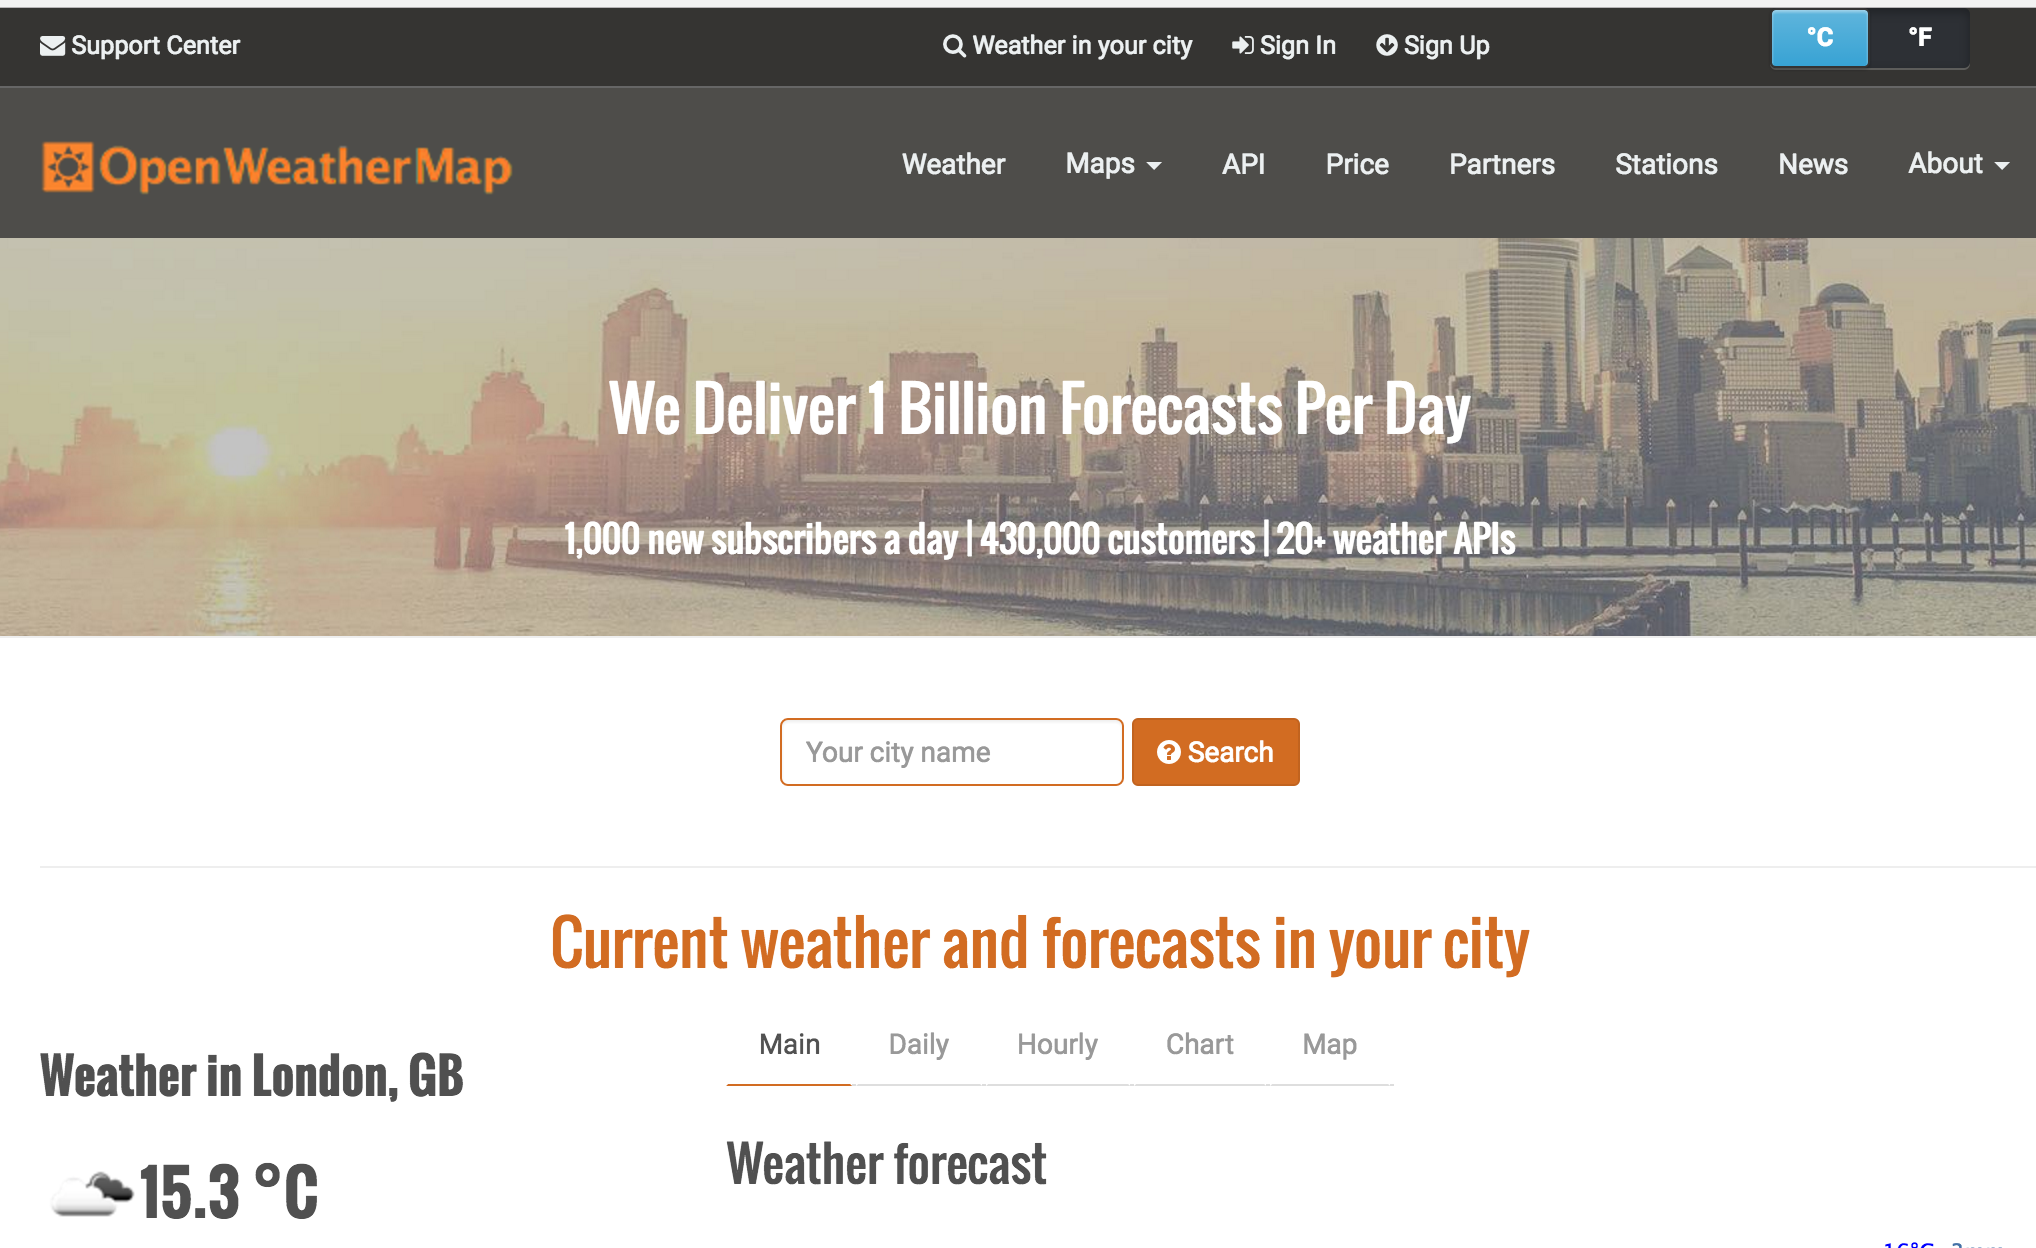
Signing up for Openweathermap is relatively painless! The reason that we need to create an account is so that we can gain access to an API key which we can create through our account. To sign up click Sign Up from their home page.
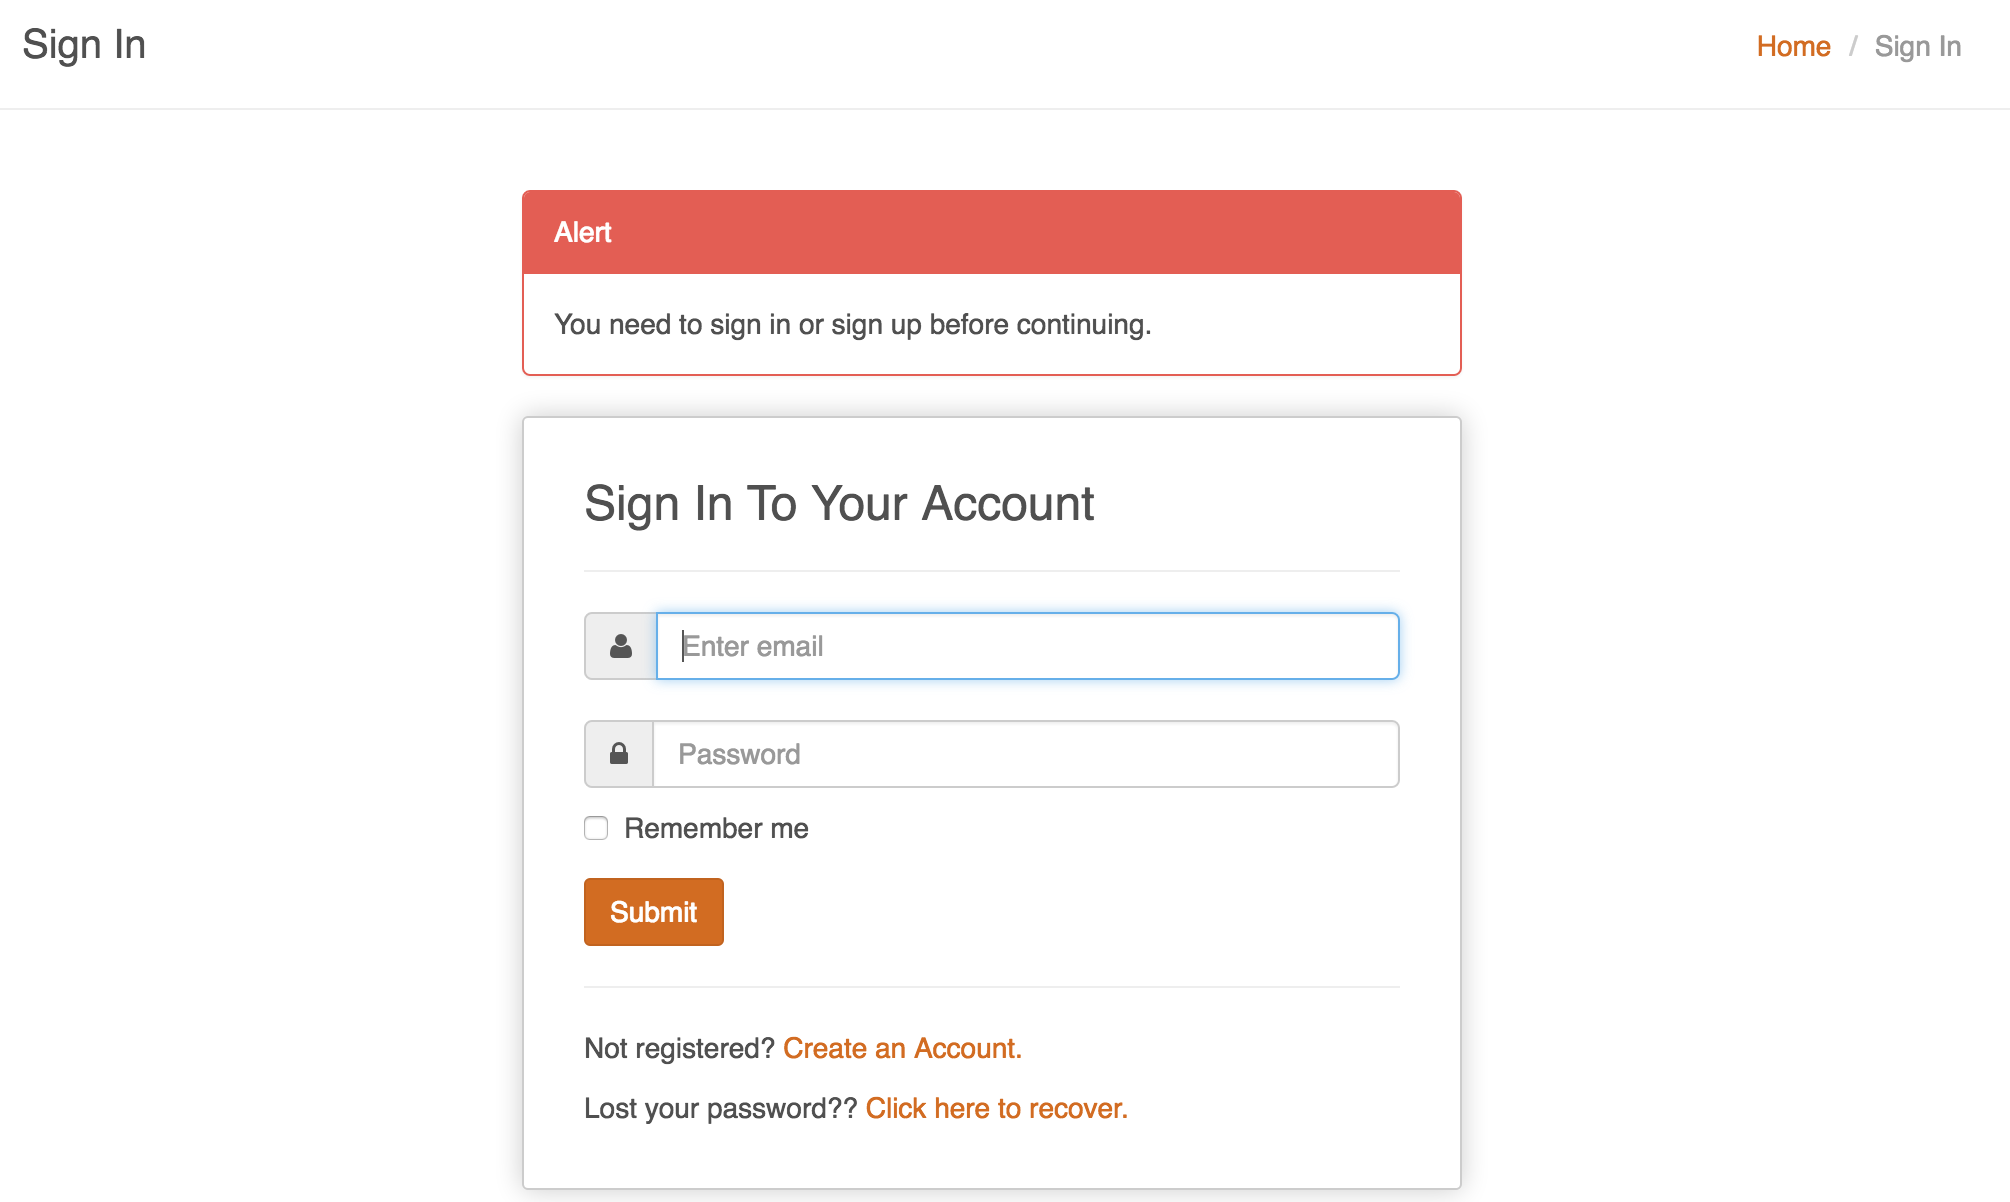
You sign up using your email address and create a password
Once you sign in you will be greeted by your user dashboard. You should see an API Keys tab. Click on it. This is where you can generate an API key and give it a name.
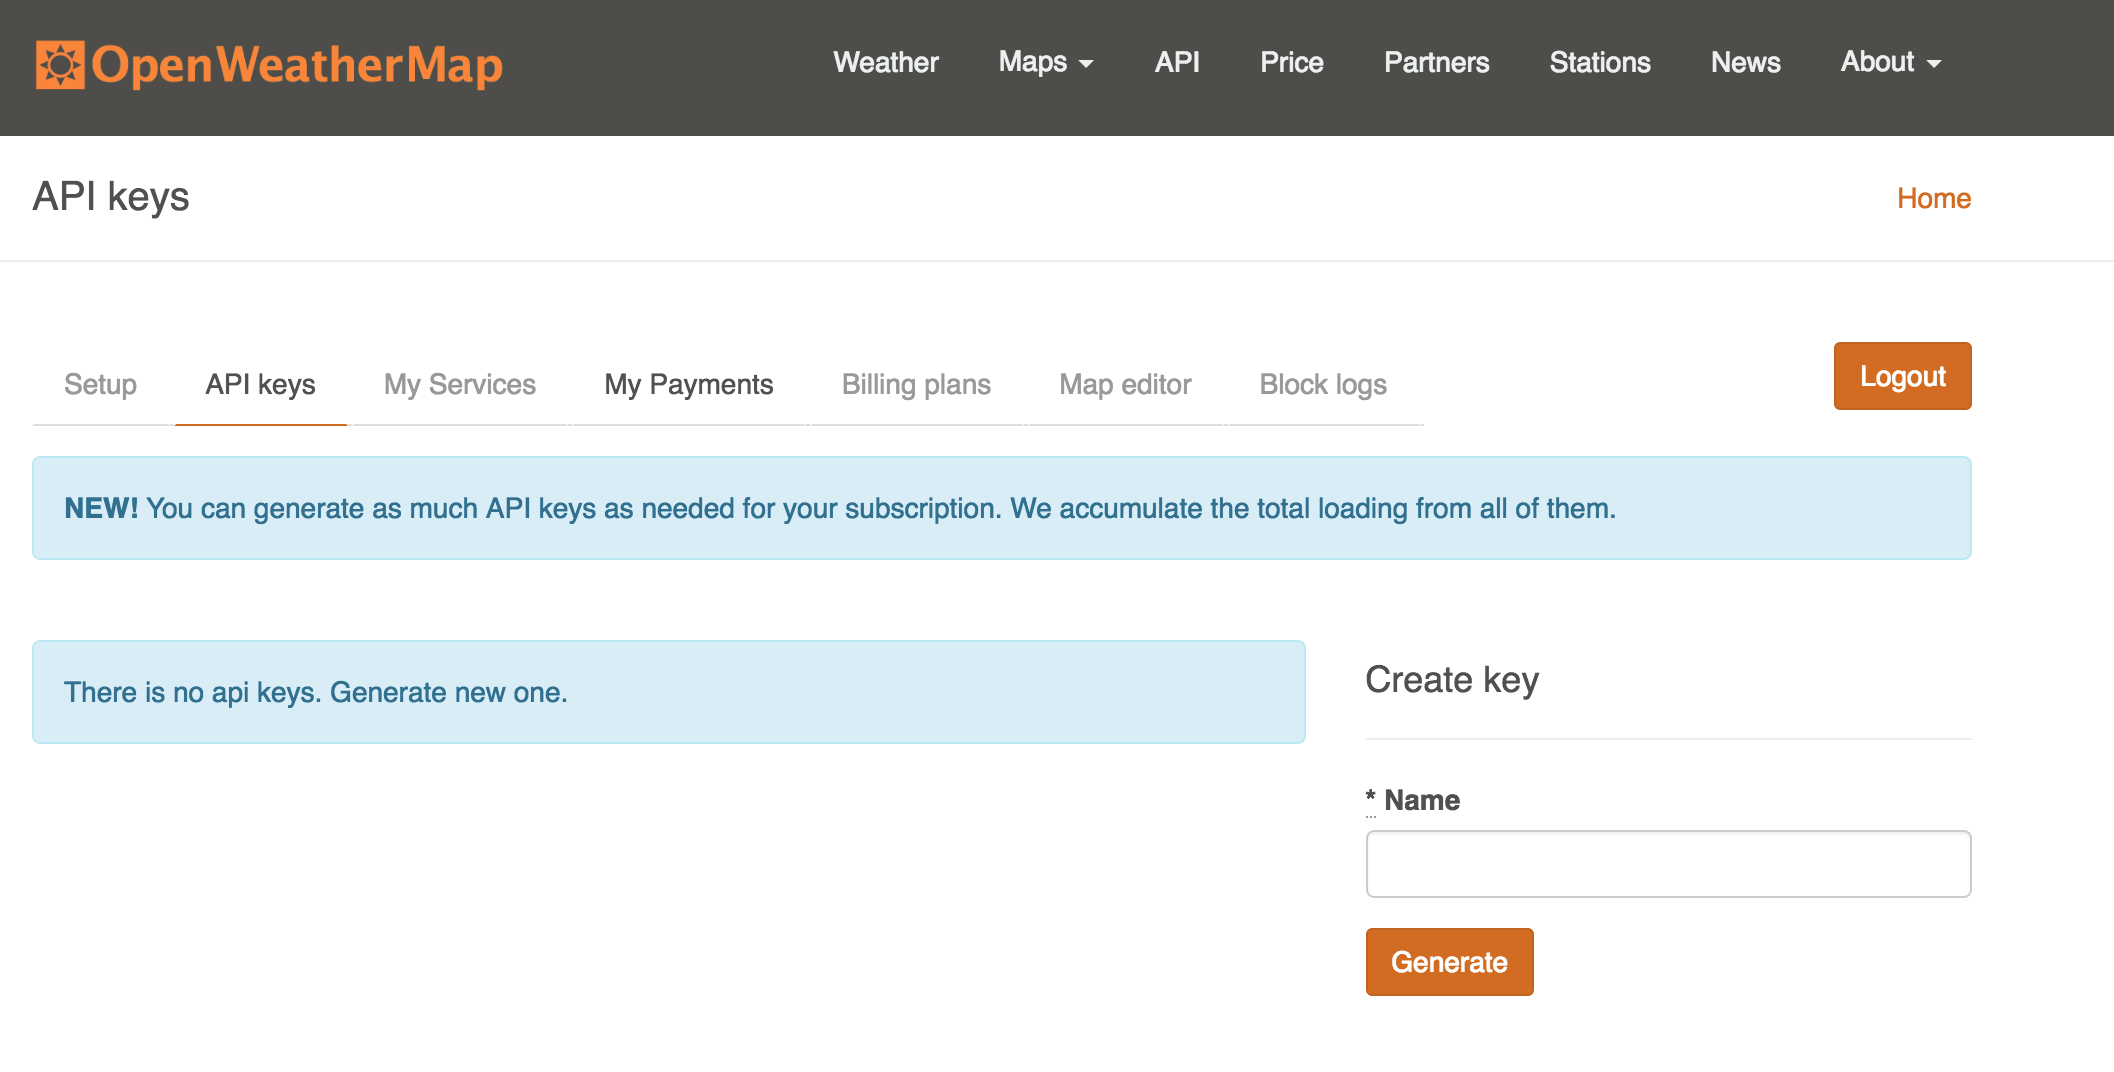
This is nice, because you can always come back to your account and access your API keys. No having the write them down or save them anywhere.
Working with the Openweathermap API
Now that you have the openweathermap module and an API key you can now use openweathermap in your Node.js project. You are going to build an analog gage that will tell you what to wear on a given day using a servo and data that you will request from openweathermap when you press a button.
Basic Open Weather Map Script
In your project directory create a file called "basicWeather.js" using the following command.
touch basicWeather.js
Now, open your basicWeather.js file and either type or copy and paste the following code into it. Be sure to insert your API key under the APPID parameter. You can also change the q parameter to your local city and state as well.
language:javascript
var weather = require('openweathermap');

var settings = {
   APPID:'<YOUR API from openweathermap>!',
   units: 'imperial',
   lang: 'en',
   q:'Boulder,CO'
   }

 weather.now(settings,(err,data)=>{
    console.log(data.main);
 });
Make sure you save your file and then run it using the following command.
node basicWeather.js
Once the script loads and executes you should get something similar to this output in your console.
language:console
{ coord: { lon: -105.27, lat: 40.01 },
 weather:
  [ { id: 801,
   main: 'Clouds',
   description: 'few clouds',
   icon: '02d',
   iconUrl: 'http://openweathermap.org/img/w/02d.png' } ],
 base: 'stations',
 main:
 { temp: 61.74,
   pressure: 1009,
   humidity: 25,
   temp_min: 60.01,
   temp_max: 64 },
 wind: { speed: 6.89, deg: 88, gust: 6.17 },
 clouds: { all: 24 },
 dt: 1475614410,
 sys:
  { type: 3,
    id: 63373,
    message: 0.1875,
    country: 'US',
    sunrise: 1475586107,
    sunset: 1475627773 },
 id: 5574991,
 name: 'Boulder',
 cod: 200,
 list: [] }
OK, so we just got a lot of data! But this gives us access to all of the weather data for our location. This data is in what is called JavaScript Object Notation, or JSON. If you take a closer look you will notice that the data is formatted similar to our javascript objects that have parameters with keys and values as well as arrays. Now, how do you parse, or break this data down into useful bits? Well let's just eyeball some useful bits from this.
First of all, the weather object would probably be useful. It gives us a general weather condition in terms of a description.
Next, the main object gives us the details in terms of temperature, humidity, etc.
Finally, the wind object gives us the wind speed, direction and gust conditions.
OK, all great...but now let's break it down!
You can use a dot notation for objects that are part of other objects in javascript if they are formatted this way. For example this whole readout is the data object. If we wanted to just look at the wind portion of the data object we could log data.wind to the console. Here is a modified version of our previous example that breaks the data down into useful chunks and stores them in variables and then logs them to the console. go ahead and create a new javascript file called "weatherParse.js" with the following command.
touch weatherParse.js
Now open your weatherParse.js file in a text editor and either type out or copy and paste the following script into it. Make sure that you use your API key.
language:javascript
var weather = require('openweathermap');

 var settings = {
     APPID:'<your api key>',
     units:'imperial',
     lang:'en',
     q:'Boudler,CO'
 }

weather.now(settings,(err,data)=>{
   var temp = data.main.temp;
   console.log('Current Temperature:', temp);
   var tempMax = data.main.temp_max;
   console.log('Todays High:', tempMax);
   var tempMin = data.main.temp_min;
   console.log('Todays Low', tempMin);
   var weather = data.weather[0].main;
   console.log('Todays Condition:', weather);
   var wind = data.wind.speed;
  console.log('Current Wind Speed:', wind);
});
Make sure you save your file and then run it with the following command.
node weatherParse.js
You should get similar data to this print out in your console.
language:console
Temperature: 61.48
Todays High: 64
Todays Low 59
Todays Condition: Clouds
Current Wind Speed: 4.61
OK, awesome! Now, let's create our gage! I created a cutting template for you to print out and then back with cardboard. I split the half circle into four different segments with each one being a different required article of clothing.
Once you have printed it out and backed it with some cardboard you can add a small dab of hot glue to the servo and glue it to the back as shown in the image below.
Now, create a small pointer out of cardboard and glue it onto one of the servo horns as shown.
We now need to calibrate the servo to be able to place the pointer correctly. Create a new javascript file called "90.js" with the following command.
touch 90.js
Open your 90.js file in your text editor and copy and paste the following code into it.
language:javascript
const five = require('johnny-five');

const board = new five.Board();

board.on('ready', ()=>{
   const servo = new five.Servo({
      pin: 9,
      range: [0,180]
      startAt: 90,
   });

   servo.to(90);
});
Save your file and then run it with the following command.
node 90.js
The servo will move to 90 degrees and then stop. Perfect! Press fit the pointer onto the servo hub with it pointing straight up as shown below.
Now, comes the final script!
Forecast and a Servo
For the final script create a new javascript file called "final.js" with the following command.
touch final.js
Now open your final.js file in your text editor and either type out or copy and paste the following code into it.
language:javascript
const five = require('johnny-five');
var weather = require('openweathermap');

 var settings = {
     APPID:'<your api key>',
     units:'imperial',
     lang:'en',
     q:'Boudler,CO'
 }


const board = new five.Board();

board.on('ready', ()=>{
   const servo = new five.Servo({
      pin: 9,
      range: [0,180]
      startAt: 90,
   });
   setInterval(()=>{
   weather.now(settings,(err,data)=>{
      var temp = data.main.temp;
      var tempMax = data.main.temp_max;
      var tempMin = data.main.temp_min;
      var weather = data.weather[0].main;
      var wind = data.wind.speed;

      if(temp > 80){
         //sun block
         servo.to(155);
      }
      else if(temp <70 && temp > 65){
         //tee shirt w/ sweatshirt
         servo.to(115);
      }
      else if(temp <40){
          //coat
          servo.to(75);
      }
      else if(weather ==='rain'||weather ==='shower rain'|| weather === 'thunderstorm'){
         //umbrella
         servo.to(25);
      }
      else{
         //error!
         servo.to(90);
      }
   });
   },60000*15);
});
Once you are done, make sure you save your file. Now, run it with the following command.
node final.js
When you start the script your servo should first move to 90 degrees if it is not already there and then move to a weather condition on the gage. If you let it run long enough, this script checks the conditions for updates every 15 minutes!
Sweet! Now you will never forget your coat again.
For more information on the Openweathermap module and API you can check it out on its NPM page.