Contributors:
santaimpersonator
Introduction
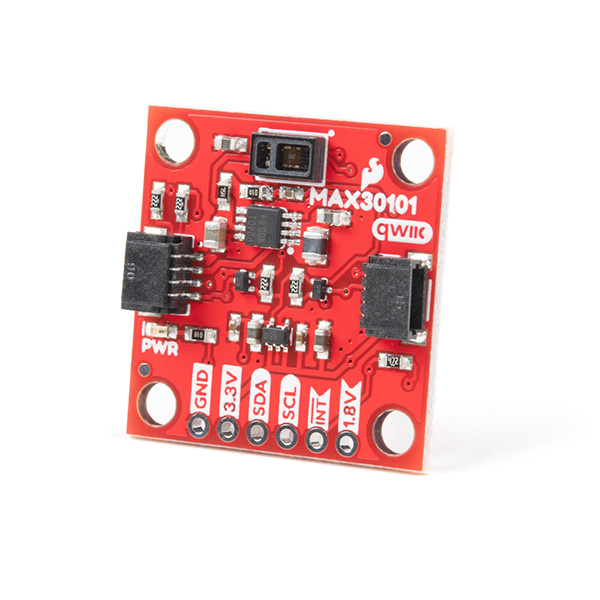
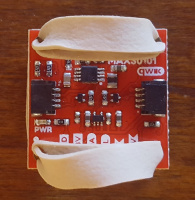
The SparkFun Photodetector - MAX30101 (Qwiic) is the successor to the MAX30105 particle sensor, a highly sensitive optical sensor. This tutorial will get you up and running to retrieve the raw data from the MAX30101 sensor.
SEN-16474
The SparkFun Photodetector Breakout is an updated version of the Particle Sensor Breakout including the MAX30101, a highly se…
The MAX30101 includes three LEDs and an optical detector in a single package, which can be utilized as a wearable, biosensor for pulse oximeter and heart-rate measurements. For accurate and reliable biometric readings, we recommend the SparkFun Pulse Oximeter and Heart Rate Sensor, which utilizes proprietary algorithms programmed on the MAX32664 Biometric Sensor Hub. Other possible applications include proximity sensing and particle detection by measuring the changes in light that is reflected back from the LEDs.
Required Materials
The Qwiic Photodetector Sensor does need a few additional items for you to get started. The RedBoard Qwiic will be used for the Arduino examples. A single board computer and the Qwiic pHAT are required for the Python examples (see note below). You may already have a few of these items, including the required Qwiic cable, so feel free to modify your cart based on your needs. Additionally, there are also alternative parts options that are available as well (click button below to toggle options).
KIT-15081
To make it even easier to get started, we've assembled this Qwiic Cable Kit with a variety of Qwiic cables from 50mm to 500mm…
DEV-15123
The SparkFun RedBoard Qwiic is an Arduino-compatible development board with a built in Qwiic connector, eliminating the need …
CAB-10215
USB 2.0 type A to Micro-B 5-pin. This is a new, smaller connector for USB devices. Micro-B connectors are about half the heig…
DEV-15945
The SparkFun Qwiic pHAT V2 for Raspberry Pi is the quickest and easiest way to make your way into the Qwiic ecosystem and sti…
Qwiic Compatible Microcontrollers:
DEV-15123
The SparkFun RedBoard Qwiic is an Arduino-compatible development board with a built in Qwiic connector, eliminating the need …
DEV-14713
With a 32-bit ARM Cortex-M4F MCU, the SparkFun SAMD51 Thing Plus is one of our most powerful microcontroller boards yet!
DEV-14812
If you’re ready to step up your Arduino game from older 8-bit/16MHz microcontrollers, the SparkFun RedBoard Turbo is a form…
WRL-14689
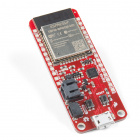
The SparkFun ESP32 Thing Plus is the next step to get started with Espressif IoT ideations while still enjoying all the ameni…
Retired
In addition we also offer, Qwiic compatible stackable shields for microcontrollers and pHATs for single board computers (like the
Raspberry Pi boards) that don't include a Qwiic connector.
DEV-14495
The SparkFun Qwiic Adapter provides the perfect means to make any old I2C board into a Qwiic enabled board.
DEV-14352
The SparkFun Qwiic Shield is an easy-to-assemble board that provides a simple way to incorporate the Qwiic Connect System wit…
DEV-16130
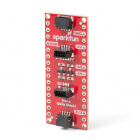
The SparkFun Qwiic Shield for Arduino Nano makes it so you can use SparkFun's Qwiic connect ecosystem with development boards…
Retired
DEV-16138
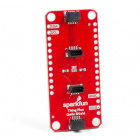
The SparkFun Qwiic Shield for Thing Plus makes it so you can use SparkFun's Qwiic connect ecosystem with development boards t…
Retired
DEV-14459
The SparkFun Qwiic HAT for Raspberry Pi is the quickest and easiest way to make your way into the Qwiic ecosystem and still u…
DEV-15945
The SparkFun Qwiic pHAT V2 for Raspberry Pi is the quickest and easiest way to make your way into the Qwiic ecosystem and sti…
DEV-15794
The SparkFun Qwiic SHIM for Raspberry Pi is a small, easily removable breakout that easily adds a Qwiic connector to your Ras…
DEV-15316
The SparkFun Servo pHAT for Raspberry Pi allows your Raspberry Pi to control up to 16 servo motors in a straightforward manne…
ROB-16328
The Auto pHAT is an all in one package that focuses on quickly adding robot functionality and advanced support to your Raspbe…
DEV-15351
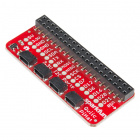
The SparkFun Qwiic pHAT for Raspberry Pi is the quickest and easiest way to make your way into the Qwiic ecosystem and still …
Retired
DEV-16301
Feeling Fancy? The SparkFun Top pHAT is the fundamental machine learning add-on for Raspberry Pi or any 2x20 GPIO SBC!
Retired
You will also need a Qwiic cable to connect to your MAX30101 (Qwiic), choose a length that suits your needs.
PRT-14427
This is a 100mm long 4-conductor cable with 1mm JST termination. It’s designed to connect Qwiic enabled components together…
Retired
PRT-14426
This is a 50mm long 4-conductor cable with 1mm JST termination. It’s designed to connect Qwiic enabled components together …
Retired
PRT-14428
This is a 200mm long 4-conductor cable with 1mm JST termination. It’s designed to connect Qwiic enabled components together…
Retired
PRT-14429
This is a 500mm long 4-conductor cable with 1mm JST termination. It’s designed to connect Qwiic enabled components together…
Retired
Alternative Parts (Toggle)
DEV-14643
The Raspberry Pi 3 B+ is here to provide you with the same Pi as before, but now with gigabit and PoE capable Ethernet!
WIG-14271
With Single-Board Computers (SBCs) on the rise, it is a good idea to have an easy way to interface with them. Operating on a …
KIT-14035
The pi-topCEED is a DIY desktop computer that helps you start learning how to code, create awesome devices and take your know…
Retired
COM-15052
This is a class 10, 16GB, micro SDHC card that has been pre-installed with the NOOBS operating system for the Raspberry Pi.
Retired
DEV-16271
The NVIDIA® Jetson Nano™ Developer Kit V3 delivers the performance to run modern AI workloads at a small form factor, low …
Retired
KIT-16389
With the release of the Jetson Nano Developer Kit (not included), NVIDIA® empowers developers, researchers, students, and ho…
Retired
Rubber Band
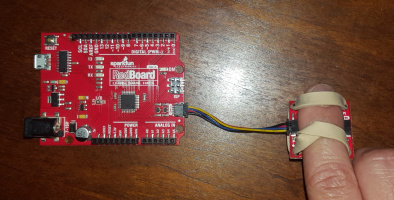
Note: For the heart beat plotter examples, users will require a small to medium size rubber band.
Suggested Reading
If you're unfamiliar with serial terminals, jumper pads, or I2C be sure to checkout some of these foundational tutorials. The MAX30105 is designed for a handful of uses including Pulse Oximetry. If you're unfamiliar with optical pulse detection there are some very good application notes from TI and NXP that have great starter information.
Installing an Arduino Library
How do I install a custom Arduino library? It's easy! This tutorial will go over how to install an Arduino library using the Arduino Library Manager. For libraries not linked with the Arduino IDE, we will also go over manually installing an Arduino library.
Logic Levels
Learn the difference between 3.3V and 5V devices and logic levels.
I2C
An introduction to I2C, one of the main embedded communications protocols in use today.
Serial Terminal Basics
This tutorial will show you how to communicate with your serial devices using a variety of terminal emulator applications.
How to Work with Jumper Pads and PCB Traces
Handling PCB jumper pads and traces is an essential skill. Learn how to cut a PCB trace, add a solder jumper between pads to reroute connections, and repair a trace with the green wire method if a trace is damaged.
RedBoard Qwiic Hookup Guide
This tutorial covers the basic functionality of the RedBoard Qwiic. This tutorial also covers how to get started blinking an LED and using the Qwiic system.
Raspberry Pi SPI and I2C Tutorial
Learn how to use serial I2C and SPI buses on your Raspberry Pi using the wiringPi I/O library for C/C++ and spidev/smbus for Python.
Qwiic pHAT for Raspberry Pi Hookup Guide
Get started interfacing your Qwiic enabled boards with your Raspberry Pi. The Qwiic pHAT connects the I2C bus (GND, 3.3V, SDA, and SCL) on your Raspberry Pi to an array of Qwiic connectors.
The Qwiic Photodetector utilizes the Qwiic connect system. We recommend familiarizing yourself with the Logic Levels and I2C tutorials (above) before using it. Click on the banner above to learn more about our Qwiic products.
Note: First time Raspberry Pi users should also head over to the Raspberry Pi Foundation website and check out their quickstart guides:
We have also listed a few additional resources for users to familiarize themselves with the Raspberry Pi:
Note: First time Nvidia Jetson Nano users should also head over to the Nvidia website and check out their guides and tutorials:
