SparkFun Inventor's Kit for MicroView
Contributors:
 Joel_E_B
Introduction
Welcome to the Experiment Guide for the SparkFun Inventor's Kit for MicroView, or the SIK for MicroView for short. This tutorial will guide you through eleven experiments to help you better understand your MicroView, and, once finished, you should have the knowledge necessary to make your MicroView project dreams a reality.
SparkFun Inventor's Kit for MicroView
KIT-13205Included Materials
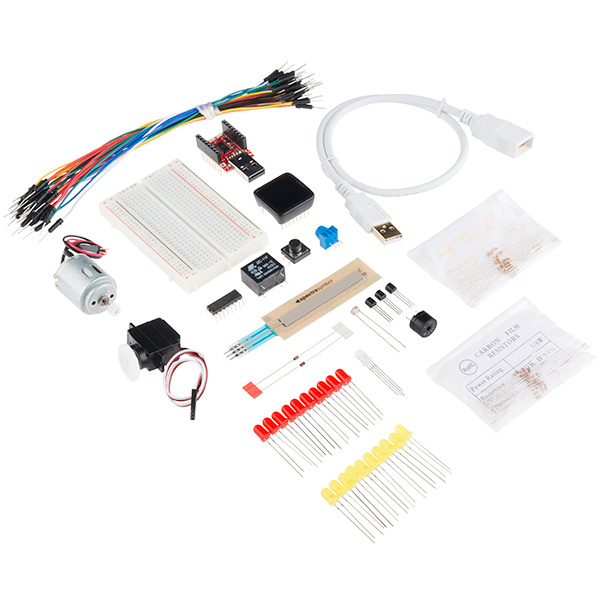
Before you do anything, you should make sure that you have all the necessary parts included with the SIK for MicroView. It's a good idea to familiarize yourself with the parts now, so you know what to look for when it comes time to build the circuits.
- SparkFun MicroView - OLED Arduino Module
- SparkFun MicroView - USB Programmer
- USB Cable Extension - 1.5 Foot
- White Solderless Breadboard
- 74HC595 Shift Register
- 2N2222 Transistors
- 1N4148 Diodes
- DC Motor with Gear
- Small Servo
- SPDT 5V Relay
- TMP36 Temp Sensor
- Softpot
- Jumper Wires
- Photocell
- RGB LED
- Red & Yellow LEDs
- 10K Trimpot
- Piezo Speaker
- Big 12mm Button
- 330Ohm and 10KOhm Resistors
Suggested Reading
To make your MicroView experience as enjoyable as possible, we recommend you be familiar with the following concepts before beginning.
- What is a Circuit
- How to Use a Breadboard
- What is an Arduino?
- Installing the Arduino IDE
- Installing an Arduino Library
- Polarity
- Analog vs Digital
- Analog to Digital Conversion
