SparkFun Inventor's Kit for micro:bit Experiment Guide
 D___Run___,
  bboyho
 Experiment 7: Reading the Temperature Sensor
Introduction
A temperature sensor is exactly what it sounds like --- a sensor used to measure ambient temperature. While there is a temperature sensor built into the micro:bit, we will take this opportunity to learn how to wire an external temperature sensor to measure something that is away from the micro:bit. You will learn how to add an external extension of code to MakeCode that will make using the temperature sensor easier and then put the sensor to good use... measuring the air temperature.
Parts Needed
You will need the following parts:
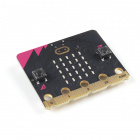
- 1x micro:bit
- 1x Micro B USB Cable
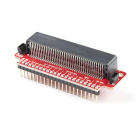
- 1x micro:bit Breakout (with Headers)
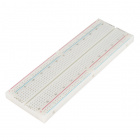
- 1x Breadboard
- 5x Jumper Wires
- 1x TMP36 Temperature Sensor
Didn't Get the SIK for micro:bit?
If you are conducting this experiment and didn't get the Inventor's Kit, we suggest using these parts:


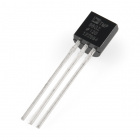
Temperature Sensor - TMP36
SEN-10988Introducing the TMP36 Temperature Sensor
The TMP36 is a low-voltage precision centigrade temperature sensor. It provides a voltage output that is linearly proportional to the Celsius temperature. It also doesn’t require any external calibration to provide typical accuracies of ±1°C at +25°C and ±2°C over the −40°C to +125°C temperature range. The output voltage can easily convert to temperature using the scale factor of 10 mV/°C.
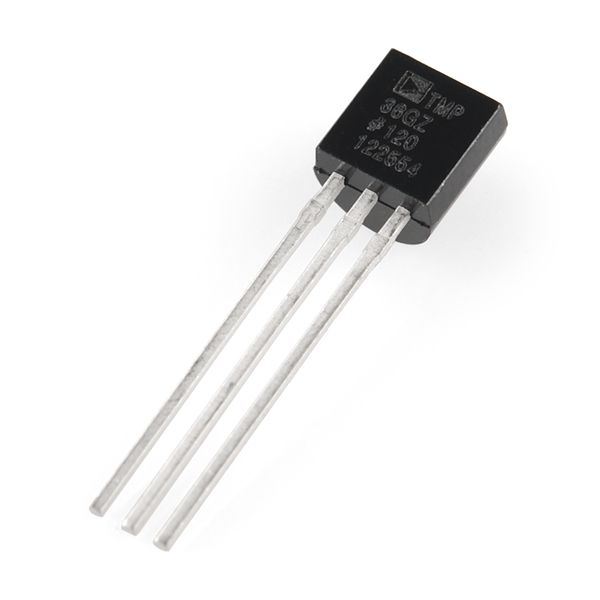
If you are looking at the flat face with text on it, the center pin is your signal pin, the left-hand pin is supply voltage (3.3V in this tutorial), and the right-hand pin connects to ground.
Hardware Hookup
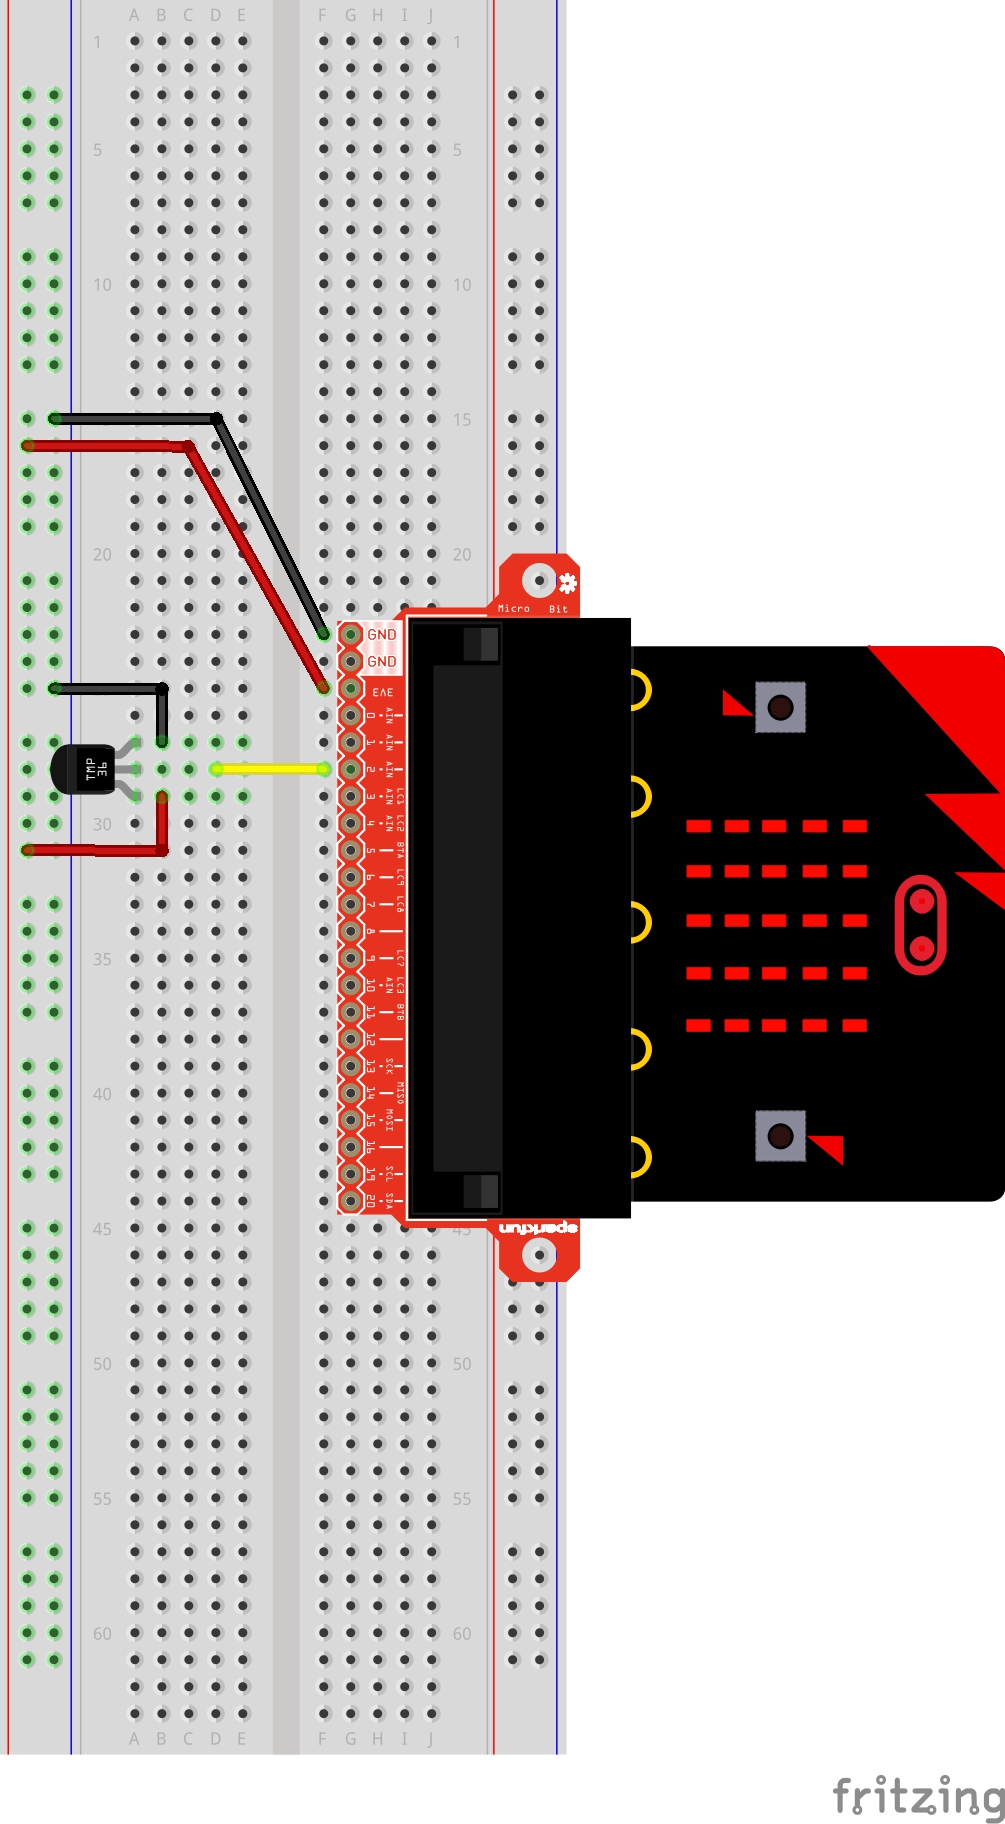
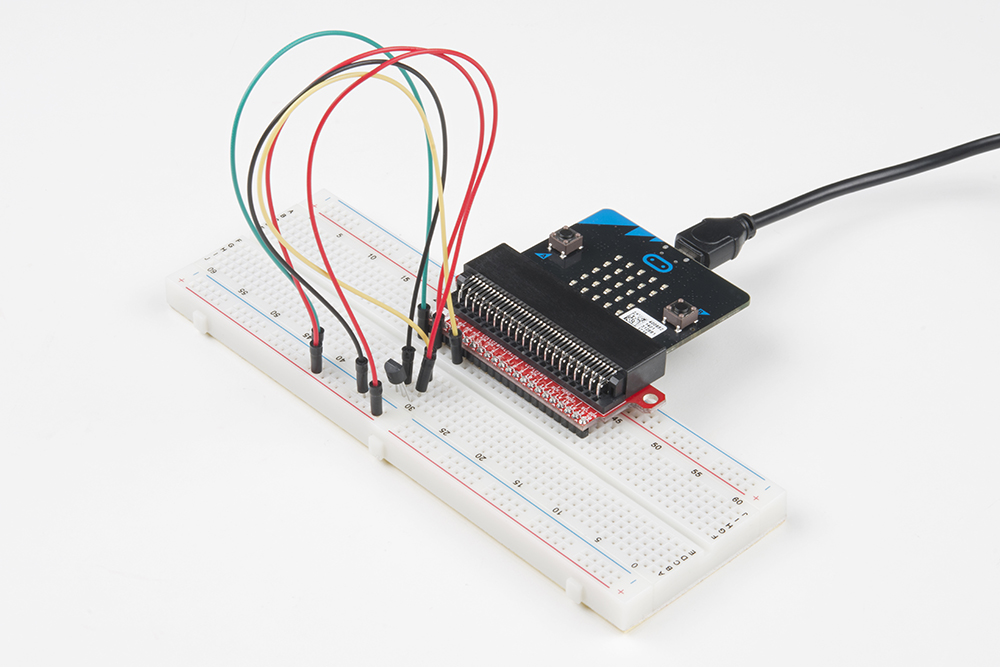
Ready to start hooking everything up? Check out the wiring diagram below to see how everything is connected.
| Polarized Components | Pay special attention to the component’s markings indicating how to place it on the breadboard. Polarized components can only be connected to a circuit in one direction.
The temperature sensor can only be connected to a circuit in one direction. See below for the pin outs of the temperature sensor --- TMP36. |
Wiring Diagram for the Experiment
Run Your Script
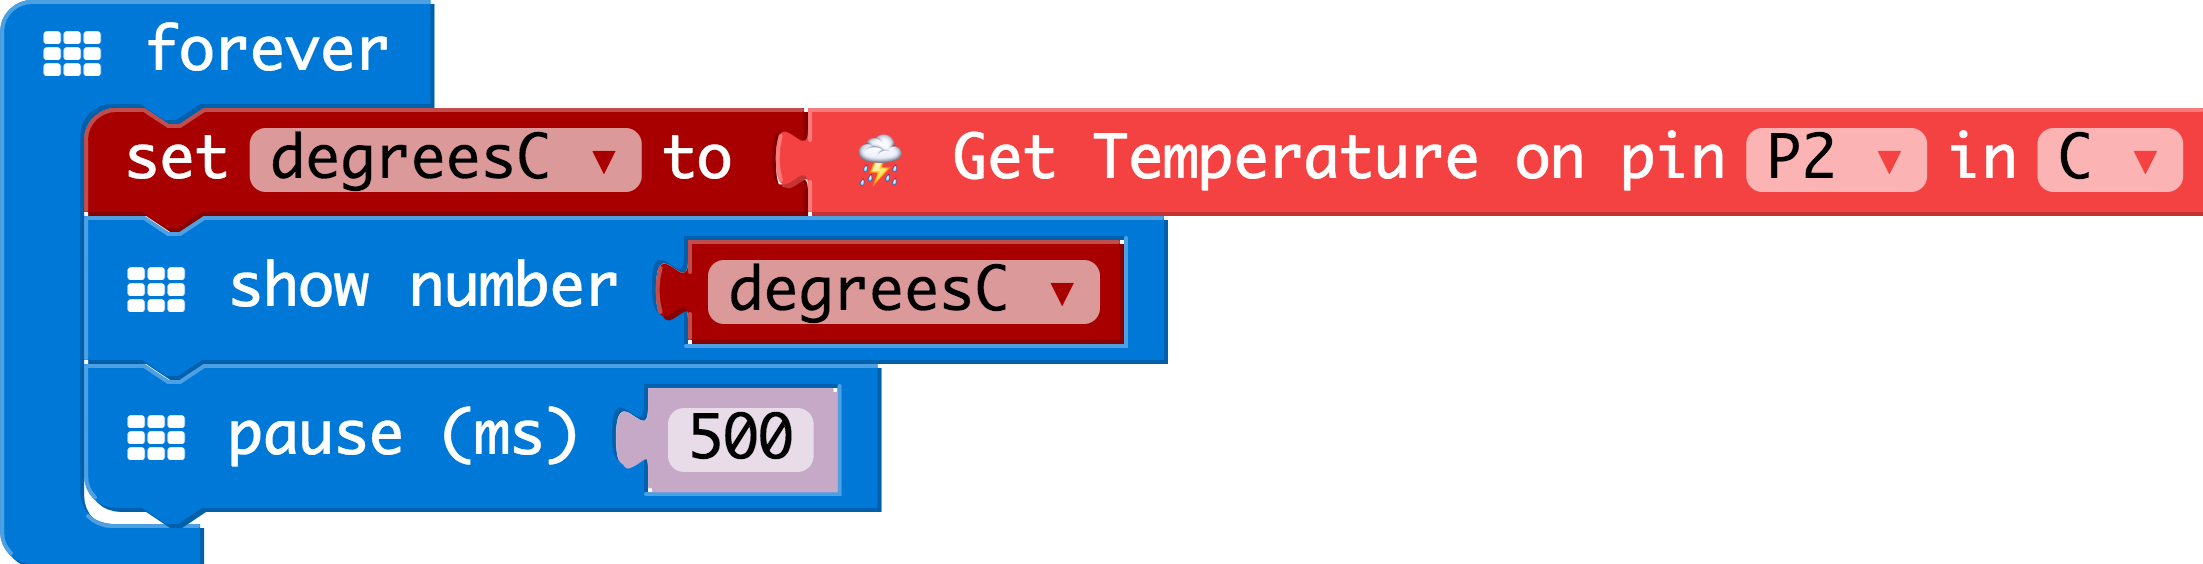
Either copy and paste, or re-create the following code into your own MakeCode editor by clicking the open icon in the upper right-hand corner of the editor window. You can also just download this example by clicking the download button in the lower right-hand corner of the code window.
Code to Note
Let's take a look at the code blocks in this experiment.
Adding an External Extension
In MakeCode you can write external pieces of code that allows you to create and use custom blocks for specific applications and/or components that you could use with the micro:bit. We wrote a simple extension for the TMP36 temperature sensor to cut out a lot of complicated math for you to do.
To add a extension to your MakeCode editor first click on Advanced and then Add Extensions....

This will bring up a search box. Feel free to search for different extensions to play with, but for this specific example you need to search for a specific extension. From here you can search for "SparkFun" or "gator-temp," and it should show up as a public extension in the list. Go ahead and click on it.

Network request failed error, this is because the extension name was adjusted to the gator-temp. You will need to rebuild any code using the TMP36 extension with the gator-temp extension.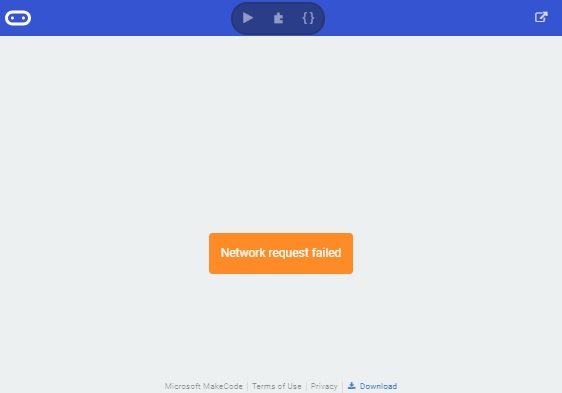
Once you select the gator-temp extension there should be a temperature code block drawer to select from in your blocks menu.
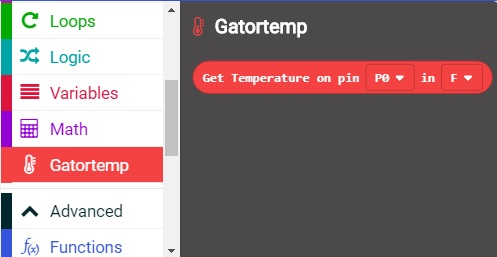
This drawer has only one block in it and that is a block that returns the temperature from a TMP36 sensor connected to a specific pin in Fahrenheit or Celsius.
Show Number
The Show Number block accepts a number value and then displays it on the LED array. That's it! Pretty simple. If the number is longer than a single digit, it will automatically scroll the value for you.
Get Temperature on Pin
The only block in the TMP36 extension is the Get Temperature on Pin block. This block does all of the hard math for you to get an accurate temperature from the TMP36 sensor. You select the pin the sensor is connected to and what unit of measure you would prefer (Fahrenheit or Celsius). If you want, you can also get the raw 10 bit value as well (0-1023).
What You Should See
When your micro:bit turns on, the temperature reading from the TMP36 temperature sensor will be displayed and scrolled across the LED array.
Troubleshooting
Temperature Value is Unchanging
Try pinching the sensor with your fingers to heat it up or pressing a bag of ice against it to cool it down.
Temperature Reads Random 5-Digit Number
If you see an output with "65525", "65533", "65527", etc. on the LEDs, the issue might be due to a loose (or possibly shorted) connection between the 3.3V pin and the TMP36's voltage input pin. The analog pin will probably start reading random values or there is a slight current draw to the temperature sensor from the micro:bit. Make sure that you check your connections by ensuring that there are no loose connections or pins touching where they should not. If you are using alligator clips, make sure that the connection is secure as well and that there are no shorts (try sliding the sheath around the alligator clips for more insulation).
Temperature Sensor is Really Hot!
You have wired it backward! Unplug your micro:bit immediately, let the sensor cool down, and double-check your wiring. If you catch it soon enough, your sensor may not have been damaged and may still work.