SparkFun Inventor's Kit Experiment Guide - v4.0
Introduction
If you have SIK v3.3 or are using parts from the add-on pack, please refer to this tutorial.
The SparkFun Inventor's Kit (SIK) is your map for navigating the waters of beginning embedded electronics. This guide contains all the information you will need to build five projects encompassing the 16 circuits of the SIK. At the center of this guide is one core philosophy: that anyone can (and should) play around with electronics. When you’re done with this guide, you will have built five projects and acquired the know-how to create countless more. Now enough talk — let’s start something!
The print version of this guide is available as a PDF as well. Click the following link to download it. Keep in mind that the original file size used for the printed guidebook was reduced for the web. While the file size was reduced, it is still about a 26MB download.
Choosing a Kit
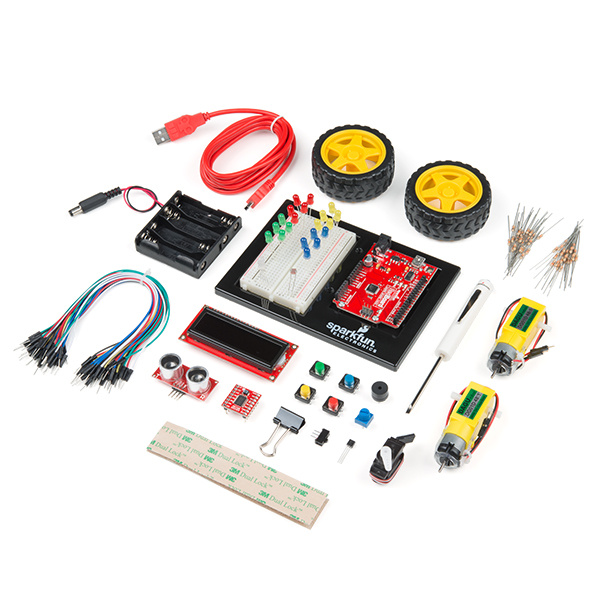
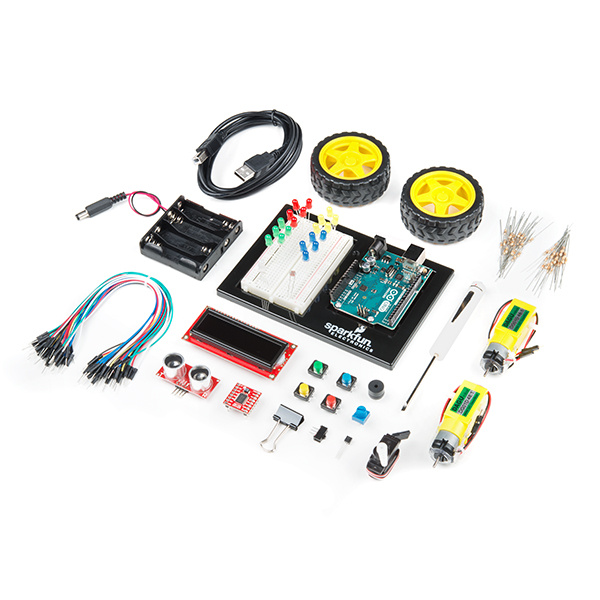
You should have one of the two following versions of the SIK. If you need a overview of the parts included in your kit, please click on the product link below.
SparkFun Inventor's Kit - v4.0
KIT-14265The primary difference between the two kits is the microcontroller included in the kit. The SparkFun Inventor's Kit includes a SparkFun RedBoard, while the SparkFun Inventor's Kit for Arduino Uno includes an Arduino Uno R3. At the heart of each is the ATmega328p microcontroller, giving both the same functionality underneath the hood. Both development boards are capable of taking inputs (such as the push of a button or a reading from a light sensor) and interpreting that information to control various outputs (like a blinking LED light or an electric motor). And much, much more!
If you need more information to determine which microcontroller is right for you, please check out the following tutorials.
What is an Arduino?
RedBoard Hookup Guide
Open Source!
At SparkFun, our engineers and educators have been improving this kit and coming up with new experiments for a long time now. We would like to give attribution to Oomlout, since we originally started working off their Arduino Kit material many years ago. The Oomlut version is licensed under the Creative Commons Attribution Share-Alike 3.0 Unported License.
The SparkFun Inventor's Kit V4.0 is licensed under the Creative Commons Attribution Share-Alike 4.0 International License.

