Simultaneous RFID Tag Reader Hookup Guide
Introduction
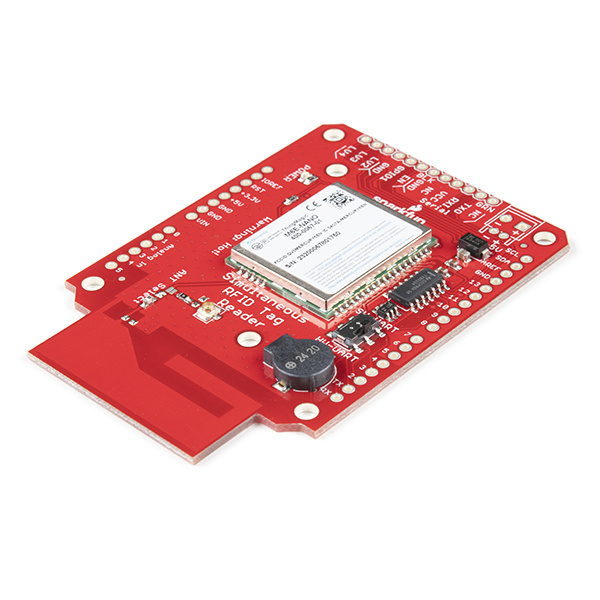
The SparkFun M6E Nano Simultaneous RFID Tag Reader (SRTR for short) has numerous features that make it a huge leap forward over other RFID readers.
The greatest feature is that the SRTR is able to read multiple tags at the same time. Additionally the read distance of tags is greatly increased (up to 16 feet!) from other readers. Did we mention you can write your own data to the tags? Oh yea, you can do that too.
Suggested Materials
The SRTR was designed to work either with a USB to Serial connection to a computer or as a shield to an Arduino-compatible board. If you’re just getting started we recommend you start with the serial connection to a computer so that you can use the Universal Reader Assistant software to experiment quickly with different tags and read distances. Then move to a microcontroller or single board computer. You may not need everything though depending on what you have. Add it to your cart, read through the guide, and adjust the cart as necessary.
USB to Serial Connection
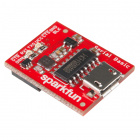
For a basic set-up using the SRTR with a USB-to-Serial connection, we recommend the following products.
Arduino Shield Connection
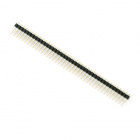
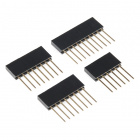
If you’re using the SRTR as a shield, we recommend the following materials.
Any microcontroller or single board computer capable of 115200bps will work (however the module can be configured to 9600bps). The SparkFun RedBoard Qwiic or Arduino Uno are popular options for this role, but just about any microcontroller development board should work. (The firmware examples use an Arduino library, if that serves as any extra motivation to use an Arduino.) You will want an external power supply to run the module at full power. Please see the Power Supply Considerations section for more information.
Additional Materials
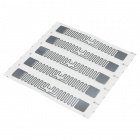
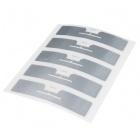
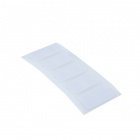
To follow along with the examples in this tutorial, you will also want access to some UHF passive RFID tags, and optionally, an antenna for extended range, and an attachment cable.
UHF RFID Tag (Set of 5)
WRL-14147UHF RFID Tag - Adhesive (Set of 5)
WRL-14151UHF RFID Tags - Adhesive (5 Pack)
WRL-20228Suggested Reading
If you aren't familiar with the following concepts, we recommend checking out these tutorials before continuing.
