How to Build a DIY GNSS Reference Station
 Nate
Nate 
ESP32 Setup (Option 2)
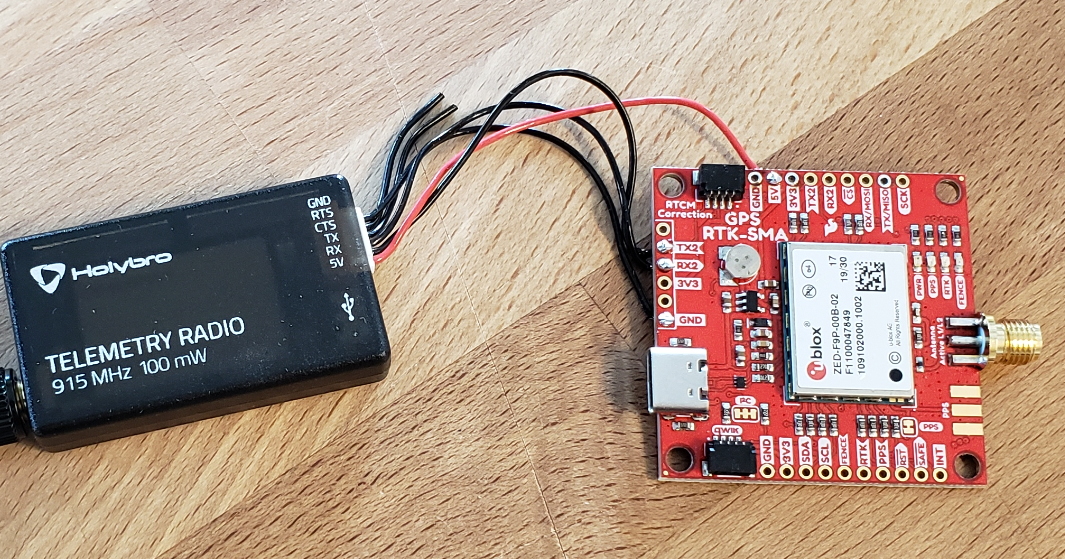
Ok, I admit I am a bit behind the curve here, but the ESP32 Thing Plus is an astounding piece of hardware. If you don’t want to set up a dedicated Windows machine, the ESP32 can send your RTCM correction data directly over WiFi. This greatly simplifies the hardware and software. To hammer the point home, here’s the entirety of my NTRIP Server:

Yep. That’s it. You don’t even really need the USB, that’s only there for power. You can similarly power it from LiPo. And, for extra points, attach a LiPo and USB and your system has a UPS in case the power goes out!
As part of our ever growing Arduino u-blox GNSS library, we’ve added a NTRIP Server example (located under ... -> examples -> ZED-F9P -> Example14_NTRIPServer).
For this code you will need:
- Local WiFi SSID and password
- A casting service such as RTK2Go or Emlid (the port is almost always 2101)
- A mount point and password
- The ECEF coordinates for your fixed or semi-fixed antenna (from earlier in the tutorial)
Modify secrets.h to match your local WiFi SSID and PW. Modify the mount point and caster information. Once all the settings are up to date, load the code onto an ESP32 Thing Plus. Need help getting started? See the ESP32 Thing Plus Hookup Guide.

Once running you will be prompted to press a key to start sending RTCM data. This is to ensure that we don’t unnecessarily hammer or ping the casters before we’re ready. RTK2Go is particularly vigilant about blocking IP addresses that mis-use the service (and rightfully so). So tread lightly and make sure your data is being transmitted correctly. Similarly, you can press a key at any time to stop transmitting and disconnect the socket to the caster.
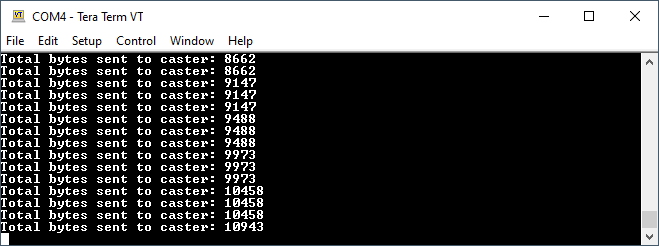
Assuming you’ve got a good static location and your antenna is set up with a clear view of the sky you should start to see ~600 bytes being transmitted to the caster.
That’s it! Remove the key press waits and your NTRIP Server will automatically connect to WiFi and to the Caster service and your NTRIP Server is complete. Easiest NTRIP Server ever.
If you want to also send the RTCM correction data over a radio you can hang the standard SiK1000 radio off the UART2 port of the ZED-F9P. The receiver will diligently pass out the RTCM serial data and the radio will broadcast it.
Pros:
- The power consumption of an ESP32 based system is ~0.5W. Great for a solar powered NTRIP Server!
- Less susceptible to downtime because of Windows updates or COM port issues.
- Much less software to set up and configure.
Cons:
- Configuring an optional radio is not as simple as opening a terminal window and typing AT commands. That said, it’s quite possible to have the ESP32 configure the radio on the fly using AT commands but for our purposes we generally set the radio and forget it.
- The ethernet is not wired so it’s only as stable as your WiFi router.