How to Build a DIY GNSS Reference Station
Affix Your Antenna
You don’t want your antenna moving once you’ve determined its position. Consider investing in a premium antenna but we’ve used the classic u-blox L1/L2 antenna with good success. Mount the antenna to a proper ground plane to a fixed surface that has a very clear view of the sky. No nearby anything.
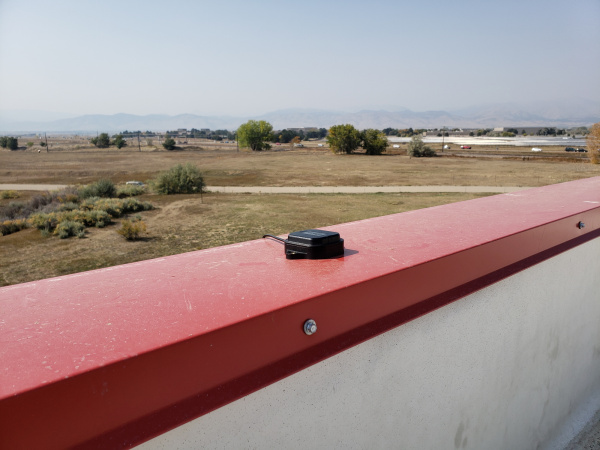
We mounted the u-blox antenna to the ferrous flashing around the top of the SparkFun building. While not completely permanent, the magnets on the u-blox antenna are tested to survive automobile strength winds so it should be fine in the 100+ MPH winds experienced in the front range of Colorado. The u-blox ANN-MB-00 antenna has a 5m cable attached but this was not long enough to get from the SparkFun roof to the receiver so we attached a 10m SMA extension. It’s true that most L1/L2 antennas have a built-in amplifier but every meter of extension and every connector will slightly degrade the GNSS signal. Limit the use of connector converters and use an extension as short as possible to get where you need.
If you want to use a higher grade antenna that doesn’t have a magnetic base we’ve come up with a great way to create a stable fix point without the need for poking holes in your roof!
Most surveying grade antennas have a ⅝” 11-TPI (threads per inch) thread on the bottom of the antenna. Luckily, ⅝” 11-TPI is the thread found on wedge anchors in hardware stores in the US. Wedge anchors are designed to hold walls to foundations but luckily for us we can use the same hardware to anchor an antenna. (We’ve also heard of concrete anchors that use epoxy so be sure to shop around.)
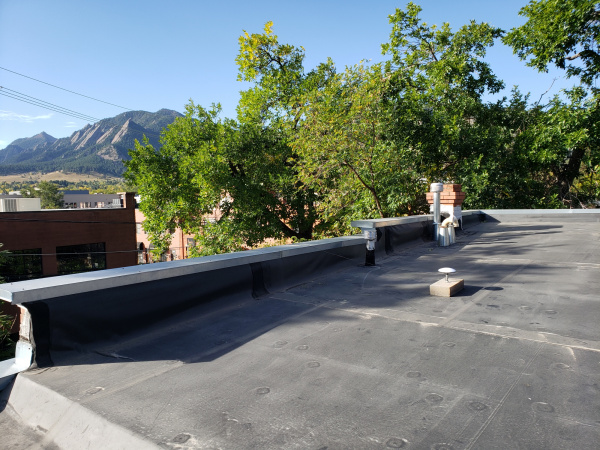
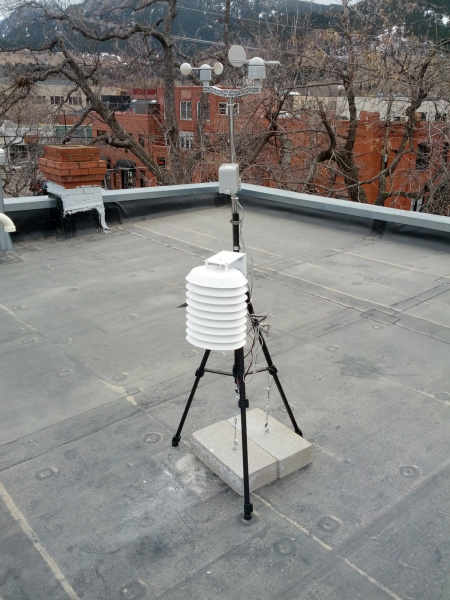
I needed to mount an antenna to my roof. Luckily, I had two, left over cinder blocks from a weather station that, based on the Electric Imp, had long since been retired.
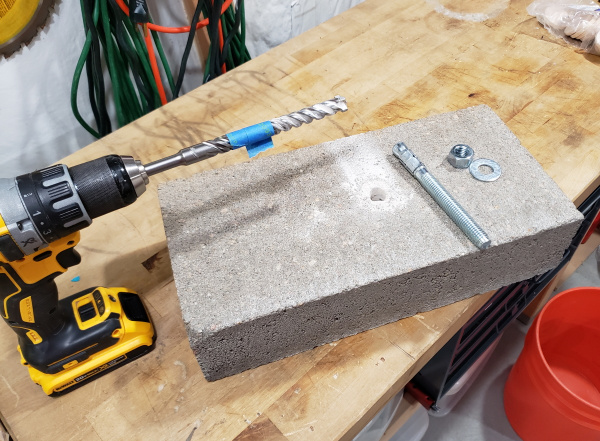
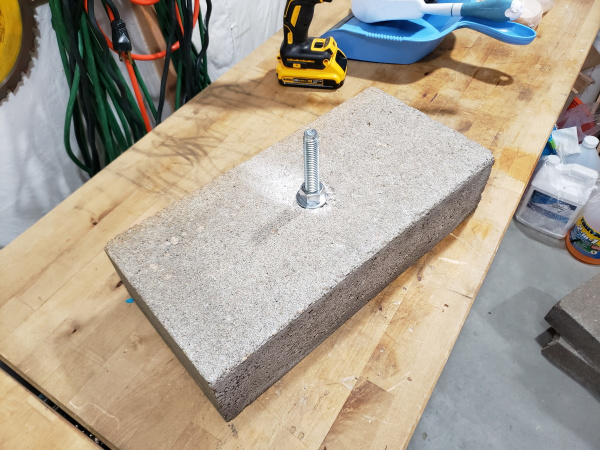
Step one is drilling the ⅝” hole into the cinder block. The masonry bit cost me $20 but cheaper, less fancy ones can be had for less than $10. The blue tape shows me the depth I’m trying to hit. The cinder block is 3.5” thick so I settled on ~2.5” deep. Once the hole is drilled, tip the block upside down to get most of the cement dust out. Then pound the anchor into place.
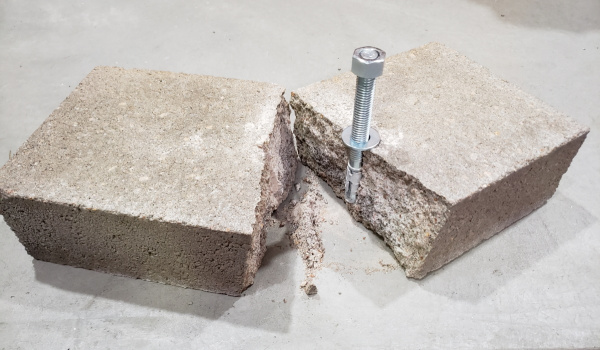
Don’t get greedy! I pounded the anchor so far it split the block. Luckily, I had a second block!
Once the anchor is ~2 inches into the hole tighten the bolt. This will draw the achor back up compressing the collar into place. Note: I finger tightened the bolt and added a ½ turn with a wrench. If you really go after the bolt and tighten it too much you risk pushing the collar out further and breaking the cinder block in half (see Ooops! picture above). We are not anchoring a wall here, just a 400g antenna.
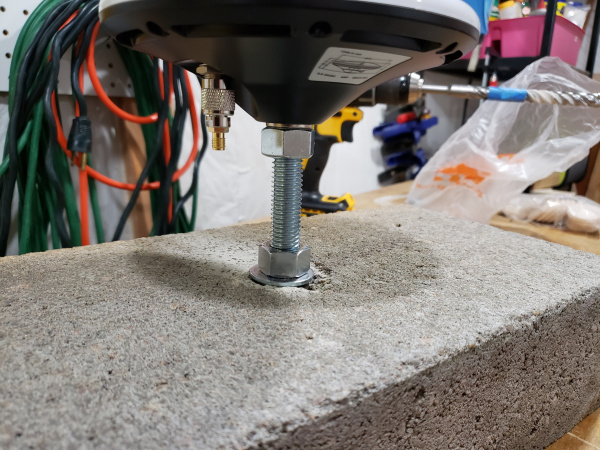
I used a 2nd bolt, tightened against the antenna base, to lock it into place and prevent rotation in either direction. Astute readers will notice my TNC to SMA adapter in the picture above. It’s the wrong gender. Originally, I used an SMA extension to connect my GPS-RTK-SMA to my u-blox L1/L2 antenna on my roof. The GPS-RTK-SMA expects a regular SMA connection so the end of the extension would not connect to this adapter. So before you get out the ladder, test connect everything! Luckily I have a set of adapters and found the right TNC to SMA converter to suit my needs.
I wrapped the SMA extension once around the base. In case anything pulls on the SMA cable the tension will be transferred to the bolt rather than the TNC connection to the antenna.
