Getting Started with the SparkFun Blynk Board
Do the zeRGBa
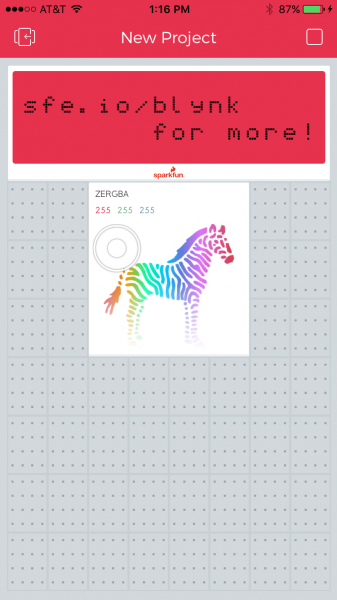
Once you've connected the Blynk Board to a local Wi-Fi network -- and connected it to your Blynk account -- the Blynk app should present you with a nearly blank canvas of a Blynk project.
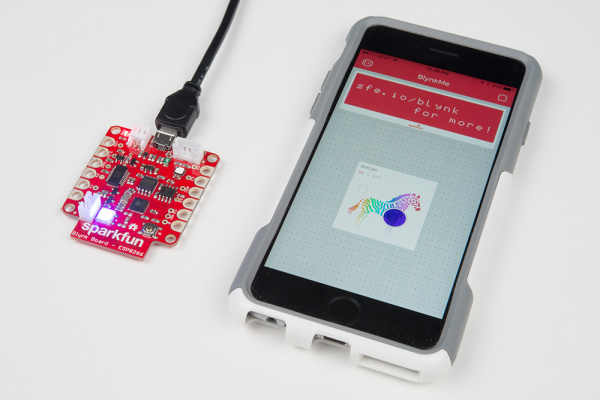
You should be greeted by a festively colored zebra -- the zeRGBa -- and an LCD widget with a rather helpful link.
Your first Blynk project should be all set up to communicate with the Blynk Board. It should also already be running, meaning it's play time! Poke and prod the zeRGBa to select a new color -- you should quickly see a physical manifestation of that color on the Blynk Board.
If your zeRGBa isn't making LEDs blink, first make sure the project is running. The icon in the upper-right corner of the app should be a square "stop" button. If it's a triangular "play" button, tap that to run the project.
Caution: As tempting as it may be to perform a hypnotic light show, dragging your finger along the zeRGBa may cause the Blynk Board and Blynk App to occassionaly "lag out." If the Blynk Board is slow to update the RGB's color, wait a couple seconds for it to re-connect.
To avoid this occasional connection-drop, try "poking" at your zeRGBa color of choice.
Congratulations! You're well on-your-way to being a professional Blynker. From here we recommend you visit the Blynk Board Project Guide to explore over a dozen Blynk projects built into the Blynk Board.
Blynk Board Project Guide
Or, you may want to check out some of these other Blynk-related tutorials:

