Digital Sandbox Arduino Companion
 jimblom
5. Color Mixing
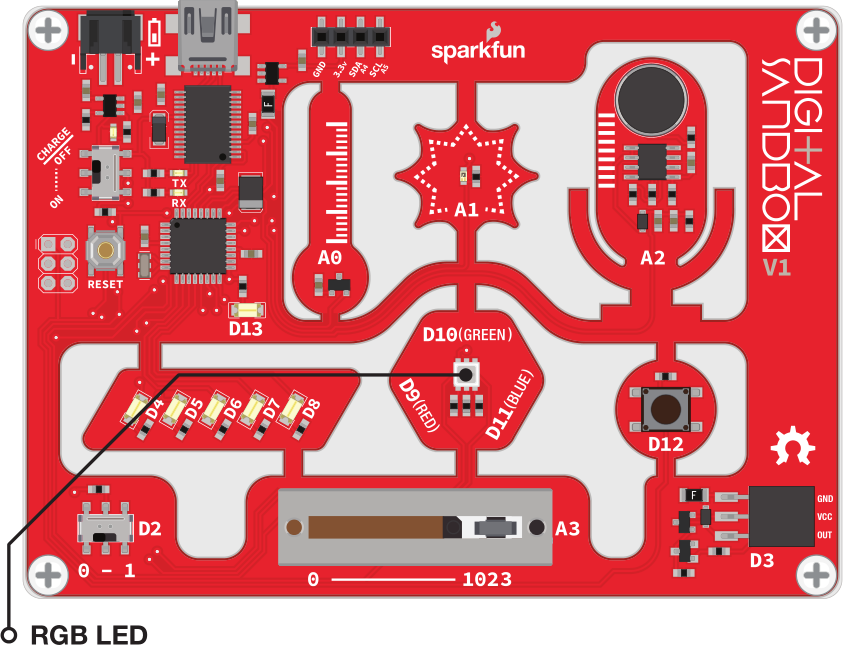
Bleh...white. So boring. Let's add some color to this Sandbox. By combining analog output with an RGB LED, we can mix varying levels of red, green and blue to create a rainbow of colors!
Background Information
In art class you probably learned about primary colors and how you can mix them to produce any other color. While the artsy primary colors you might be familiar with are red, yellow and blue, in electronics (and programming in general) our primary colors are red, green and blue.
By selecting different analog levels for our primary colors, we can mix them to create any other color we want. Need yellow? Mix green and red. Purple? Red and blue. In this experiment we'll combine everything we've learned about analog output to add custom color to the Digital Sandbox.
Active Parts
Sketch and Experiment
Here's our sketch, nothing new to introduce this time. Check out the values in the three analogWrite() functions. What color do you expect will be made? Copy the code below, or open the Sandbox_05_Color_Mixing.ino sketch. Upload and find out.
language:c
    // Sandbox 05: Color Mixing

/* Bleh...white. So boring. Let's add some color to this Sandbox. By combining
   analog output with an RGB LED, we can mix varying levels of red, green and
   blue to create a rainbow of colors!

   In art class you probably learned about **primary colors** and how you can
   mix them to produce any other color. While the artsy primary colors you
   might be familiar with are red, yellow and blue, in electronics (and
   programming in general) our primary colors are red, green and blue.

   By selecting different analog levels for our primary colors, we can mix them
   to create any other color we want. Need yellow? Mix green and red. Purple?
   Red and blue. In this experiment we'll combine everything we've learned about
   analog output to add custom color to the Digital Sandbox.
*/

// The setup function, as usual, hoses our pinMode() declarations.
void setup()
{
    pinMode(9, OUTPUT); // Red LED is on pin 9
    pinMode(10, OUTPUT);// Green LED is on pin 10
    pinMode(11, OUTPUT);// Blue LED is on pin 11
}

// In loop() we can write our three LEDs to make a color:
void loop()
{
    analogWrite(9, 16);     // Set red to 16 (very dim)
    analogWrite(10, 128);   // Set green to 128 (half-bright)
    analogWrite(11, 64);    // Set blue to 64 (quarter-bright)

    // Does it look something like this?
    // http://www.colorpicker.com/108040
    // Try making your favorite color!
}
If it's hard to tell what the color is, put a piece of paper over the RGB LED.
Your Turn!
- Play with the analog values to make your own colors. How about purple, or orange, or salmon? You can take it even further by adding delays, and blinking different colors to make animations. If you need help designing an RGB color code, try picking one out from this color picker website.
- Make a stop light blink from green, to yellow, to red and repeat. You'll need some
delay()'s and a handful ofanalogWrite()trio's.