Cryptographic Co-Processor ATECC508A (Qwiic) Hookup Guide
Contributors:
 QCPete
QCPete 
Resources and Going Further
Now that you've sent signed message between two systems, you are ready to integrate some security into your projects! In these examples we have used hard-wired serial messages between two Arduinos. That communication channel could be anything: Bluetooth, RFM69s, Wifi and the internet, you name it! Good luck!
- Schematic (PDF)
- Eagle Files (ZIP)
- Github (Hardware)
- Github (Arduino Library)
- Microchip ATECC508A DataSheet (PDF)
- CryptoAuthLib - Microchip CryptoAuthentication Library (includes python support)
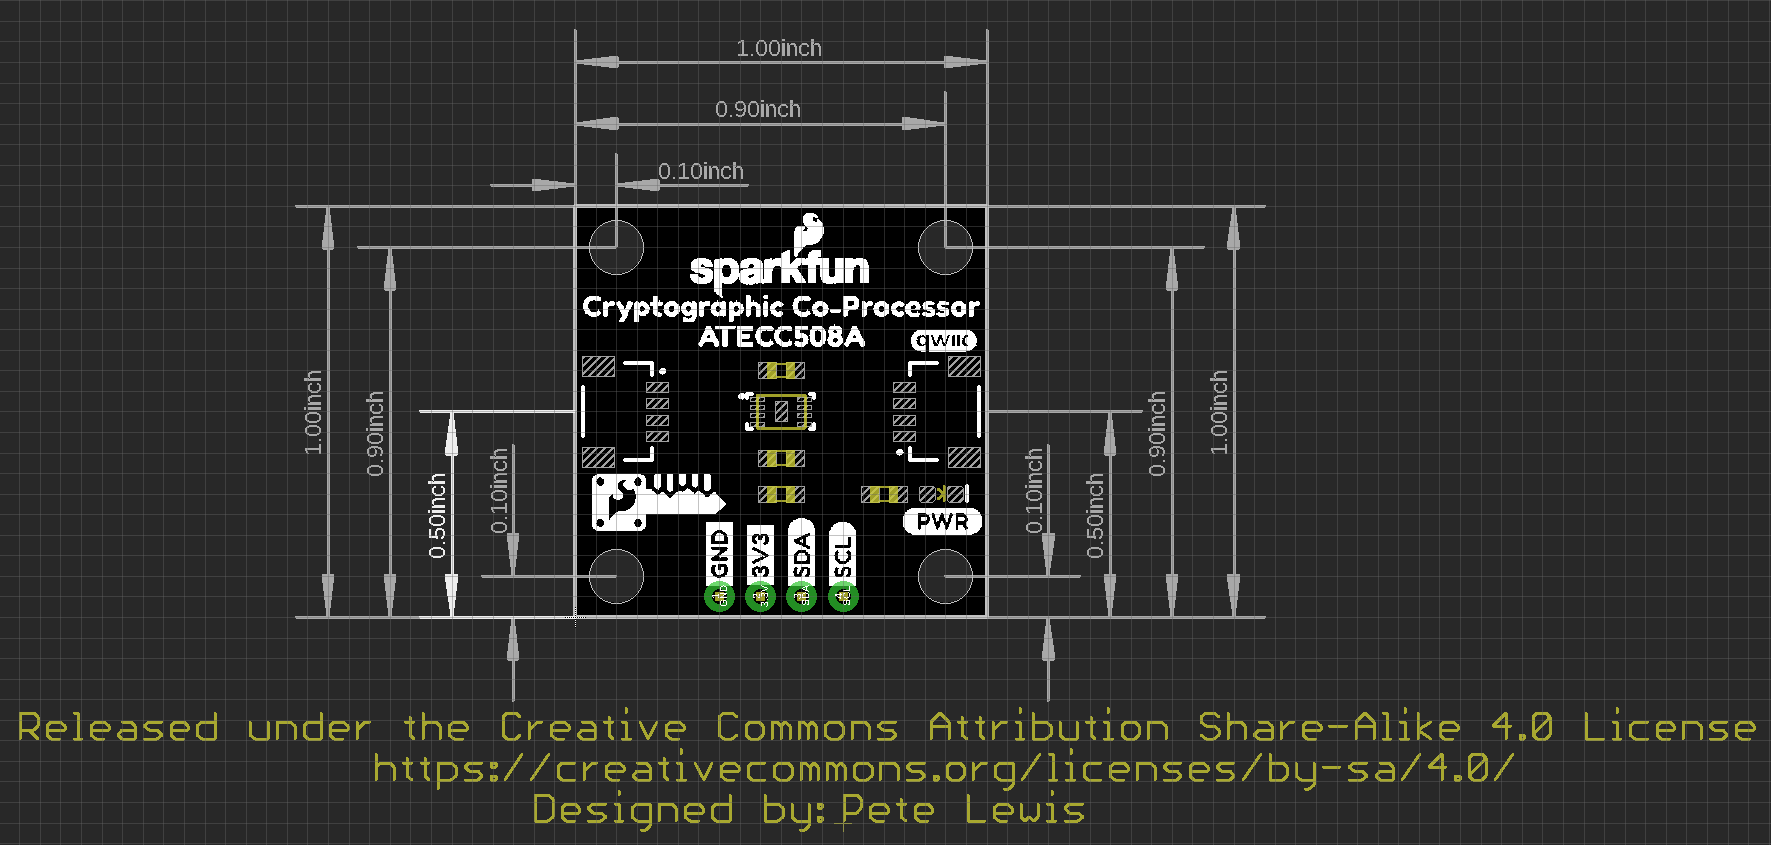
- Board Dimensions (PDF) or (PNG)
- Product Video
Additional Documentation on the Cryptographic Standards (linked from datasheet):
- SHA-256 Algorithm
- HMAC Algorithm
- Elliptic Curve Digital Signature Algorithm (ECDSA)
- Elliptic Curve Diffie-Hellman (ECDH) Key Agreement (Revision 2)
- Elliptic Curve Diffie-Hellman (ECDH) Key Agreement (Revision 2- Draft)
- Diversified Keys
- NIST CAVP certification of the RNG
Need inspiration? Check out some of the Qwiic or IoT related tutorials!
Qwiic Single Relay Hookup Guide
Get started switching those higher power loads around with the Qwiic Single Relay.
SAMD51 Thing Plus Hookup Guide
This tutorial covers the basic functionality of the SAMD51 Thing Plus and highlights the features of the new ARM Cortex-M4F development board.
SparkFun Auto pHAT Hookup Guide
The pHAT to get your projects moving. This guide will help you get started using the Auto pHAT.
Build Your Own High-Concentration CO2 Detector
The SparkFun STC31 CO2 Sensor can accurately measure CO2 concentrations up to 100% with high repeatability and long-term stability, thanks to humidity and temperature compensation provided by the built-in SHTC3. This tutorial will show you how!
SparkFun Blocks for Intel® Edison - PWM
A quick overview of the features of the PWM Block.
Photon OLED Shield Hookup Guide
The Photon OLED Shield has everything you need to add a small yet crisp OLED screen to your Photon projects. This hookup guide will show you how to get started.
Monitor Sensor Data from Anywhere
Using WiFi to send sensor data from an ESP32 to a WiFi network and be able to read it from an IoT Dashboard from anywhere in the world.
SparkFun Thing Plus Matter - MGM240P Hookup Guide
Get started with the SparkFun Thing Plus Matter - MGM240P with this Hookup Guide. This guide covers the hardware on this development board along with a quick intro to using the board with Silicon Labs' Simplicity Studio IDE.