Cryptographic Co-Processor ATECC508A (Qwiic) Hookup Guide
 QCPete
Hardware Hookup
Note: To follow this tutorial, an Artemis microcontroller board has to be used with this product due to the buffer size required for the I2C bus.
For more advanced users, other microcontrollers can be used, but the buffer size of Wire library and/or the syntax for the serial print statements will need to be modified. (*This is outside the scope of this tutorial.)
With the Qwiic connector system, assembling the hardware is fairly simple. For the examples below, all you need to do is connect your Cryptographic Co-Processor Breakout to a RedBoard Artemis with a Qwiic cable. Otherwise, you can use the I2C pins, if you don't have a Qwiic connector on your microcontroller board. Just be aware of your input voltage and any logic level shifting you may need to do. (*Don't forget to plug the Artemis into a computer with a USB-C cable.)
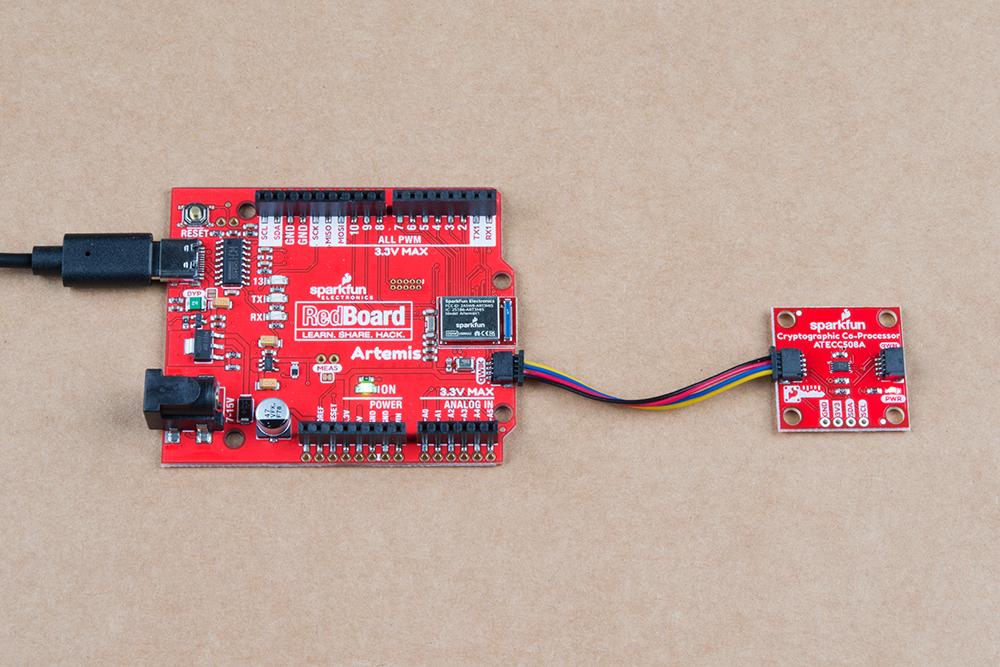
Note, the setup shown here is used for the configuration example and the single-board examples (1,2,3 and 5). For the more advanced examples that involve Alice and Bob (Example 4 and Example 6), you will need to setup two Artemis boards - each with their own co-processor. Additional hardware hookup instructions are included at those sections.