AzureWave Thing Plus (AW-CU488) Hookup Guide
 QCPete,
  bboyho
 Example 4b: Audio Codec - Basic Input/Output
Required Materials
To follow along with this part of the tutorial, you will need the following materials. You may not need everything though depending on what you have. Add it to your cart, read through the guide, and adjust the cart as necessary.


Hardware Hookup
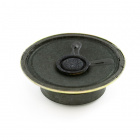
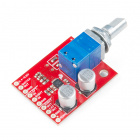
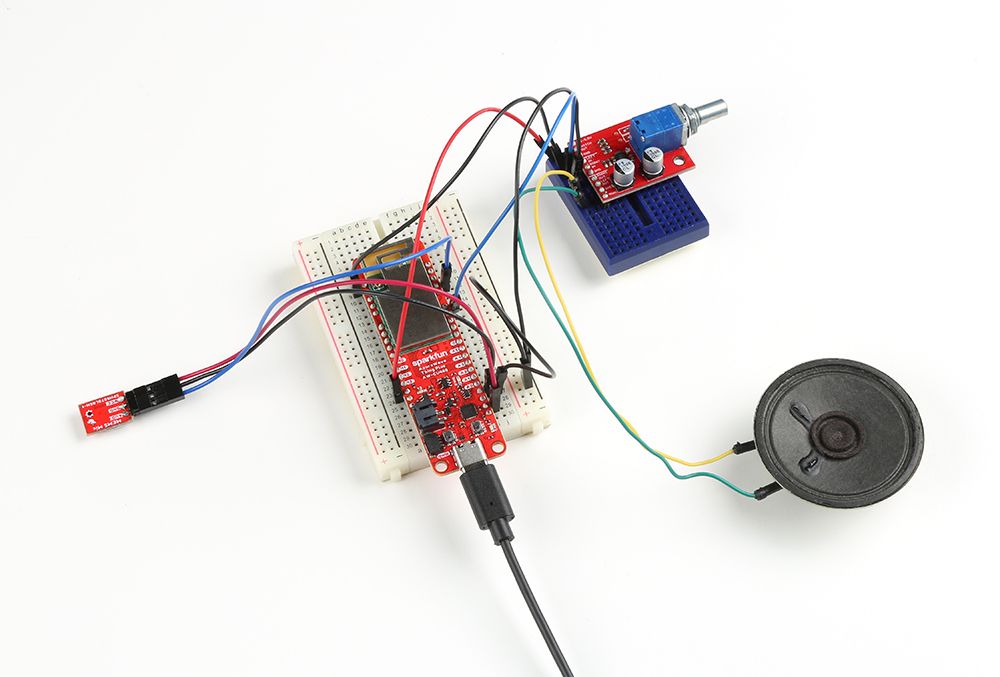
For the following example, you will need the following connection as shown in the Fritzing diagram. The Fritzing diagram connects the input from the microphone to the left analog output. Depending on your setup, you could connect the output to two speakers instead of one. In this case, you would also connect the right analog output (i.e. pin "13" to "RIGHT IN") to the amplifier and add a second speaker (RIGHT OUT and GND) to the setup.
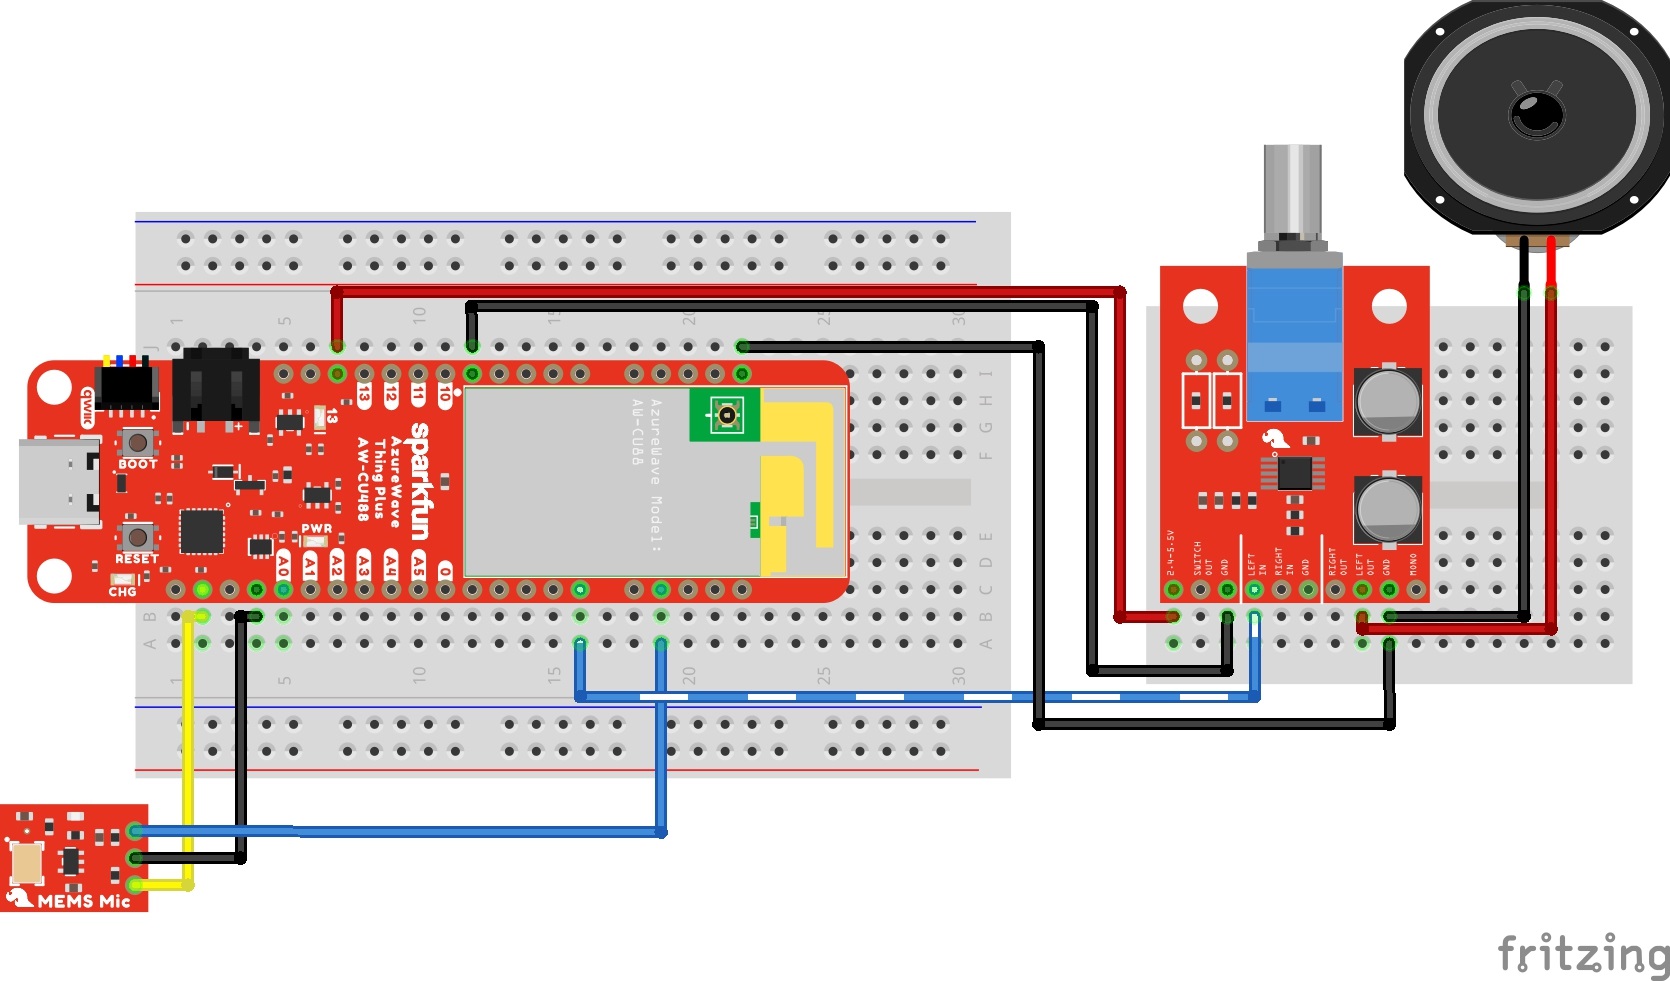
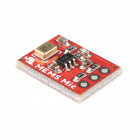
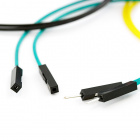
If you have not already, solder headers to the AzureWave Thing Plus (AW-CU488), MEMs microphone, and Noisy Cricket. As explained in the previous section, make sure to carefully remove any flux residue from the boards so that liquid is not trapped in the microphone or AW-CU488 module. Then strip two wires and solder the wire ends to the speaker tabs. Of course, you could solder the pins on the M/M jumper wire to the speaker tab as well without needing to strip the wires as well.

Example Code
Let's upload the sketch to read the input from a microphone and output the signal to one speaker. From the menu, select the following: File > Examples > Examples for AW_CU488 Thing Plus (RTL8721DM) | AmebaAudioCodec > BasicInputOutput.
Or you can copy and paste the following code in the Arduino IDE. Select the correct board definition from the menu (in this case, Tools > Boards > AW-CU488 Thing Plus (RTL8721DM)). Then select the correct COM port that the board enumerated to (in this case, it was COM15). Hit upload button.
language:c
//int analog_pin = A0;  //<=== Add this line before including Audio Codec library if you are using the potiometer and  not using the value A0

#include "AudioCodec.h"

#define SAMPLECOUNT 512

int16_t buffer[SAMPLECOUNT] = {0};
unsigned int vol = 1024;

void setup() {
    Codec.setSampleRate(16000);
    Codec.begin(TRUE, TRUE);
}

void loop() {
    // if received data is avaliable and transmit data buffer is avaliable for write
    if(Codec.writeAvaliable() && Codec.readAvaliable()) {
        Codec.readDataPage(buffer, SAMPLECOUNT);    // read latest received data from buffer
        Codec.writeDataPage(buffer, SAMPLECOUNT);   // write latest data into transmit data buffer
    }
    //vol = analogRead(A0);// commented out so we do not need to connect a potentiometer
    vol = 750; // adjust this value between 0 to 1024
    vol = map(vol, 0, 1024, 0, 100);
    Codec.setOutputVolume(vol, vol);
}
Once uploaded, try blowing some air across the microphone or lightly tapping the microphone on the table. You should hear the same sound but louder on the output speaker. You will notice a small delay on the output as the sound is read in from the microphone and written out to the speakers.