AzureWave Thing Plus (AW-CU488) Hookup Guide
Contributors:
 QCPete,
  bboyho
Example 1: Blink
Required Materials
To follow along with this part of the tutorial, you will need one AzureWave Thing Plus board and USB C cable.
Note: Click below for a wishlist of the parts for this section.
Hardware Hookup
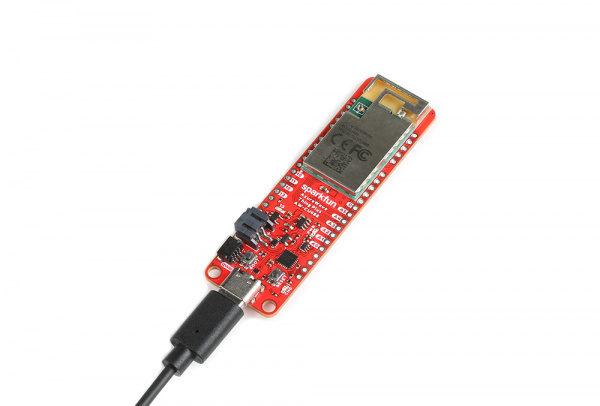
The connection is the same as explained earlier in the tutorial. Connect the USB cable to the AzureWave Thing Plus (AW-CU488).
Example Code
Let's upload a sketch to the board. Copy and paste the following code in the Arduino IDE. Select the correct board definition from the menu (in this case, Tools > Boards > AW-CU488 Thing Plus (RTL8721DM)). Then select the correct COM port that the board enumerated to (in this case, it was COM15). Hit upload button.
language:c
/*
  Blink
  Turns on an LED on for one second, then off for one second, repeatedly.

  This example code is in the public domain.
 */

// Pin 13 has an LED connected on most Arduino boards.
// give it a name:
int led = 13; //LED is connected to pin 13 on the AzureWave Thing Plus (AW-CU488)

// the setup routine runs once when you press reset:
void setup() {
  // initialize the digital pin as an output.
  pinMode(led, OUTPUT);
}

// the loop routine runs over and over again forever:
void loop() {
  digitalWrite(led, HIGH);   // turn the LED on (HIGH is the voltage level)
  delay(1000);               // wait for a second
  digitalWrite(led, LOW);    // turn the LED off by making the voltage LOW
  delay(1000);               // wait for a second
}
Note: You can also use the macro for the LED by using
LED_BUILTIN.
Once uploaded, check the LED labeled as 13 on the board. It should be blinking on and off every second! Sweet!


