Contributors:
 QCPete
,
 bboyho
 Introduction
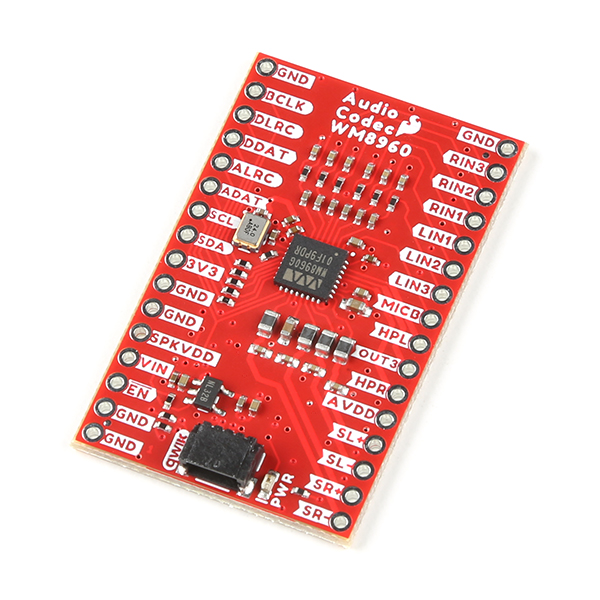
The SparkFun Audio Codec Breakout - WM8960 is a low power, high quality stereo codec with 1W Stereo Class D speaker drivers and headphone drivers. The WM8960 acts as a stereo audio ADC and DAC, and communicates using I2S, a standard audio data protocol (not to be confused with I2C). This audio codec is chock full of features some of which includes advanced on-chip digital signal processing for automatic level control (ALC) for the line or microphone input, programmable gain amplifier (PGA), pop and click suppression, and its ability to configure I2S settings and analog audio path through software via I2C.
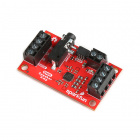
BOB-21250
The SparkFun WM8960 Audio Codec Breakout is a low-power, high-quality stereo codec with 1W Stereo Class D speaker drivers and…
Retired
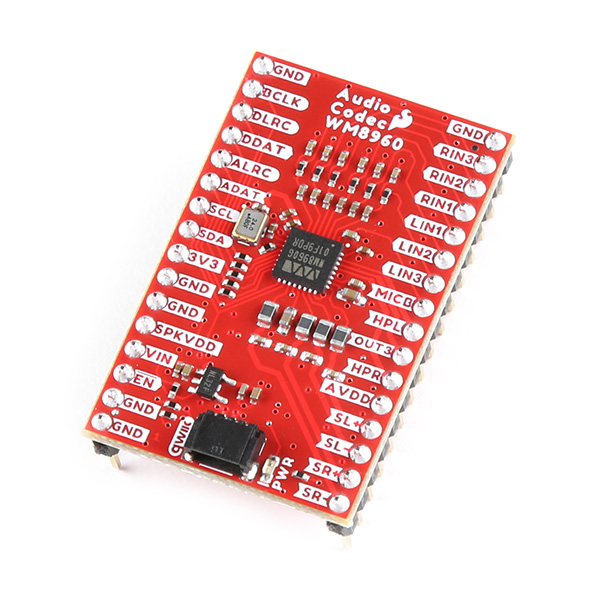
BOB-21772
The SparkFun WM8960 Audio Codec Breakout with Headers is a low-power, high-quality stereo codec with 1W Stereo speaker driver…
Retired
Required Materials
To follow along with this tutorial, you will need the following materials at a minimum. You may not need everything though depending on what you have. Add it to your cart, read through the guide, and adjust the cart as necessary. Note that the wishlist does not include any microphones or speakers.
Note: For users interested in just the wireless speaker and example 9, check out the
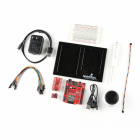
SparkFun Qwiic Wireless Speaker Kit below! The kit includes a TRRS breakout with headers instead of the TRS breakout. RING2 of the TRRS connector also connects to the TRS cable's sleeve. When wiring your circuit up, we recommend connecting to the sleeve in case you have a headphone with a TRRS connector. The kit also includes a mini amplified speaker.
KIT-21773
The SparkFun Qwiic Wireless Speaker Kit provides you with everything you need to make a wireless audio speaker.
Retired
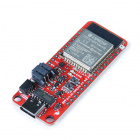
Arduino Microcontroller
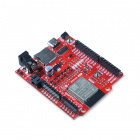
You will need an Arduino microcontroller to configure the WM8960. We recommend the Espressif's ESP32 WROOM. For the scope of this tutorial, we will be using the IoT RedBoard ESP32 - Development Board since it already includes female headers on the board to connect jumper wires to the WM8960.
WRL-20168
The USB-C variant of ESP32 Thing Plus is a development board with WiFi, SPP, BLE, Qwiic connector, 21 I/O pins, RGB status LE…
WRL-15663
The SparkFun ESP32 Thing Plus is the next step to get started with Espressif IoT ideations while still enjoying all the ameni…
WRL-19177
The IoT RedBoard is an ESP32 WROOM-equipped development board that has everything you need in an Arduino Uno with extra perks…
Differential Microphone Input
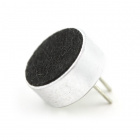
Below is a differential microphone from the catalog that you can connect as a differential microphone input. Note that you will need a resistor and the MICBIAS pin to connect to the eletret microphone.
COM-08635
This tiny electret microphone is an excellent choice for adding basic acoustic sensing and audio input to your electronics pr…
Single Ended Microphone Input
Below are a few electret and MEMS microphones from the catalog that you can connect as a single ended microphone input.
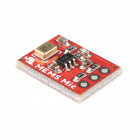
BOB-19389
The SparkFun Analog MEMS Microphone Breakout makes it easy to work with the SPH8878LR5H-1 analog microphone from Knowles.
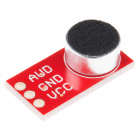
BOB-12758
This fully assembled breakout board couples the standalone electret microphone with a powerful 60x microphone preamplifier. T…
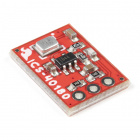
BOB-18011
The SparkFun Analog MEMS Microphone Breakout makes it easy to work with the InvenSense ICS-40180 analog microphone.
Retired
Differential Speaker Output
Below are a few speakers from the catalog that you could use as an output. You will want to choose differential speakers like the following listed below (not to be confused by the piezo buzzers). Note that some speakers may perform better than others at certain frequencies while others operate around a certain frequency range. Make sure to check out the speaker's datasheet when choosing a speaker.
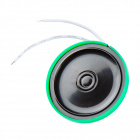
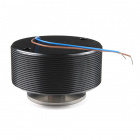
COM-15350
This 0.5W, 8Ohm speaker is only 40mm in diameter and just over 4mm thick, the same kind you might find in one of those "talki…
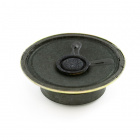
COM-09151
A small audio speaker that is ideal for radio and amplifier projects and is small enough to fit in robot projects.
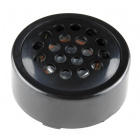
PRT-20660
This is a small 15mm round speaker that operates around the audible 2kHz range.
COM-11089
This through-hole speaker is great for projects where you need something that sounds better than a piezo buzzer but don't hav…
Retired
Note that some speakers may be rated as a higher wattage (more than what the Audio Codec's speaker driver can output). Higher wattage speakers will still play sound but they won't be fully powered.
COM-19102
Surface transducers give you the awesome power to turn almost any surface into a speaker.
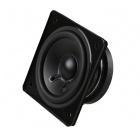
COM-18379
This speaker is an excellent choice for compact applications requiring high fidelity music, or high intelligibility voice/com…
Retired
Note: Amplified speakers that have a 3.5mm TRS audio connector can also be used. However, you will not be using the speaker output channels. Users can connect the headphone output to amplified speakers with a TRS audio connector as well. The hamburger mini speaker could be one option.
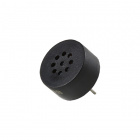
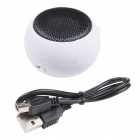
COM-14023
This will be a treat for your ears! The Hamburger Mini Speaker is a 3W economical speaker option for any project needing stan…
Looking for more power? Try connecting the audio codec's headphone output to another external amplifier like the Qwiic Speaker Amp. The Qwiic Speaker Amp is capable of driving 4Ω speakers at up to 2.8W in stereo, and 8Ω speakers at up to 1.7W in stereo.
DEV-20690
The SparkFun Qwiic Speaker Amp includes the Texas Instruments TPA2016D2 class-D stereo audio amp.
Audio Accessories
Depending on your setup, you may need an adapter or cable for the TRS audio connection for line level input or headphone output.
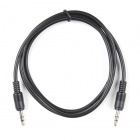
CAB-18983
This cable has a standard TRS 3.5mm plug on both ends allowing for easy connections to any 3.5mm jack.
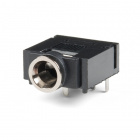
PRT-08032
Low profile 3.5mm stereo audio jack.
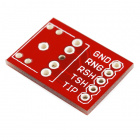
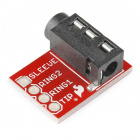
PRT-10588
Simple breakout board for the 3.5mm audio jack. Use this breakout (shipped bare) to allow breadboard or SIP access to the sup…
You can also use a TRRS breakout instead of the TRS breakout listed above. RING2 of the TRRS connector also connects to the TRS cable's sleeve. When wiring your circuit up, we recommend connecting to the sleeve in case you have a headphone with a TRRS connector.
BOB-11570
TRRS connectors are the audio-style connectors that you see on some phones, MP3 players and development boards. TRRS stands f…
Tools
You will need a soldering iron, solder, and general soldering accessories for a secure connection when using the plated through hole pads.
TOL-14456
This adjustable-temperature soldering iron is a great tool for when you don't want to break the bank but need a reliable iron…
TOL-09163
This is your basic tube of unleaded (Pb-free) solder with a no clean, water soluble resin core. 0.031" gauge and 15 grams
Prototyping Accessories
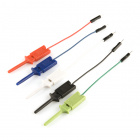
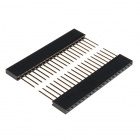
Depending on your setup, you may want to use IC hooks for a temporary connection. However, you will want to solder header pins to connect devices to the plated through holes for a secure connection. Note that you will need to breakaway the male header pins or cut the female header pins down to fit the two rows of 1x16 PTH on the breakout. Of course, you could also solder wire as well.
PRT-12002
This is your tried and true white solderless breadboard. It has 2 power buses, 10 columns, and 30 rows - a total of 400 tie i…
PRT-00116
A row of headers - break to fit. 40 pins that can be cut to any size. Used with custom PCBs or general custom headers.
CAB-09741
When you are trying to analyze the tiny legs of a surface-mount component, standard alligator clips just won't cut it. These …
PRT-08431
This is a SparkFun exclusive! These are 155mm long, 26 AWG jumpers with male connectors on both ends. Use these to jumper fro…
PRT-14311
These headers are made to work with the SparkFun ESP32 Thing to connect to ESP32 Shield boards.
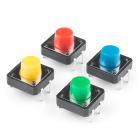
For users that are interested in adding an input to adjust volume or modes, you can add a trimpot and button to the setup. A few of the examples used in this tutorial use the trimpot to adjust. You will need to add a few lines of code if you want to toggle certain modes (i.e. 3D enhance, loopback, etc) or if you decided to use buttons to turn up or down the volume. For advanced users using their own differential microphones, you will need to add a 2.2kΩ resistor in series with each microphone. Other passives like capacitors may also be needed depending on your application.
COM-10969
Nothing stops a project dead in its tracks faster than not having the right resistor. These components are arguably the most …
COM-09806
This 10K trimmable potentiometer has a small knob built right in and it's breadboard friendly to boot!
PRT-14460
This is a simple 4-pack of momentary, multicolor buttons, great for all sorts of projects! Unlike previous iterations of mult…
COM-00096
Electrolytic decoupling capacitors 100uF/25V. These capacitors are great transient/surge suppressors. Attach one between the …
For those that want to take advantage of the Qwiic enabled devices, you'll want to grab a Qwiic cable.
KIT-15081
To make it even easier to get started, we've assembled this Qwiic Cable Kit with a variety of Qwiic cables from 50mm to 500mm…
PRT-14425
This is a jumper adapter cable that comes pre-terminated with a female Qwiic JST connector on one end and a breadboard hookup…
Retired
PRT-14427
This is a 100mm long 4-conductor cable with 1mm JST termination. It’s designed to connect Qwiic enabled components together…
Retired
PRT-14429
This is a 500mm long 4-conductor cable with 1mm JST termination. It’s designed to connect Qwiic enabled components together…
Retired
You Will Also Need
Depending on your setup, you will also need some sort of audio source. This can be from your smartphone or computer. Most of the examples listed in this tutorial will output the audio through the headphones. You will also need to have a pair of headphones with a 3.5mm TRS audio jack on the end.
- Audio Source
- MP3 Player
- Bluetooth ® Audio Device (e.g. smartphone, computer, transmitter)
- Headphones with 3.5mm TRS Audio Jack
Suggested Reading
If you aren't familiar with the MicroMod ecosystem, we recommend reading here for an overview if you decide to take advantage of the Qwiic connector.
If you aren’t familiar with the following concepts, we also recommend checking out a few of these tutorials before continuing. Make sure to check the respective hookup guides for your microcontroller to ensure that you are installing the correct USB-to-serial converter. You may also need to follow additional instructions that are not outlined in this tutorial to install the appropriate software.
How to Use a Breadboard
Welcome to the wonderful world of breadboards. Here we will learn what a breadboard is and how to use one to build your very first circuit.
I2C
An introduction to I2C, one of the main embedded communications protocols in use today.
SparkFun Serial Basic CH340C Hookup Guide
SparkFun Serial Basic Breakout takes advantage of USB-C and is an easy-to-use USB-to-Serial adapter based on the CH340C IC from WCH. With USB-C you can get up to three times the power delivery over the previous USB generation and has the convenient feature of being reversable.
Installing Board Definitions in the Arduino IDE
How do I install a custom Arduino board/core? It's easy! This tutorial will go over how to install an Arduino board definition using the Arduino Board Manager. We will also go over manually installing third-party cores, such as the board definitions required for many of the SparkFun development boards.


