Advanced Autonomous Kit for Sphero RVR Assembly Guide
 Pearce, Ell C
Mounting Plate and Time of Flight Sensor Brackets
If you have not already, peel the protective layer off of the front and back of the acrylic plate.

The metal standoffs attach to the mounting plate with the 4-40 nuts. The threaded end of the standoffs will be facing up. Take extra care in tightening the nuts as you can crack the plate if you over-tighten them.
The time of flight sensors will need to be facing forward and backwards unobstructed. 4 right-angle mounting brackets have been included so the sensors can be mounted in the proper position on the mounting plate. The sensors can be added later, but it’s best to get these on the board before the pan-tilt rig is mounted. They're fastened to the mounting plate with a 1/4" screws and a 4-40 nut (for each bracket).
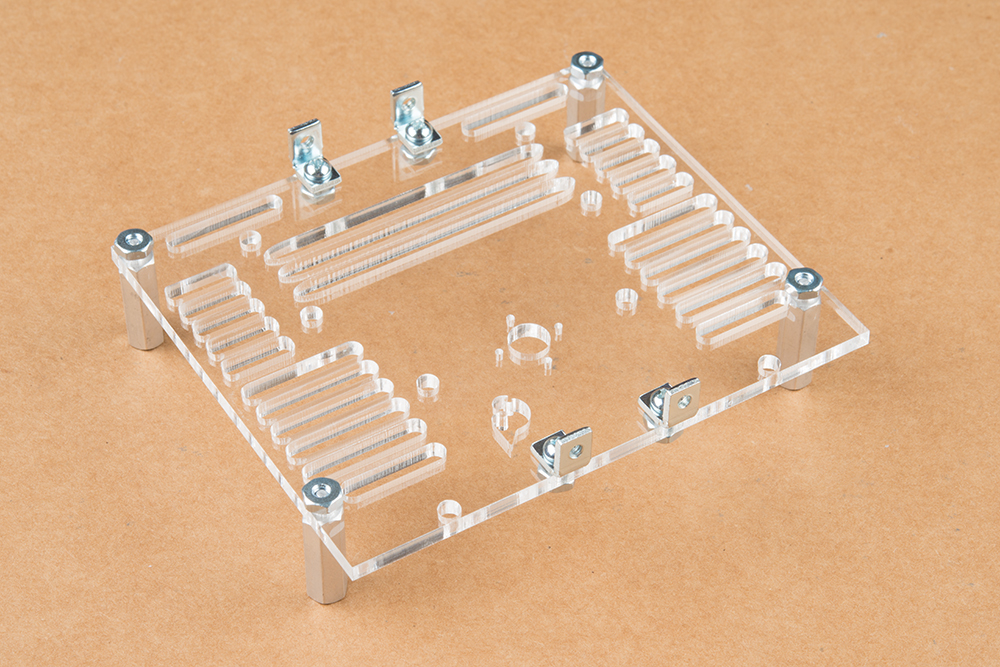
Note that the right-angle brackets have one threaded and one un-threaded hole. The threaded holes are smaller than the un-threaded holes, and if you look closely, you'll see the threads in the smaller holes.
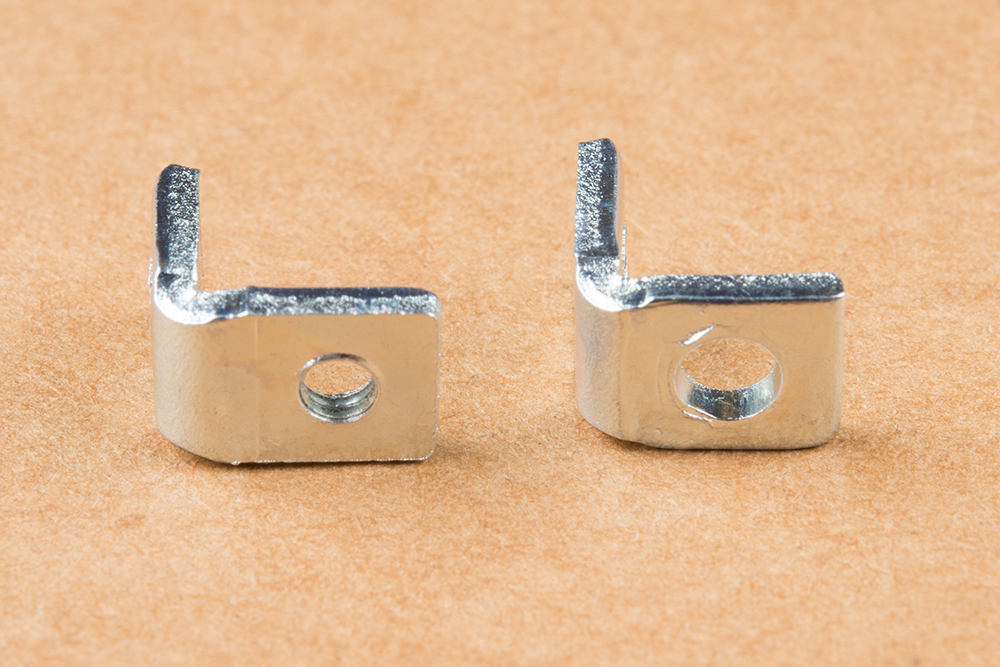
It’s important that the threaded holes are perpendicular to the plate, those will be the holes the screws that hold the sensor board in place use.