Advanced Autonomous Kit for Sphero RVR Assembly Guide
 Pearce, Ell C
Attaching the Raspberry Pi Zero Camera Cable
You'll need to mount the Raspberry Pi Camera to the pan-tilt mechanism using the included square of double sided tape. However, I recommend you plug in the camera to the ribbon cable before securing the camera to the tape square.
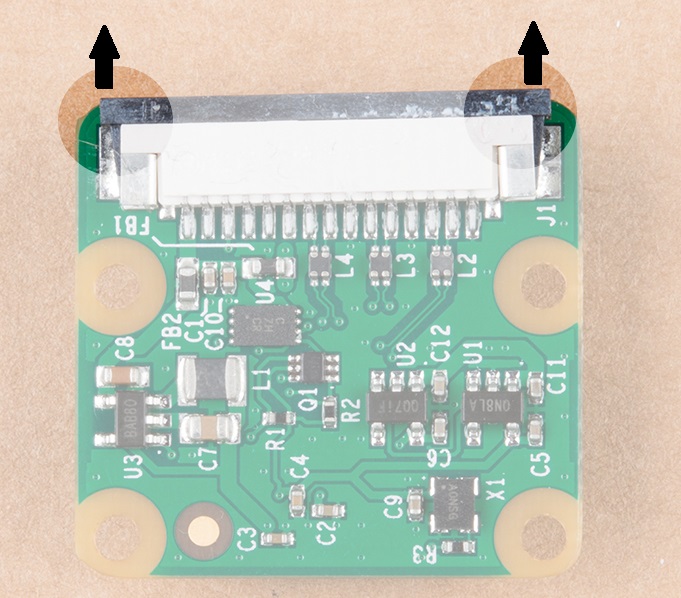
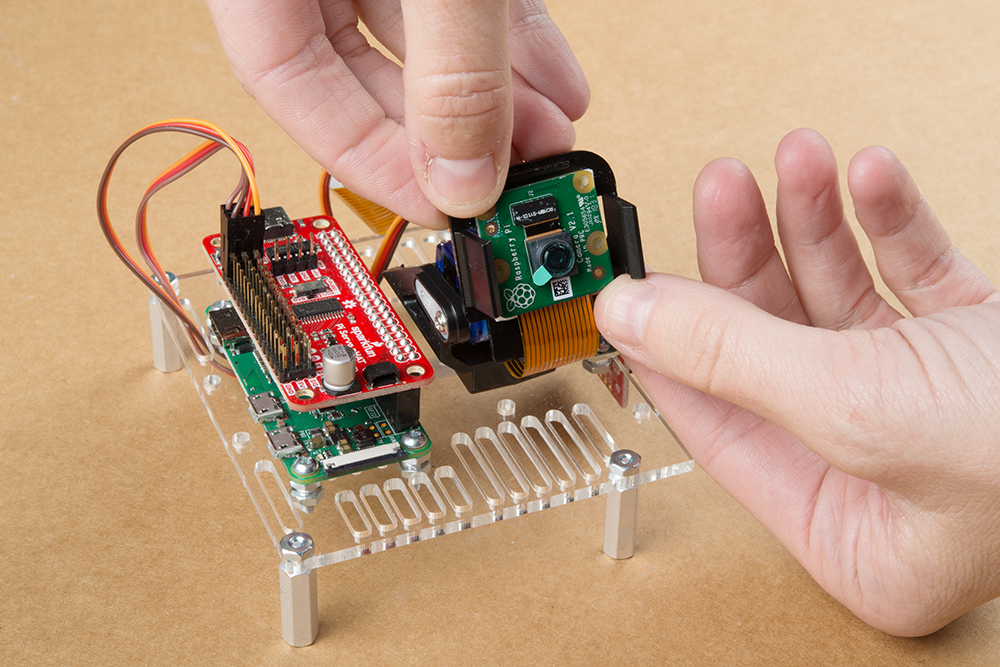
To connect the ribbon cable, you'll need to carefully slide the flexible ribbon cable connector's locking tab out. The locking tab slides out parallel to the board so you'll need to push each side of the tab with your fingernails. The image below highlights where you would need to place your fingernails to slide the tab out.
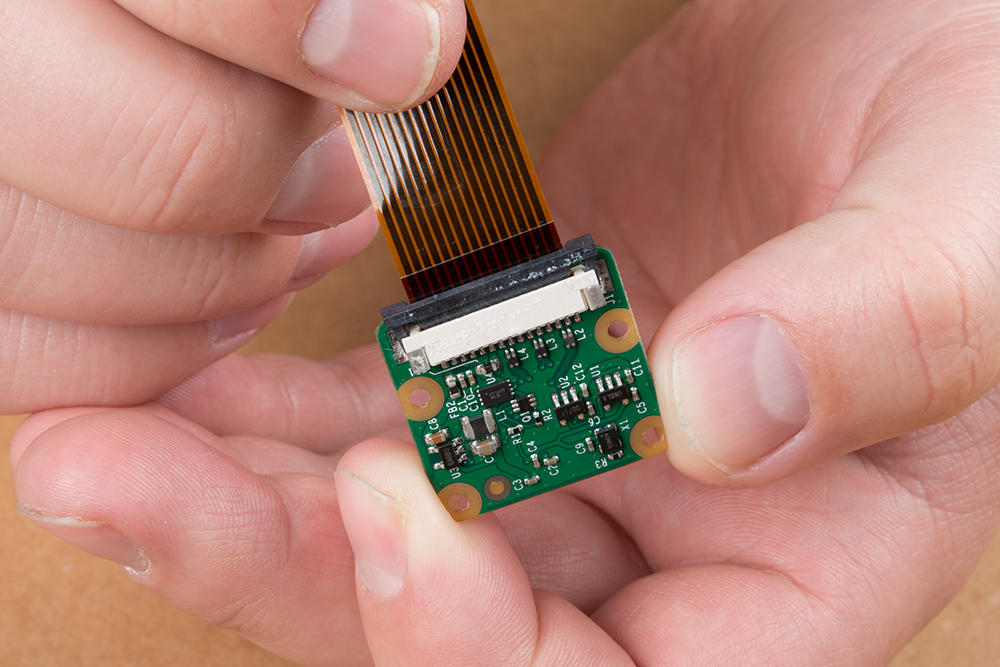
Once the locking tab is out, you can insert the camera connector into the slot. Face the camera's exposed contacts toward the PCB in order to make a connection with the connector's pins. Then insert the cable until it is firmly into the connector. Care must be taken to ensure that the ribbon cable does not have any sharp bends when installing the camera.
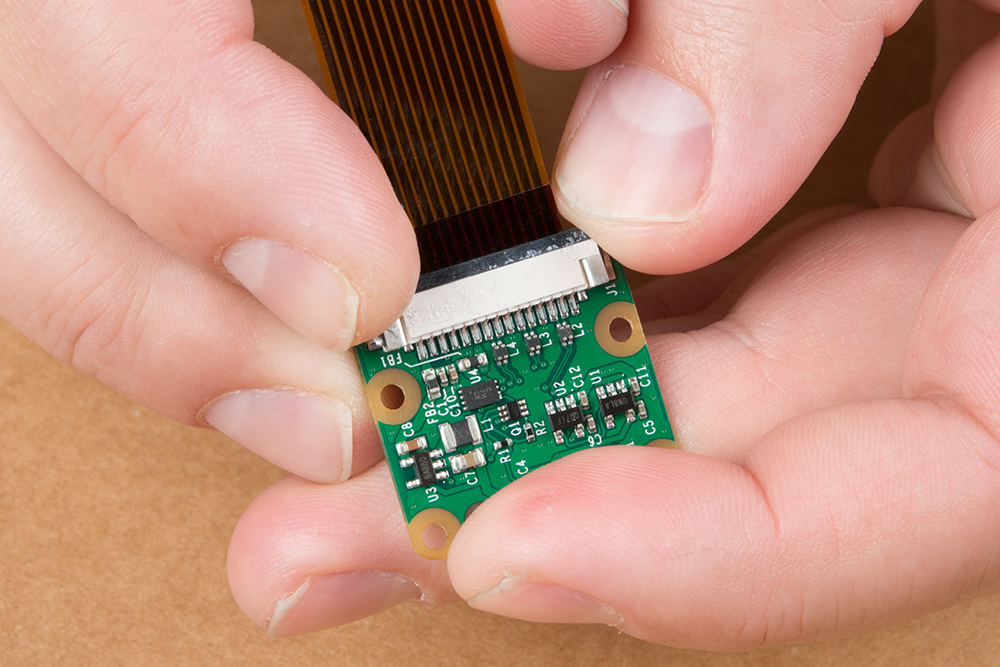
When ready, carefully slide the tab back into the locking position using your fingernails.
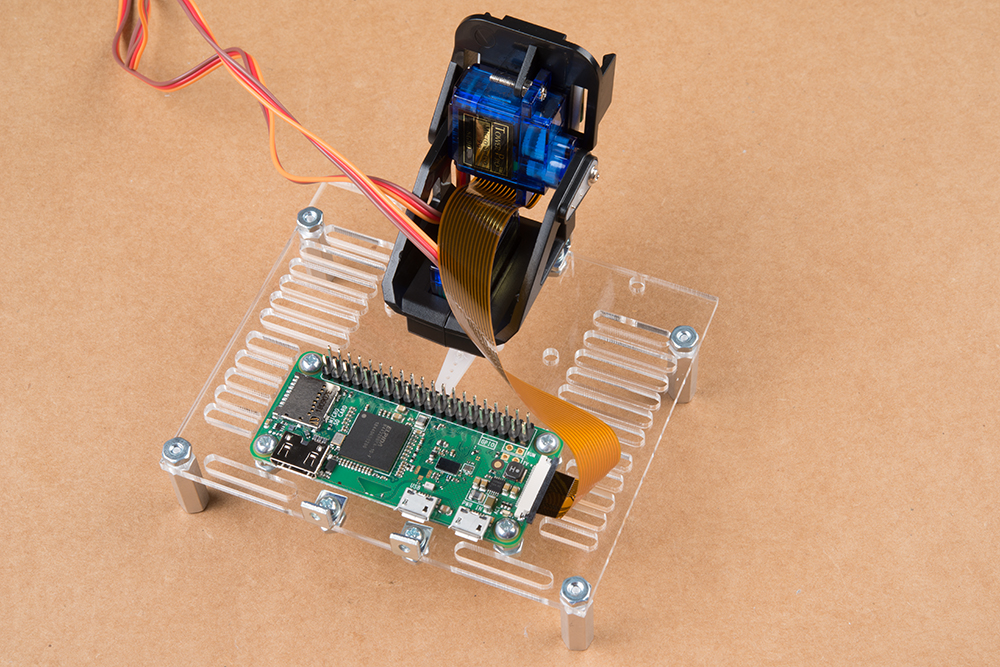
Now you can mount the Raspberry Pi Camera to the pan-tilt mechanism. Make sure the correct side is facing up. Once mounted, it should look something like what we see here:
You'll also need to connect the camera ribbon cable to the Pi Zero W. The locking mechanism for the cable is exactly the same as you saw above. Make sure the pads point upward as you see here: