AD8232 Heart Rate Monitor Hookup Guide
 CaseyTheRobot
Arduino Example
By this point, you should have the hardware connected and ready. The example sketch can be found in the GitHub repository.
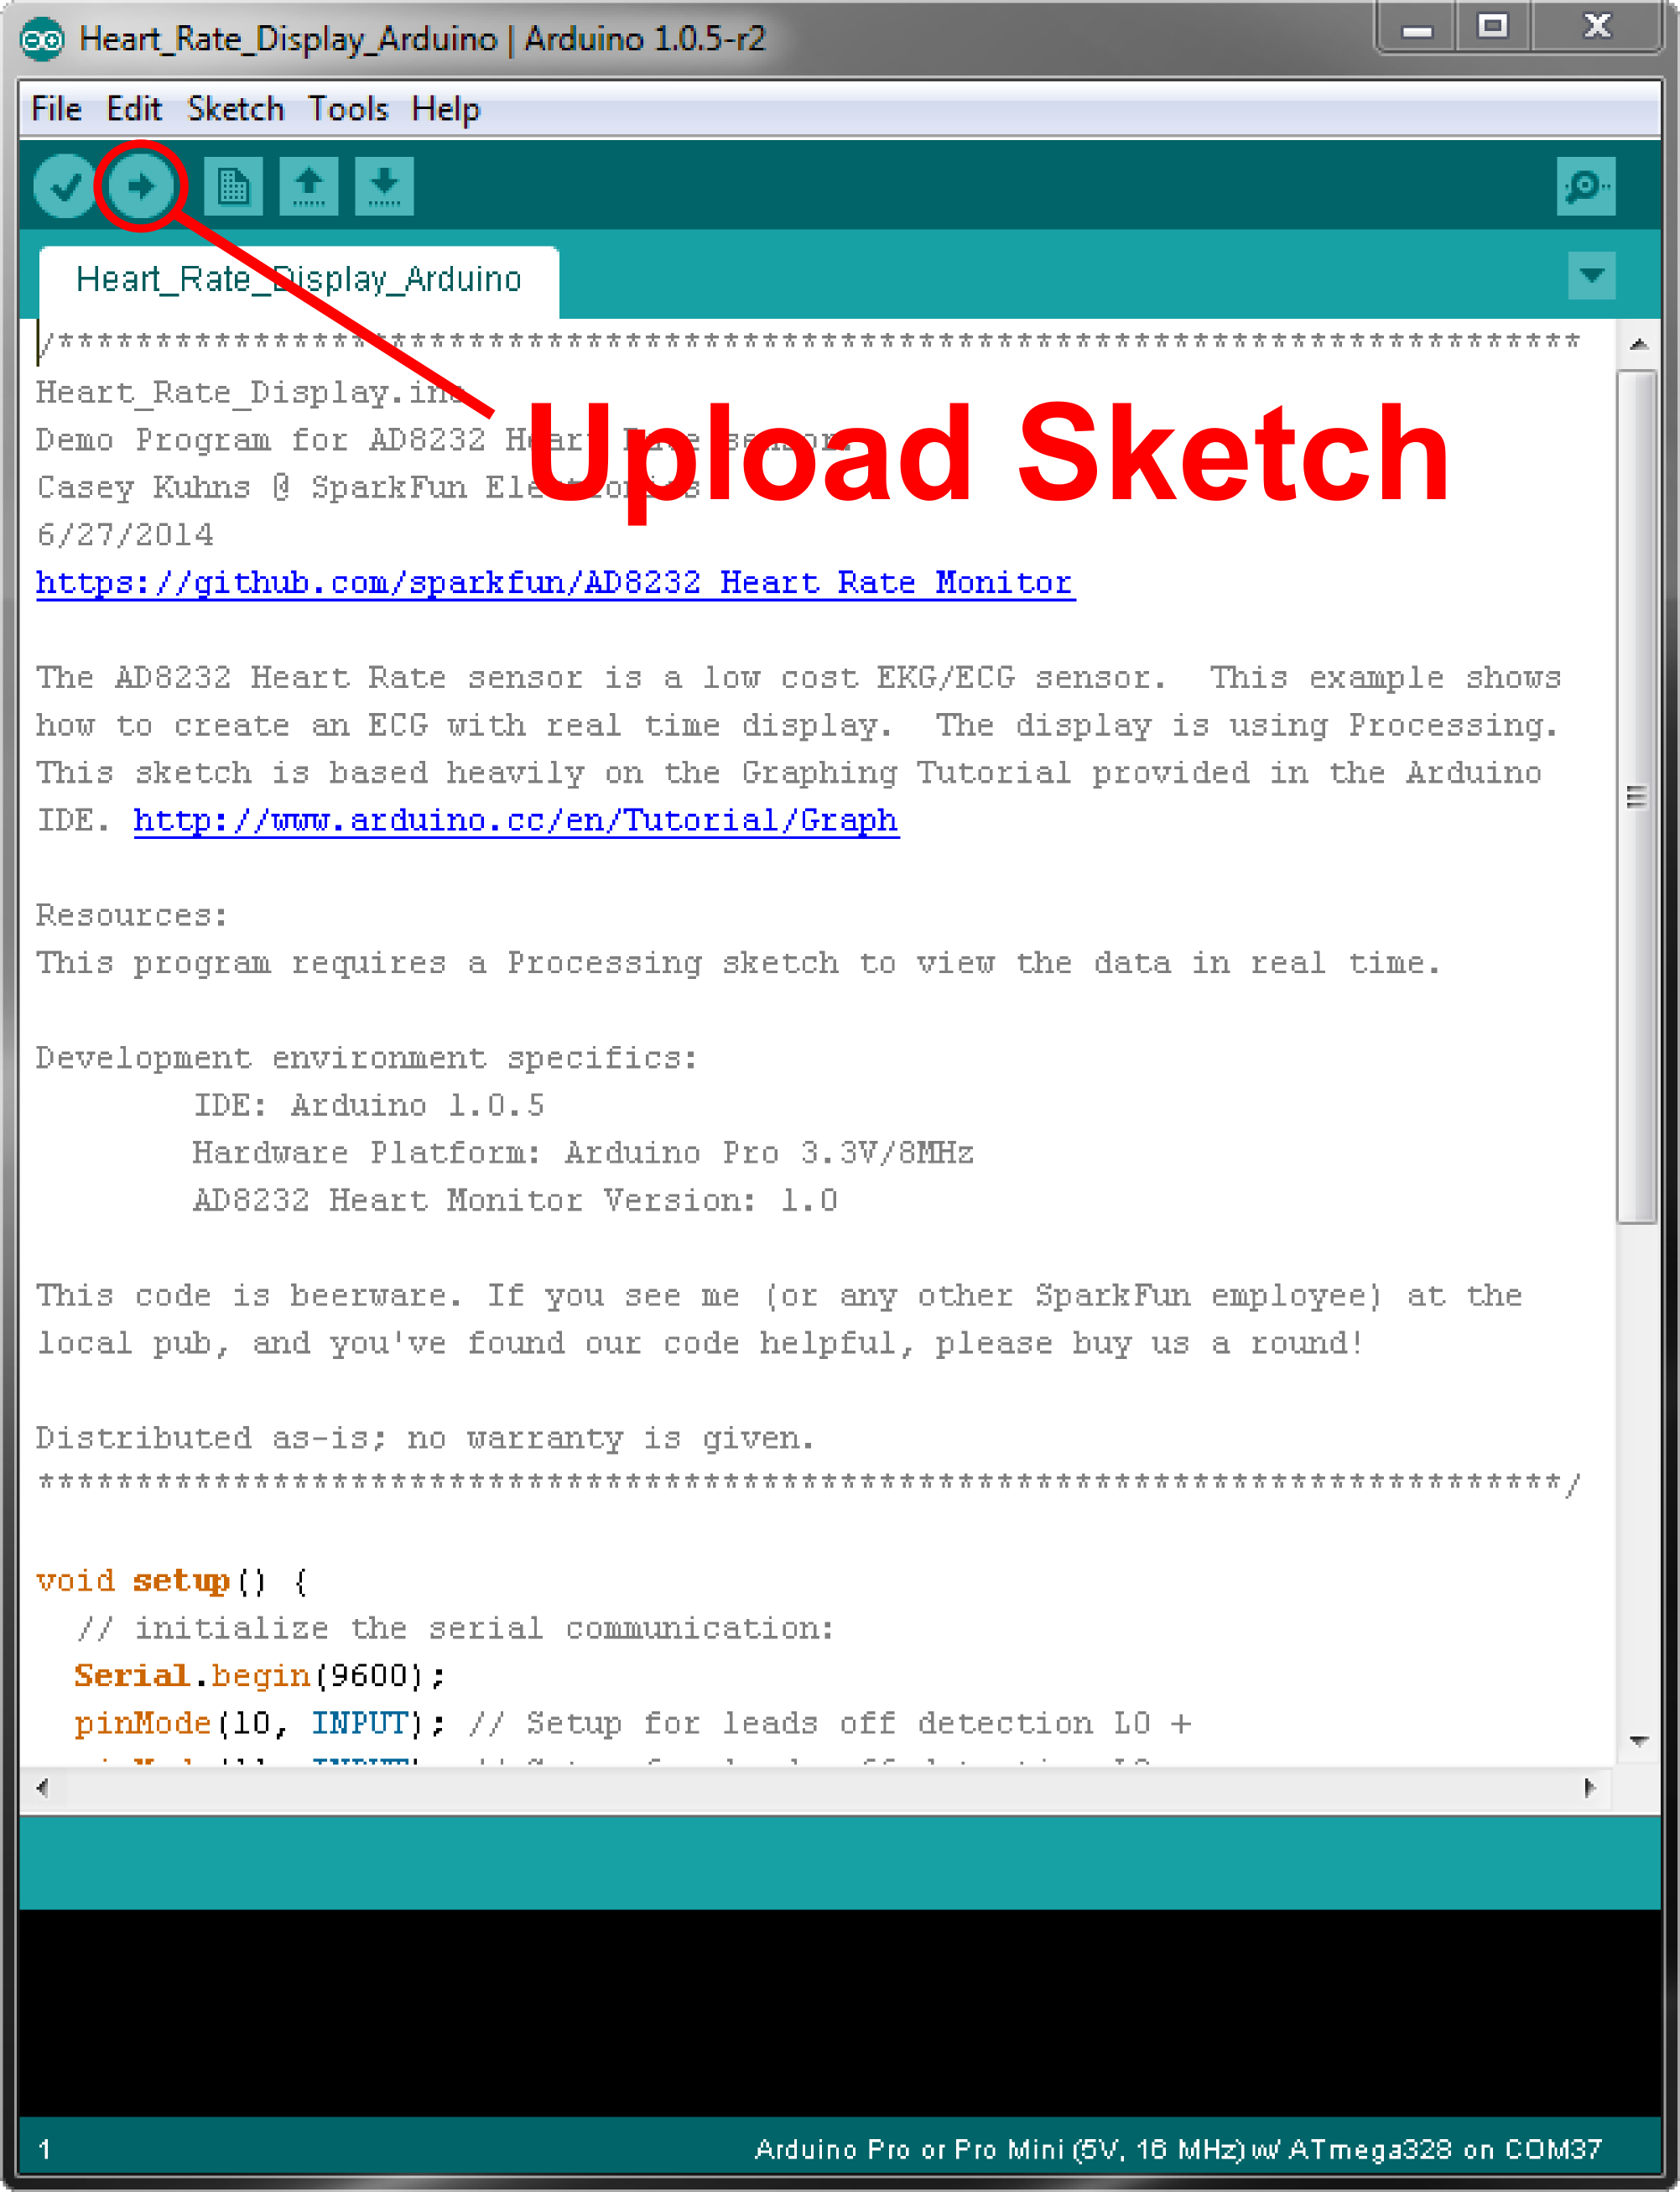
You can cut and paste the code straight from GitHub or clone the repository and open the file. Make sure to select the correct board (i.e. Arduino Pro Mini 3.3V/8MHz) and COM port. When you are ready, hit the upload button to upload the code to your board.
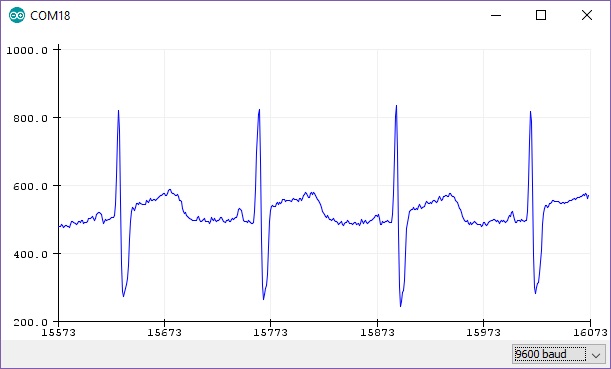
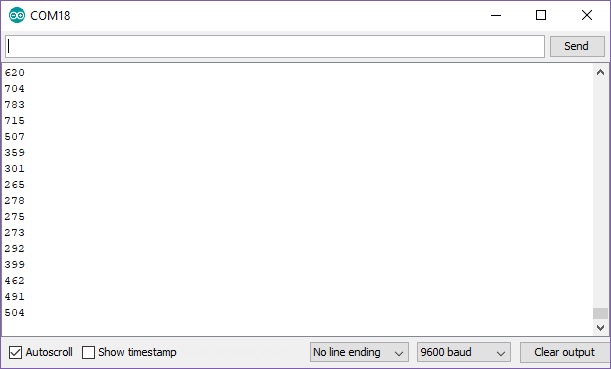
To verify that the heart rate monitor is working as expected, open the serial monitor at 9600 baud. You should see values printed on the screen. Below is an example output with the sensors connected on the forearms and right leg. Your serial output should spike between +300/-200 around the center value of about ~500.
The serial data is hard to visualize if you are just viewing the values. If you are using Arduino IDE v1.6.6+, there is an option to view the data on a graph using the Arduino Serial Plotter as one option. In the Arduino IDE, select Tools > Serial Plotter. You should see a waveform similar to the image below when the sensors are placed correctly and not moving.