AD8232 Heart Rate Monitor Hookup Guide
Connecting the Hardware
In this guide, we'll connect the AD8232 Breakout to an Arduino microcontroller. We will build a simple cardiac monitor that will allow you to measure the electrical activity of the heart in real time!
Required Materials
Pin Connections
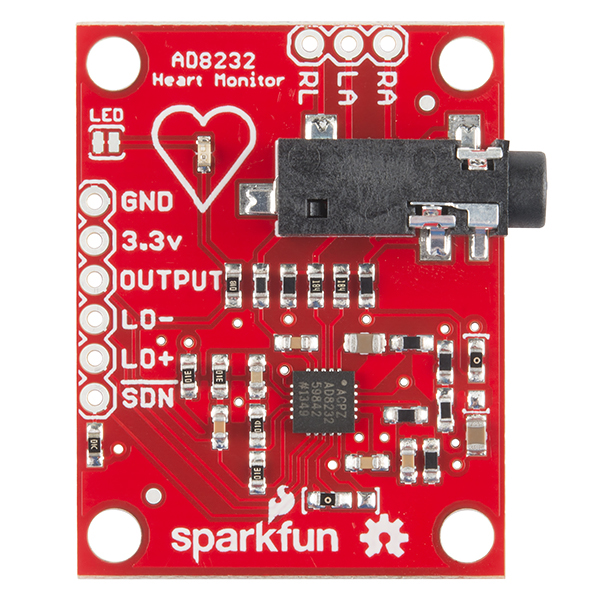
The AD8232 Heart Rate Monitor breaks out nine connections from the IC. We traditionally call these connections "pins" because they come from the pins on the IC, but they are actually holes that you can solder wires or header pins to.
We'll connect five of the nine pins on the board to your Arduino. The five pins you need are labeled GND, 3.3v, OUTPUT, LO-, and LO+.
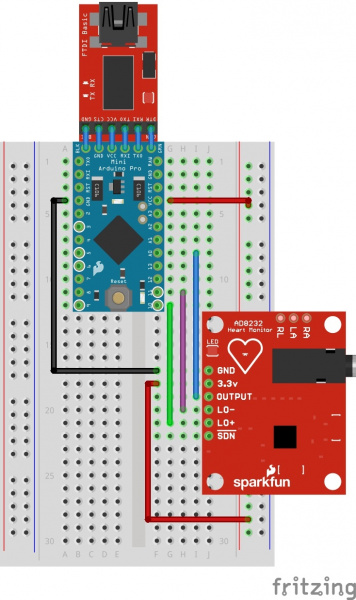
| Board Label | Pin Function | Arduino Connection |
| GND | Ground | GND |
| 3.3v | 3.3v Power Supply | 3.3v |
| OUTPUT | Output Signal | A0 |
| LO- | Leads-off Detect - | 11 |
| LO+ | Leads-off Detect + | 10 |
| SDN | Shutdown | Not used |
Connecting Headers to the Board
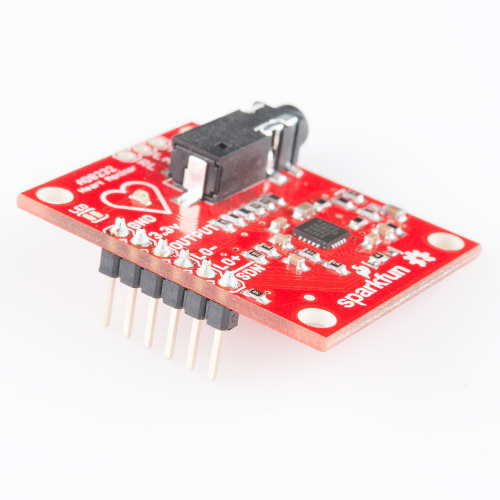
You can use any method you'd like to make your connections to the board. For this example, we'll solder on a five-pin length of male-male header strip and use a breadboard and jumpers to make our connections.
Circuit Diagram
Follow the diagram below, to make necessary connections. The SDN pin is not used in this demo. Connecting this pin to ground or "LOW" on a digital pin will power down the chip. This is useful for low power applications.
Sensor Pad Placement
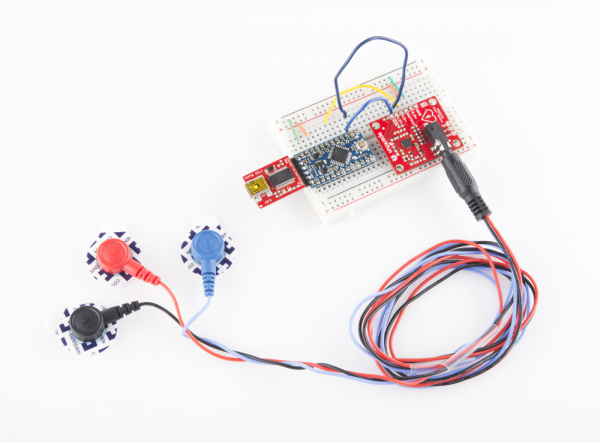
Now that the electronics are complete, let's look at sensor pad placement. It is recommended to snap the sensor pads on the leads before application to the body.
The closer to the heart the pads are, the better the measurement. The cables are color coded to help identify proper placement as shown in the table based on Einthoven's triangle. The sensors can be placed on the forearms and leg as shown on the diagram on the left. Or they can be placed on the chest near the arms and above the right, lower abdomen (i.e. just above the right hip) as shown on the diagram on the right.
| Cable Color | Signal |
| Black | RA (Right Arm) |
| Blue | LA (Left Arm) |
| Red | RL (Right Leg) |


