AD8232 Heart Rate Monitor Hookup Guide
Processing Example
Note: Processing is a software that enables visual representation of data, among other things. If you've never dealt with Processing before, we recommend you also check out the Arduino to Processing tutorial. Follow the button below to go ahead and download and install Processing IDE v2.2.1. The following examples were intended for Processing IDE v2 so you may have issues getting it running on Processing IDE v3.
The Processing example code will give you another option to visualize the output of what's going on. The example processing sketch can be found in the GitHub repository as well.
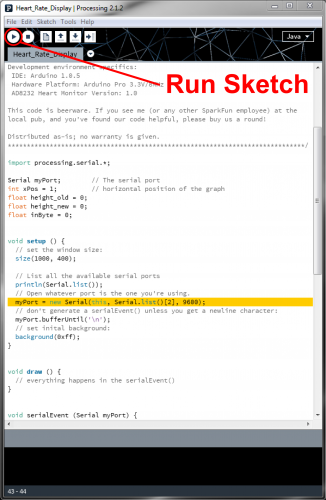
The example Processing sketch works with the Processing IDE v2.2.1. Later versions may not work with the example code so makes sure to download the stable release for v2.2.1 from the Processing IDE Download page. When ready, press the "Run" button.
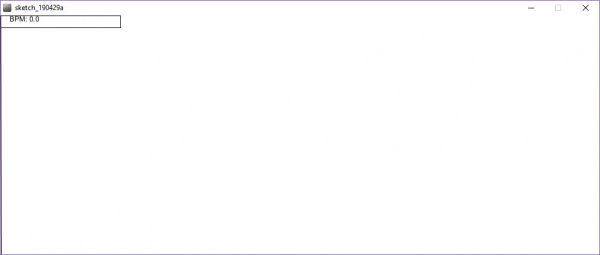
The Processing sketch will probably not work at first and you will probably see nothing drawn.
If you see nothing displayed, it is probably because the Processing sketch is not reading the correct COM port. Make sure to modify the following line of code if this happens.
language:c
myPort = new Serial(this, Serial.list()[2], 9600);
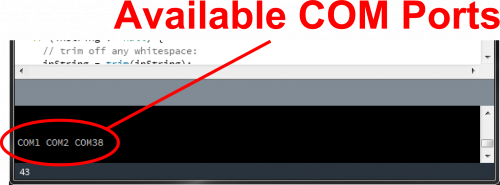
You will need to change the parameter inside Serial.list()[N] based on the enumerated COM ports on your computer. A list of available COM ports will appear in the lower portion of the sketch window. Remember that COM port selection begins at 0 so you would be counting each COM port from 0 (in terms of programming not in mathematical terms) from left to right. In this case, the Arduino enumerated as COM38 when uploading so it should be in the 3rd element in the array. Therefore, you would change the value to 2. As a result, the example code would be listed as Serial.list()[2]. Typically your Arduino will appear as the highest COM number if it is the only device connected to your computer.
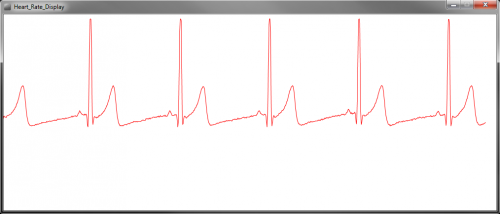
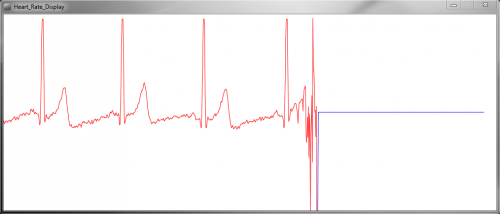
Once the COM port is adjusted with your setup, hit the Run button again. If everything is working correctly, you should see a nice box pop up and start displaying the output signal similar to the image below.
If your subject decides to remove the sensors, the leads off detection in the code will kick in and display a flat blue line.
