WS2812 Breakout Hookup Guide
 jimblom
 Introduction
The addressable WS2812 and WS2812B are unassuming RGB LEDs with an integrated control circuit hidden underneath. We love the simplicity of this little IC/LED combo. It's at the heart of a number of products.
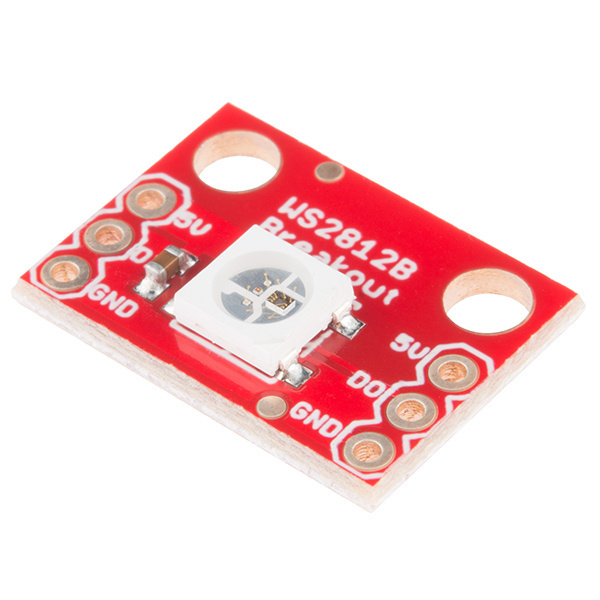
To name a few, the WS2812B is included in the simple WS2812B Breakout Board.
Sewable LEDs
The LilyPad Pixel shares the same circuit as the breakout board, but it comes on a circular, purple LilyPad board. These are perfect for sewing onto clothing or other fabric, and embedding into an e-textiles project.
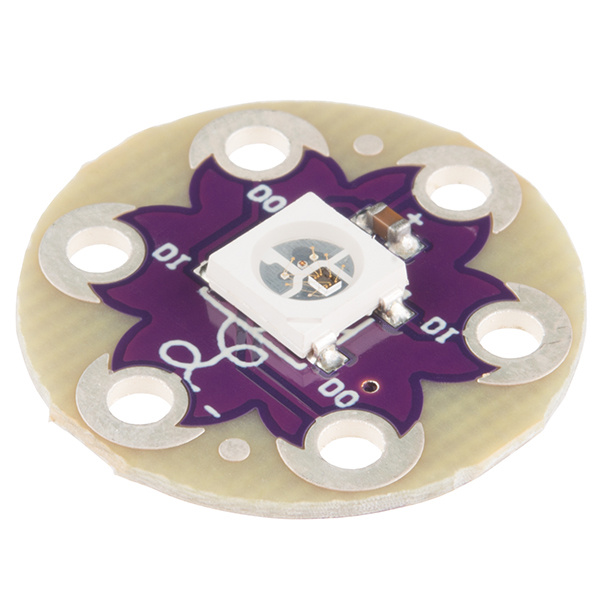
LilyPad Pixel Board
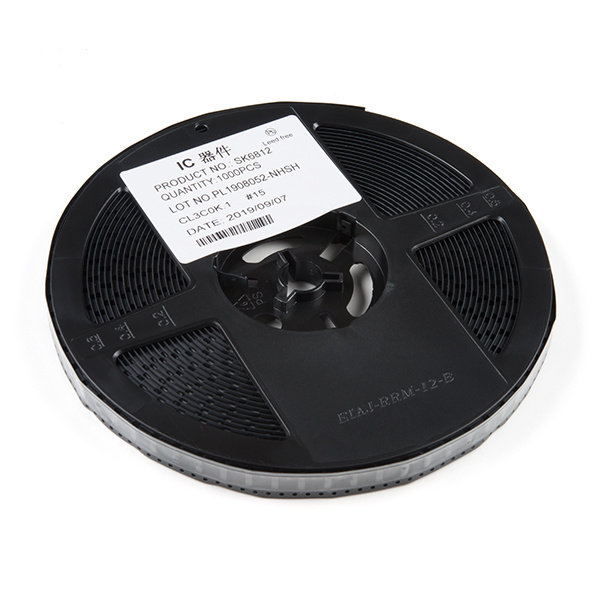
DEV-13264LED Strips
The WS2812B serves as the heart and soul of a variety of LED strips. These strips come in sealed and unsealed: 5 meter sealed, 1m sealed, 5m bare, and 1m bare.
LED RGB Strip - Addressable, Bare (1m)
COM-12025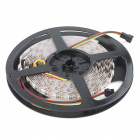
LED RGB Strip - Addressable, Bare (5m)
COM-12026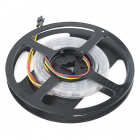
LED RGB Strip - Addressable, Sealed (1m)
COM-12027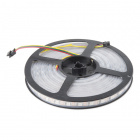
LED RGB Strip - Addressable, Sealed (5m)
COM-12028Looking for smaller, higher density strips, or ones that emit on the side of the strip? The WS2812B's can also be manufactured in smaller packages such as the ones listed below.

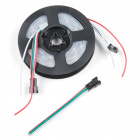

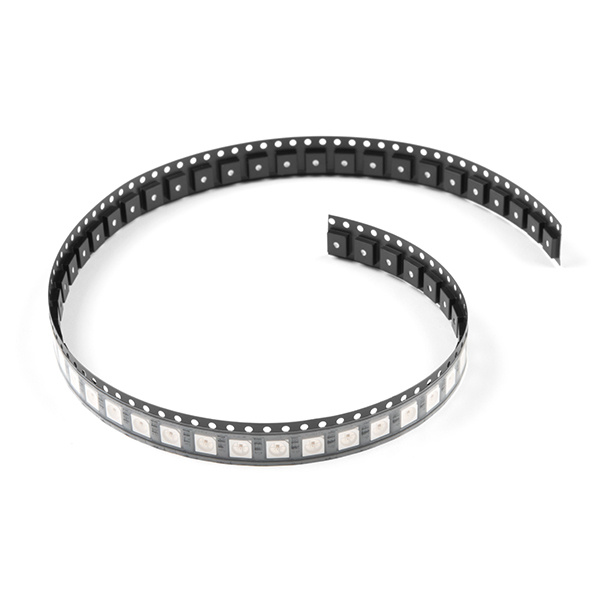
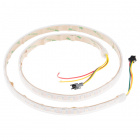
Fairy Lights
Fairy lights connect each individual LED with strands of wire. These are more flexible compared to the flexible PCBs that are used in LED strips. These can bend easier and are great for wearable projects if you need to connect a lot of addressable LEDs. Just sew the wire against your fabric to hold down the fairy lights. These are easy to wrap around an object for decor or prop.
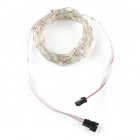
Fairy Lights - Addressable RGB (5m)
PRT-16792Matrices, Rings, and Stick
Depending on the project, they can also be populated on PCBs as a matrix, ring, or stick. These can be useful for marquees or adding unique animations to your project!
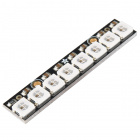
NeoPixel Stick - 8 x WS2812 5050 RGB LED
COM-12661
NeoPixel NeoMatrix 8x8 - 64 RGB LED
COM-12662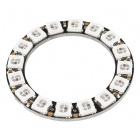
NeoPixel Ring - 16 x WS2812 5050 RGB LED
COM-12664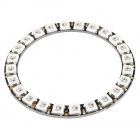
NeoPixel Ring - 24 x WS2812 5050 RGB LED
COM-12665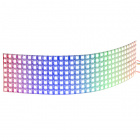

Pimoroni Unicorn HAT
DEV-14037Warm White, Cool White, and Amber
Looking for a more natural white instead of mixing RGB? There are also WS2812's that have warm white, cool white, and amber color. Add ambient or task lighting to your projects with the tri-color strips.!
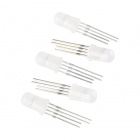
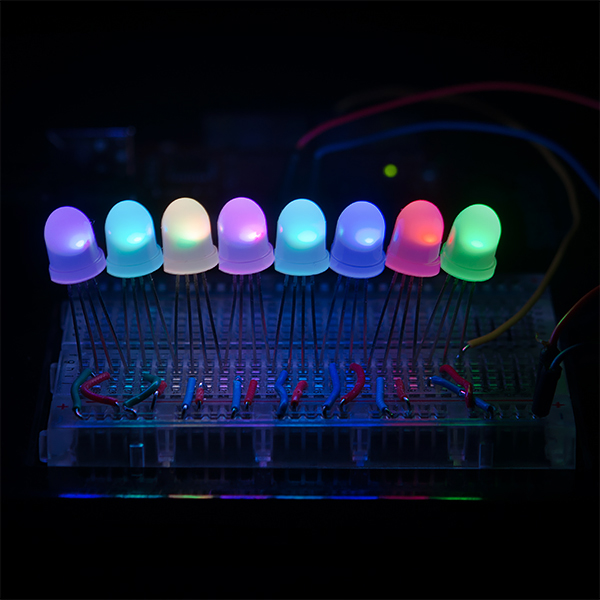
Through-Hole Packages
Lastly, if you require WS2812B LEDs in through-hole form, they are also available as a through-hole package. The size of the bulb can either be 8mm or 5mm. The LEDs can be diffused or clear depending on how they were manufactured: Diffused 8mm (5 Pack), Diffused 5mm (5 Pack), and Clear 5mm (5 Pack).
What makes the WS2812B really special is the way its controlled. The IC embedded into the LED communicates via a very unique one-wire interface. With the help of some libraries, they're really very easy to control. Plus they're chain-able -- the output of one LED can be connected to the input of another to create strips of hundreds of LEDs. The more boards you have linked together, the fancier your animations can be!
In this tutorial we're going to get you familiar with the workings of the WS2812 and WS2812B. We'll go over some of the ways you might want to hook up to the breakout board, LilyPad, or strips. And we'll close the tutorial out with some example Arduino code.
Required Materials
WS2812-Based LED Board or Strip
Stating the obvious: you'll need a WS2812-based board or strip. The more the merrier! In the example hookup, we'll be linking together five breakout boards, but the example should be adaptable to the other WS2812-based products. Grab however many you think you'll need for your project, regardless of how many you have, it's not enough.
Microcontroller
Aside from the star of the show, you'll also need a microcontroller. Something that can send the series of 1's and 0's used to control the LEDs. Our go-to is the classic Arduino Uno, but any Arduino board should do.
If you want to get really crazy, hackaday demonstrates how to power 1000 NeoPixels with the Arduino’s limited RAM.
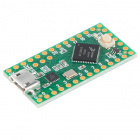
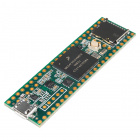
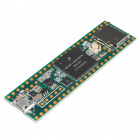
Or you can try to adapt the example code to your favorite microcontroller. Teensy development boards are an excellent choice when using a large number of WS2812 LEDs.
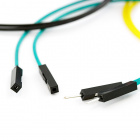
Wires
You'll also need some way to connect between the board and an Arduino. You could use a combination of male headers and breadboard (solderless or solderable). Or you could just go with a few pieces of hookup wire or 3-pin JST-SM pigtail connectors.

Tools
In order to get a good, solid, electrically-sound connection to the breakout boards, you'll need to solder to the pins. That means you'll need at least a basic soldering iron, solder, and general soldering accessories. Check out our how to solder tutorial for help, if this is you first time soldering.


Suggested Reading
These boards aren't too hard to use. If you've done anything with Arduino before, you'll be prepared to work with the WS2812. If you're not exactly sure what this "Arduino" thing is, or if you're not familiar with the topics below, consider reading their tutorials:
How to Solder: Through-Hole Soldering
Binary
How to Power a Project
How to Use a Breadboard
What is an Arduino?
WS2812 Hardware Overview
The WS2812-based LED is much more than meets the eye. It may look like a common 5050-sized (5x5mm) LED, but there's actually an integrated circuit embedded inside there too. If you look really hard, you can see the tiny black chip hidden in there, along with minuscule gold wires connecting the chip to the LED. Below are images of the WS2812 and WS2812B zoomed in.

|

|
The LED itself is like any RGB (Red/Green/Blue) LED. The brightness of each color can be adjusted using pulse-width modulation to one of 256 different levels. That means there are 16,777,216 (2563) possible combinations of colors. You can produce any color from white to black (off), or salmon to sienna.
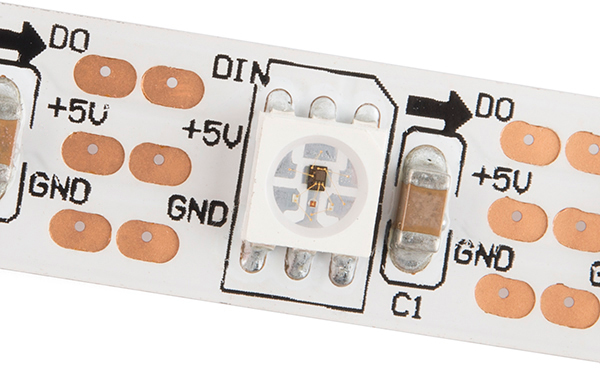
Breakout Board Pinout
The breakout board mounts that multi-talented LED onto a PCB, and breaks out the few pins required to control the LED.

|

|
Four unique pins are broken out:
- "5V" - The input voltage will can vary based on the IC version's specifications:
- WS2812 -- This should be a regulated supply voltage between 5V and about 7V. More than that could harm the LED, less than 5V will either reduce brightness, or it just won't turn on.
- WS2812B -- This should be a regulated supply voltage between 3.3V and about 5V.
- GND -- The common, ground, 0V reference supply voltage.
- DI -- Data from a microcontroller (or another WS2812/WS2812B pixel) comes into this pin.
- DO -- Data is shifted out of this pin, to be connected to the input of another pixel or left floating if it is the last link in the chain.
We recommend matching the input voltage with the logic level for the data lines (DI and DO). So if you are powering the WS2812B breakout board with 5V, you will be connecting DI and DO with a logic level of 5V.
Data Transmission Interface
The communication interface between a microcontroller and the WS2812 is weird. It's one wire, but it's not like a standard, UART serial interface. This interface is very time-specific. Both a logic 0 and a logic 1 require a square pulse, and it's the length of the pulse that defines which it is.
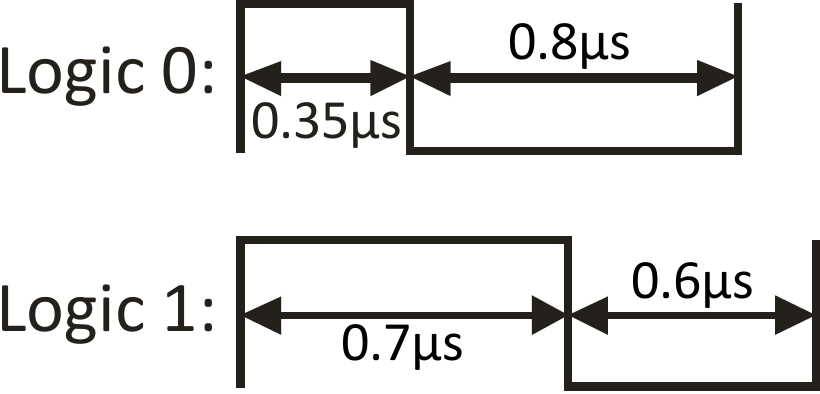
The data is sent in a sequence containing 24 of those bits -- 8 bits for each color -- followed by a low "reset" pulse of at least 50µs.

The larger the value of a specific color is, the brighter it will be. If every color is set to 0, the LED will be off. If every color is set to max -- 255 -- the LED will be as bright and white as can be.
This is all to say that the interface is very time-specific. To run the LEDs you'll need a real-time processor, like an Arduino; microprocessors like those on the Raspberry Pi or pcDuino can't give you a reliably-timed pulse. Even if one bit is less than a microsecond off, that could mean the difference between purple and maroon.
LilyPad Pixel
Want to embed the WS2812 LEDs into your clothing? We have a thing for that! The LilyPad Pixel Board is the e-textile version of the WS2812 Breakout. The functionality and pinouts are exactly the same, though the pins are in slightly different location to make threaded traces easier.
Rather than solder these boards, you can use conductive thread to connect them to other LilyPad boards. You can control individual LEDs, or chain them together to create a multitude of colors on your clothing. The examples in this tutorial use the WS2812 Breakout, but you can substitute the LilyPad Pixel for any of the breakout boards.
For more information on the LilyPad Pixel Board, check out this other tutorial.
LilyPad Pixel Board Hookup Guide
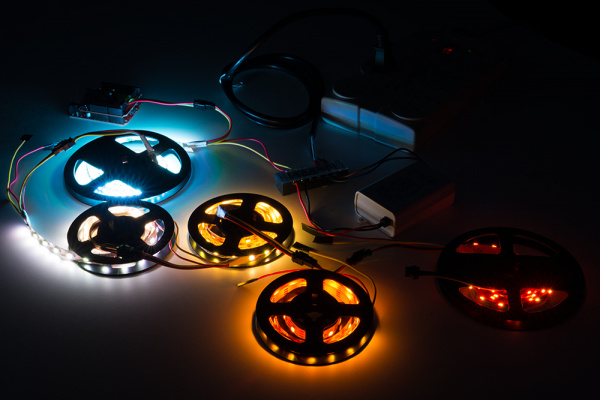
Addressable LED Strips
If you need an abundance of WS2812 LEDs in a slick, pre-assembled form factor these addressable LED strips might be for you.

The WS2812 addressable LED strips come in a few flavors, which vary by size and sealant. You can get them in either 1m or 5m lengths, high density, or side emitting. For each length the strip, they can be either covered by a waterproof sealant or left bare. Below are a few listed from the catalog.
- 5m Sealed
- 1m Sealed
- 5m Bare
- 1m Bare
- 1m Bare, Skinny
- 1m Bare, Skinny, High Density
- 1m Bare, Skinny, Side Lit
- 1m Sealed, White Tri-Color
- 5M Fairy String Lights
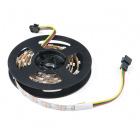
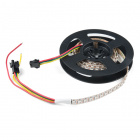
Each strip usually contains 60 LEDs per meter, which are spaced about 1.65cm away from each other. Higher density strips with the smaller IC packages contain 144 LEDs per meter, which are spaced about 0.69cm from each other. The waterproofed strips are rated IP65 -- dust tight and protected from water jets.
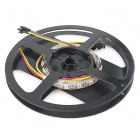
Connecting to the Strips
Each end of the LED strip is terminated with a set of three colored wires: red, green, and yellow. Two wires are for power, and the third transmits data either into or out of the strip:
| Red | Vcc | WS2812 power supply. Should be a regulated supply between 5V and 7V. | WS2812B power supply. Should be a regulated supply between 3.3V and 5V. | Red | Red Stripe |
|---|---|---|---|---|---|
| Green | Data In/Out | Serial data in/out. Look at arrows and labels on strip to check which it is. | Serial data in/out. Look at arrows and labels on strip to check which it is. | Green | Clear |
| Yellow | GND | Ground. 0V. | Ground. 0V. | White | Clear |
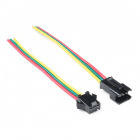
Each of the wire pigtails are terminated by a three-pin JST SM connector, which you can use to connect string strips together. Typically, the addressable LEDs use a polarized JST SM connector with the female housing receptacle (with male pins) connected to the DIN side and the male housing receptacle with (female pin sockets) coming connected to the DOUT side.
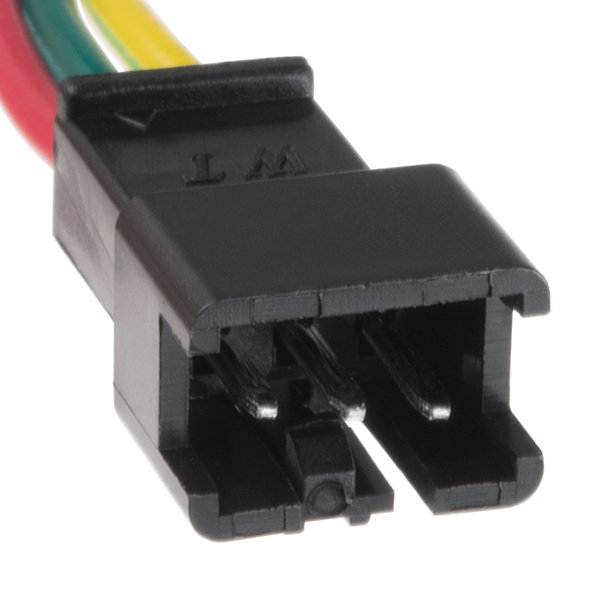 |
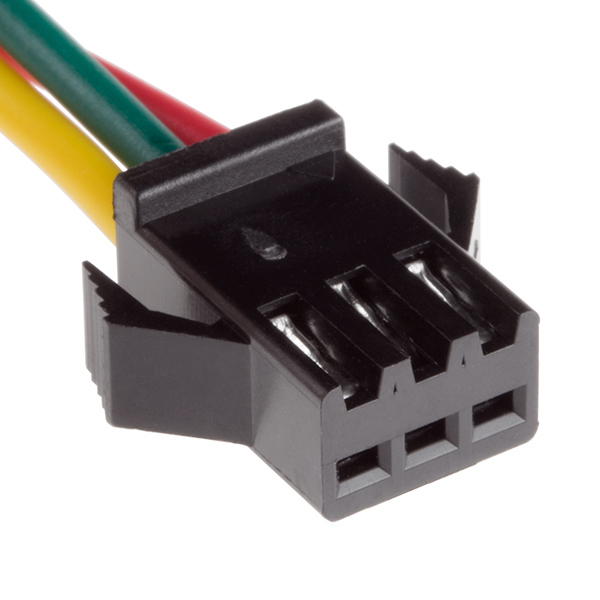 |
| Female Housing, Typically the Input Side for WS2812's | Male Housing, Typically the Output Side for WS2812's |
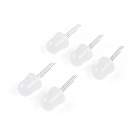
For the first strip in a string, you can either connect to a mating connector, or cut and strip the wires, and connect them to your controlling device. To reuse the rest of the LED strip, check out the LED strip pigtail connector to easily connect the cut strips:

Addressable Through-Hole LED
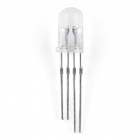
If you require WS2812 LEDs in through-hole form, they are also available as a through-hole package.
The size of the bulb can either be 8mm or 5mm. The LEDs can be diffused or clear depending on how they were manufactured.
Through-Hole LED Pinout
The datasheet for the WS2812 addressable through-hole LEDs is not clear with the pinout. For reference, you can refer to the bulb's flat edge and the length of the terminals as indicated below.
 |
 |
Clear Addressable 5mm LED |
Diffused Addressable 5mm LED |
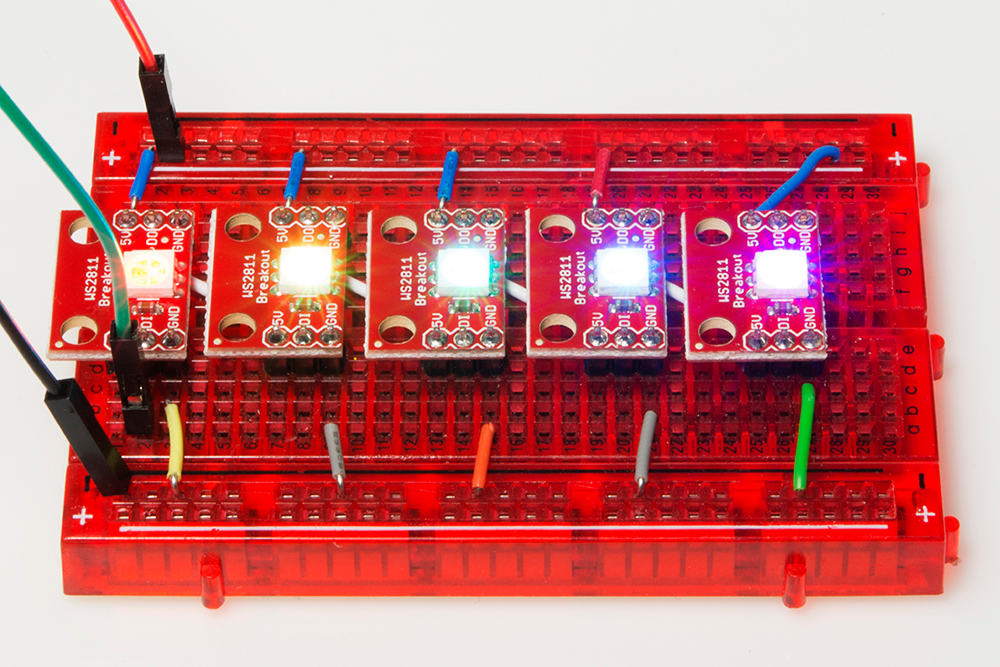
Hardware Hookup
The great thing about these LEDs is they're super easy to chain together. Plus just one, single pin from your microcontroller is required to control an entire strip of LEDs. In this example, we'll link together five LEDs, but you should be safe to increase that ten-fold or even more.
Solder/Sew/Wire Something
The first assembly step for each of these products is creating a reliable, electrical connection from the LED to your control board. You'll need to solder either headers or wires to your breakout boards. Or sew your LilyPad Pixel with conductive thread. Or strip and splice some wire to connect up the LED strips.
How to Solder: Through-Hole Soldering
LilyPad Basics: E-Sewing
Working with Wire
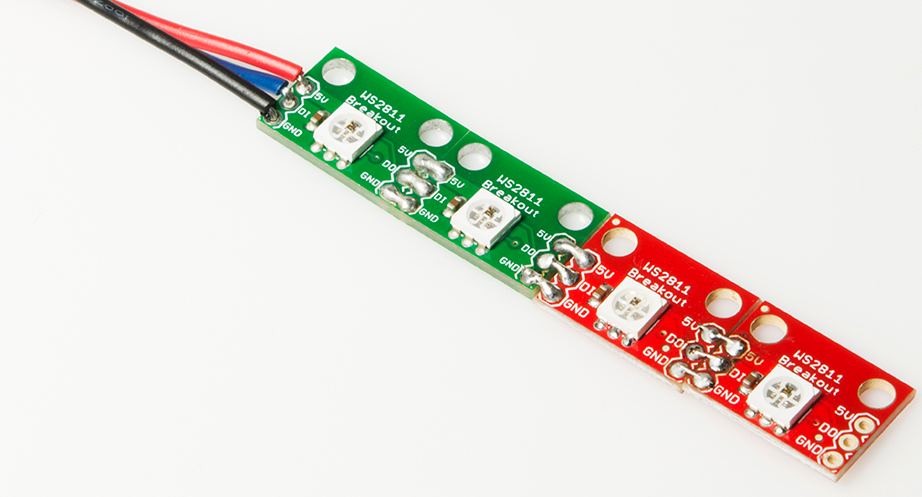
If you're going to stick the boards into a breadboard or other prototyping board, straight male headers might be the best choice.
If you're going to make a big strip of boards, you may need to opt for the stranded wire route.
Select a Power Source
The WS2812 and WS2812B requires about 5V to work. The WS2812 should operate at anywhere between about 4V to 7V while the WS2812B should operate at anywhere between about 3.3V to 5V. 5V is readily-available on most boards. The 5V header on an Arduino board, for example, is a perfect voltage supply for the LEDs.
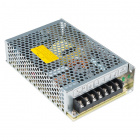
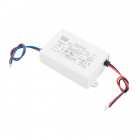
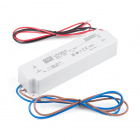
Also consider how much current your LED strip is going to pull. With every single LED on at full brightness, each breakout board can pull about 60mA (20mA per color channel). Even with just ten breakout boards strung together, you're looking at upwards of a possible 600mA. Yikes! Below are a few power supplies that can power a few addressable LEDs. You may need an additional adapter or cable to connect.
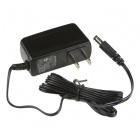


If you're stringing together a lot of these things, make sure your power supply can provide the necessary current-umph. If you end up using an external power supply, make sure you connect the power supply ground to your Arduino ground as well. Here are a few options in our catalog. Make sure to add an additional adapter to your cart as listed in the recommended products.
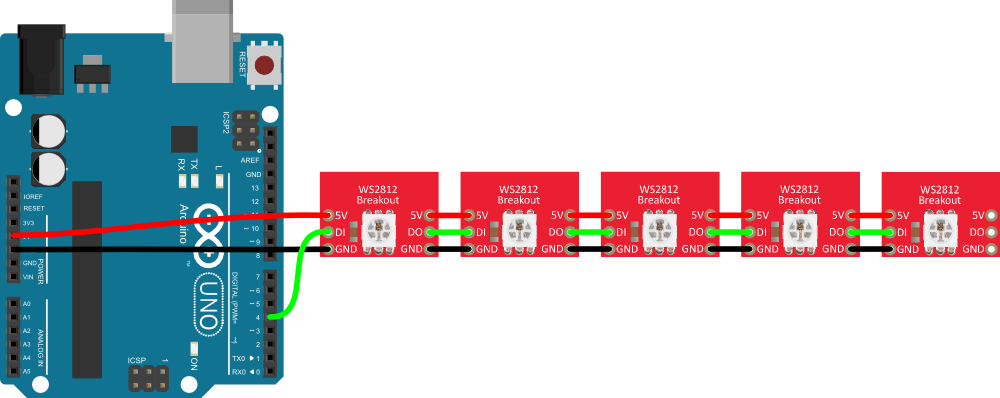
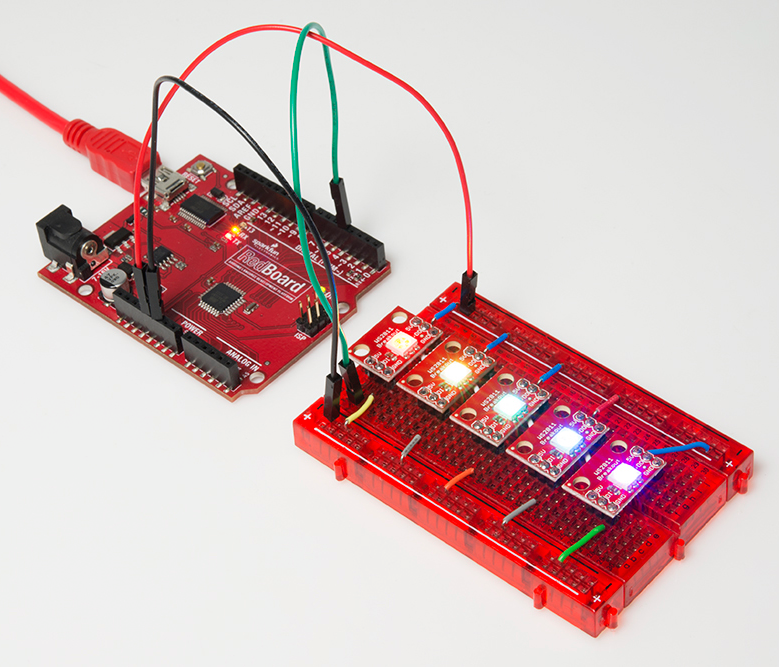
Connecting an Arduino
This hookup is fairly straightforward. You can power the breakout board(s) using the Arduino's 5V and GND pins. Then all you need is to pick a free I/O pin to send data to the LED. Let's go with pin 4. To link more breakouts together, simply connect the output pin of one to the input of the next. Make sure each breakout also gets some power delivered to it.
Protect Your WS2812's!
In addition to the hookup above, we recommend adding a capacitor and resistor as close as possible to your addressable LEDs to help you get the most out of your WS2812-based devices for long strips. Below is an example with an addressable LED strip. Read below for more information on suggested values!

Add a Big Smoothing Capacitor
Before connecting the WS2812 to a power source, connect a big capacitor from power to ground. A cap between 100µF and 1000µF should be good.
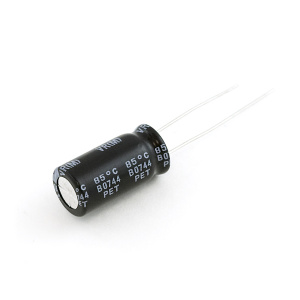
This cap will help to smooth out your power supply. The current draw of a WS2812 can vary wildly, and as current draw grows and shrinks it'll be up to your power source to compensate. The cap will act as a "power reservoir" to store energy in case the supply dips.
Try to place this cap as close to your WS2812 as possible by placing it in parallel to the Vcc and GND pins.
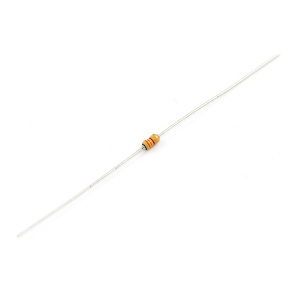
Add an In-Line Resistor On the Data Signal
Placing a small-ish resistor between your Arduino's data output and the WS2812's data input will help protect the data pin. A resistor between 220 and 470 Ω should do nicely. Try to place the resistor as close to the WS2812 as possible.
Keep Wires Short!
Wires don't conduct perfectly. They'll inevitably induce some voltage loss, especially when they're really long. Try to keep wires between your power supply, Arduino, and WS2812 as short as possible to minimize this loss.
Power Large Loads and Daisy Chained LED Strips
For more information on daisy chaining LED strips, check out this section that talks about avoiding voltage drops.
 |
| Voltage Drops Along the Daisy Chained LED Strips in Mean Well LED Switching Power Supply Hookup Guide: Power Large Loads and Daisy Chained LED Strips |
Adding Firmware
Note: This example assumes you are using the latest version of the Arduino IDE on your desktop. If this is your first time using Arduino, please review our tutorial on installing the Arduino IDE. If you have not previously installed an Arduino library, please check out our installation guide.
For our example code, we'll be making use of Adafruit's fantastic NeoPixel library. Click below to download a copy of both the example code, as well as the NeoPixel library.
The library is located in the "Adafruit_NeoPixel" folder, and the example code is found in the "WS2812_Breakout_Example" folder.
With the library installed, open up WS2812_Breakout_Example.ino within Arduino. Before you upload the code, make sure you adjust the PIN and LED_COUNT definitions near the top of the sketch. These define which pin the first pixel is connected to, and how many total LEDs are linked up. Then upload away and enjoy the show!
Using the NeoPixel Library
Setup
There are a few lines of code required to set up your sketch to use the library. First, call the constructor near the top of your code (before setup(), you'll probably want it to be a global variable).
language:c
#define PIN 4
#define LED_COUNT 8

// Create an instance of the Adafruit_NeoPixel class called "leds".
// That'll be what we refer to from here on...
Adafruit_NeoPixel leds = Adafruit_NeoPixel(LED_COUNT, PIN, NEO_GRB + NEO_KHZ800);
The PIN and LED_COUNT parameters in that function call should be set, respectively, to the Arduino pin you've connected to the first breakout's "DIN" pin and the total number of breakout boards you have linked up.
The rest of the setup is calling the leds.begin() function somewhere near the beginning of the setup() function.
Setting An LED
Setting an LED with the Adafruit NeoPixel library is a two step process. First, you have to set a pixel color using the leds.setPixelColor(position, color) command. The color parameter in that function can either be a 24-bit RGB color-code, or three separate bytes for each color. For example:
language:c
leds.setPixelColor(3, 0xFF00FF);    // Set fourth LED to full red, no green, full blue
leds.setPixelColor(3, 0xFF, 0x00, 0xFF)  // Also set fourth LED to full red, no green, full blue
Setting a pixel's color does not equate to that pixel actually turning on though. For that, you need to call leds.show(). Note that when this function is called any LED that was previously set will turn on.
The Rest of the Code
After you've gotten the hang of using the NeoPixel library, the remaining parts of the sketch are finding ways to maniuplate the pixel colors. There are some fun functions in this example code, which create the classic "cylon" larson scanner, or draw a rainbow. We hope you can adapt them to make even more creative animations.
The included "WS2812_Definitions.h" file defines a huge list of standard colors. In there you'll find anything from navy to saddle brown to ghost white.
Have fun!
FastLED Alternative Library
Looking for an alternative library? Try checking out the FastLED library for more advanced features. The library also supports other LED chipsets.
Resources and Going Further
For more information about the WS2812 and WS2812B, check out the resources below:
- Breakout Board Schematic (PDF)
- Breakout Board Eagle Files (ZIP)
- Breakout Board GitHub Repo
- Datasheet
- Example Code and NeoPixel Library (ZIP)
- Adafruit NeoPixel Library GitHub Repo
- FastLED Library GitHub Repo
Now that you've got the gist of the WS2812 Breakout board, how are you going to use it in a project? Need some inspiration? Check out these tutorials:
- Using OpenSegment -- The OpenSegment is a very large, 4-digit 7-segment display. If you're on a blinky-high after playing with the WS2812 LEDs, this is another fun component to play with.
- Getting Started with the LilyPad MP3 Player -- If you're into e-textiles (or even if you're not, this thing is awesome), check out the LilyPad MP3 Player. Combine the LilyPad MP3 player with the WS2812 to make a nifty LED-music show.
- Designing PCBs: Advanced SMD -- If you'd like to lay out your own, custom PCB for the WS2812 LED/chip, check out this tutorial. It'll walk you through every step required to design your very own circuit board using free software. You can use the WS2812 footprint from our parts library to get started.
Building Large LED Installations
Interactive LED Music Visualizer
LED Cloud-Connected Cloud
Addressable LED Strip Hookup Guide
Mean Well LED Switching Power Supply Hookup Guide
Check out these projects using the WS2812 addressable LEDs for more ideas:
Or check out this project using the APA102's for some more edge lighting ideas: