Wireless Remote Weather Station with micro:bit
 bboyho
 Experiment 5: Real Time Wireless Data Logging
Introduction
At the time of release, we did not have a real time clock (RTC) available for the micro:climate kit. We used the running time to record when a reading was obtained. In this experiment, we will be adding the gator:RTC to help record the day and time for each reading before saving it with the OpenLog.
Parts Needed
You will need the following parts:
- 2x micro:bit Boards
- 2x Micro-B USB Cables
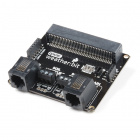
- 1x Weather:bit
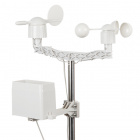
- 1x Weather Meter
- 7x 12" M/M Jumper Wires
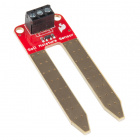
- 1x SparkFun Soil Moisture Sensor
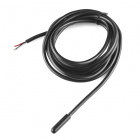
- 1x Waterproof Temperature Sensor
- 1x OpenLog with Headers
- 1x microSD Card
- 1x microSD Card Reader
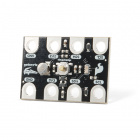
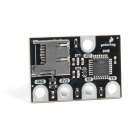
- 1x gator:RTC
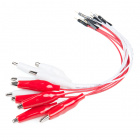
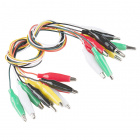
- 4x Alligator to Pigtails
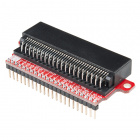
- 1x micro:bit Breakout with Headers
- 1x Breadboard
For a few items listed, you will need more than one unit (i.e. micro:bits, micro-B USB cables, etc.). You may not need everything though depending on what you have. Add it to your cart, read through the guide, and adjust the cart as necessary.


5.1 Requesting Weather Station Data
We could add the RTC to the weather station and just have the first micro:bit (let's call this micro:bit A) send the day and time. However, let's make it interesting and have the second micro:bit (we will call this micro:bit B) request this data. In this part of the experiment, we will be listening for a string/number pair before sending out the data.
Hardware Hookup
We recommend having just the weather station's micro:bit connected for this section to avoid confusion when uploading code.
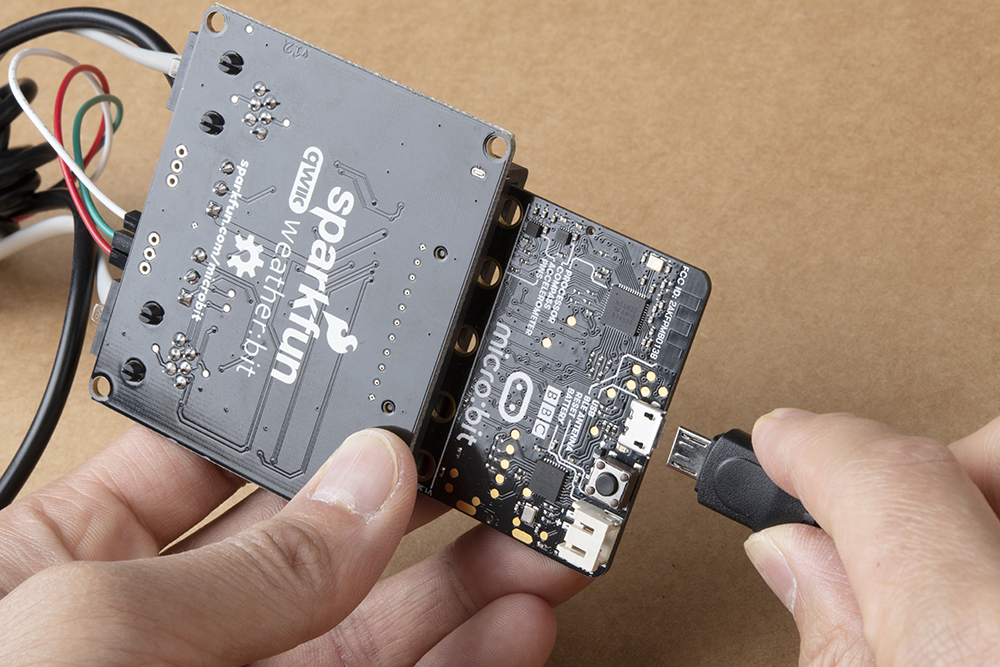
Nothing is new here - the setup is the same as the previous experiment. We recommend having just the weather station's micro:bit connected for this section to avoid confusion when uploading code.
Running Your Script
We are going to use Microsoft MakeCode to program the micro:bit. You can download the following example script and move the *.hex file to your micro:bit. Or use it as an example to build it from scratch in MakeCode.
Code to Note
This is pretty much the same code that was used in 2.1 and 4.1 except for one addition.
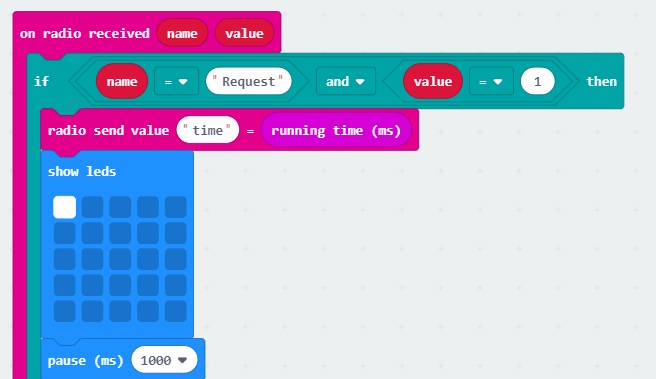
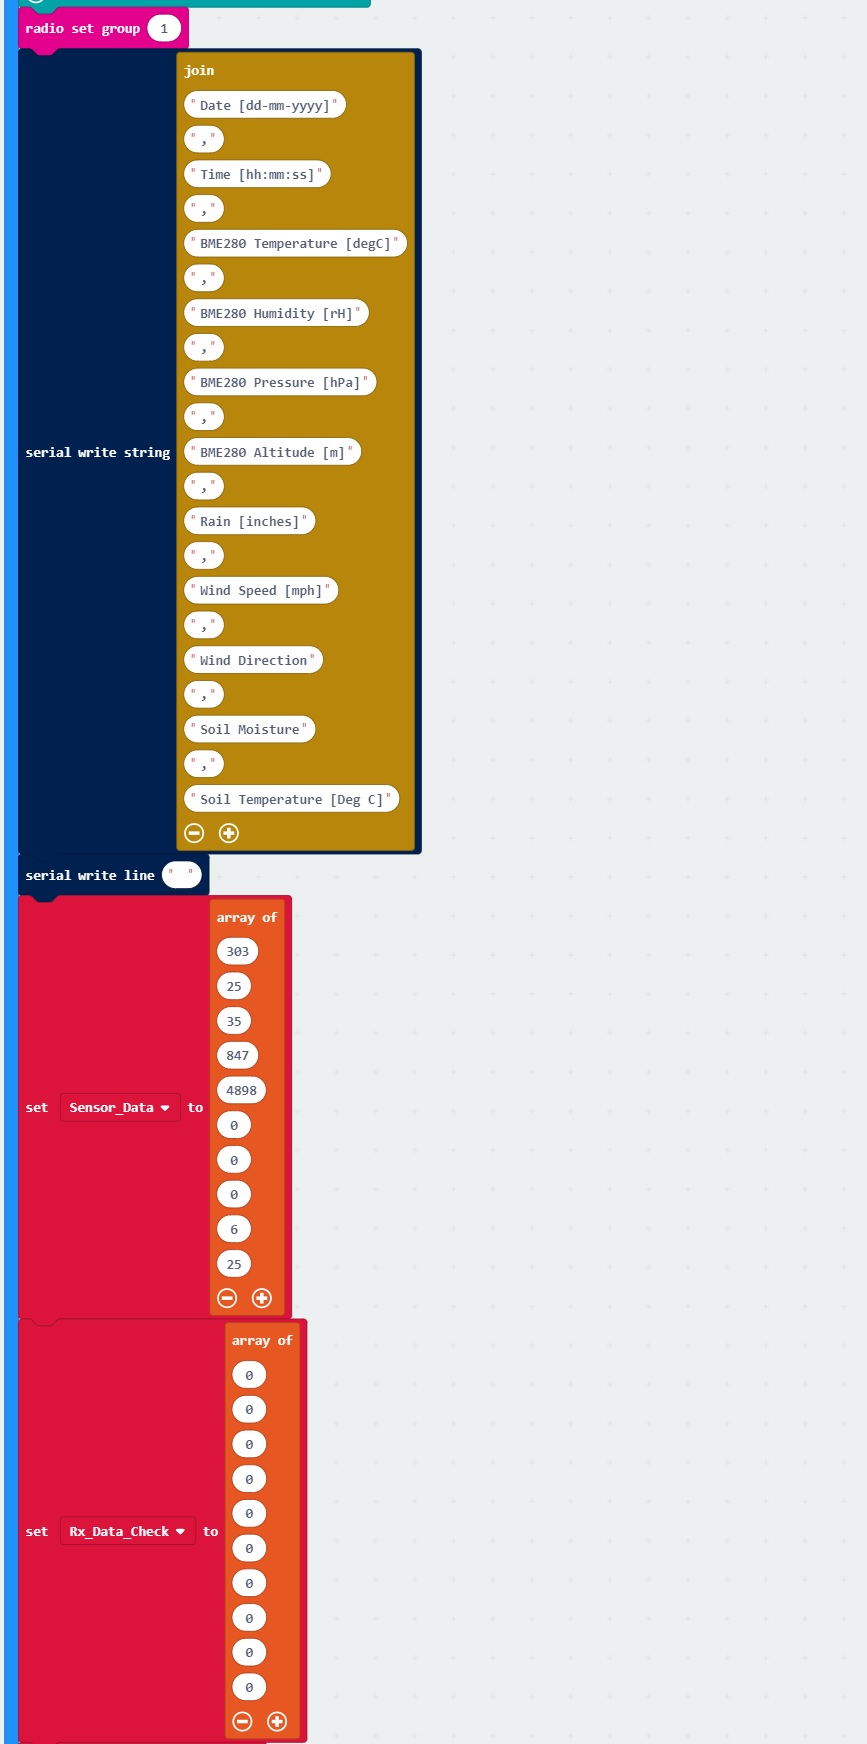
The only difference is that we are now requesting the weather station's data after each interval. If we receive the request from the micro:bit B in the form of a string/value pair, we will begin sending the readings as we do in the previous examples.
5.2 Requesting and Recording Readings in Intervals
In this section, we will request data from the weather station after a certain period of time has passed. If we receive everything, we will output the readings to either the serial terminal or OpenLog.
Hardware Hookup
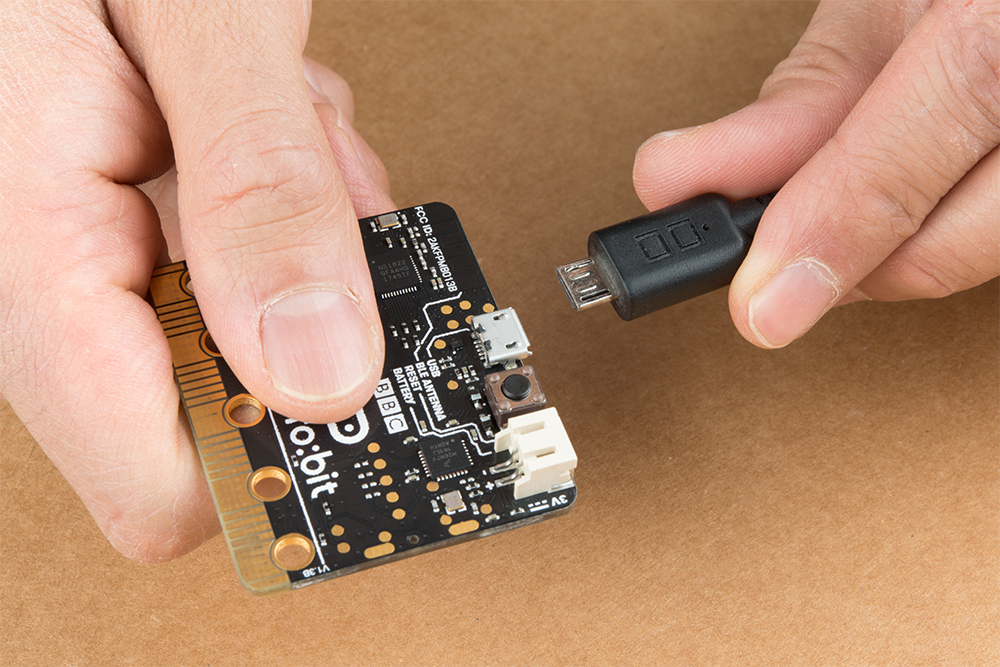
To avoid confusion when uploading code, unplug the first micro:bit from your computer. Then connect the second micro:bit to your computer via USB cable.
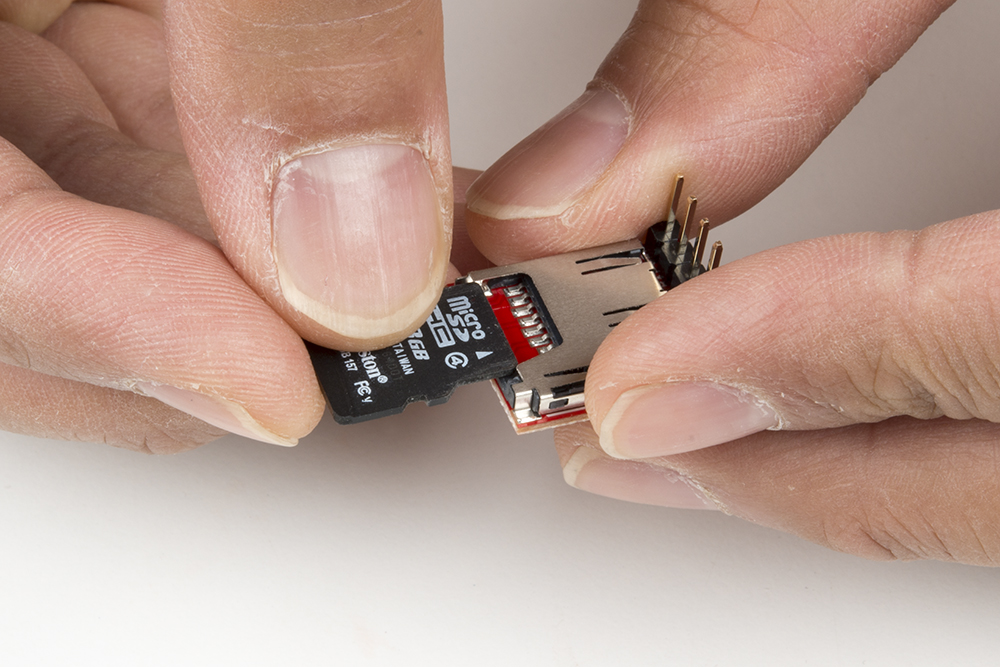
If you have not already, insert the microSD card into the OpenLog.
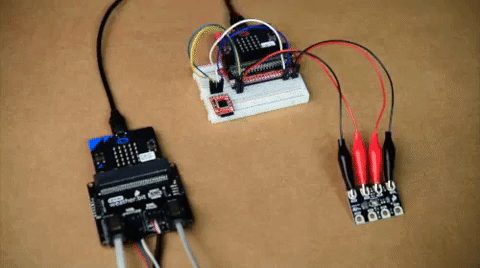
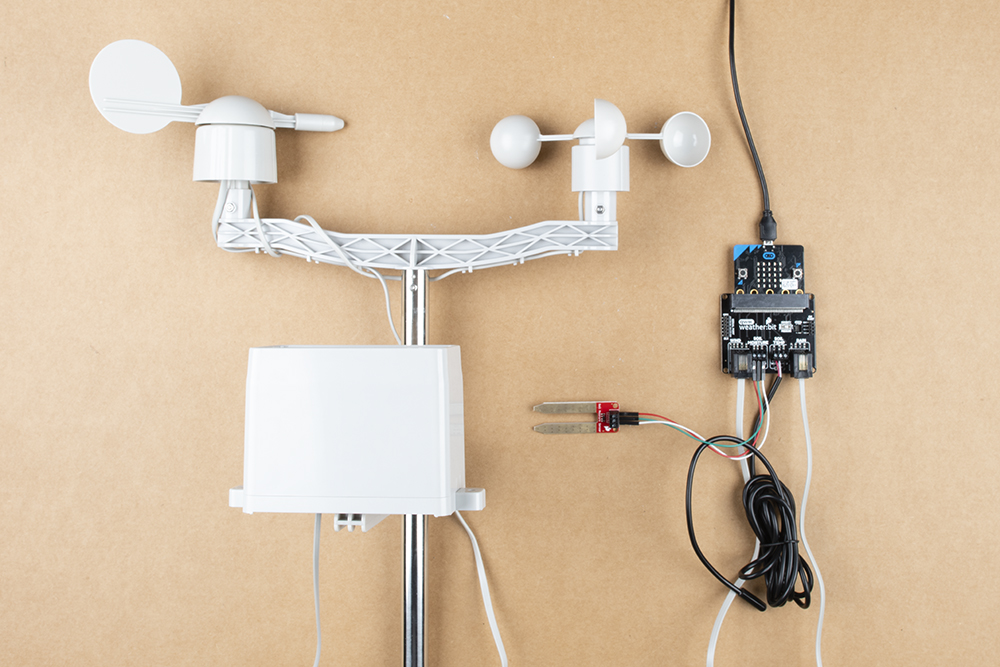
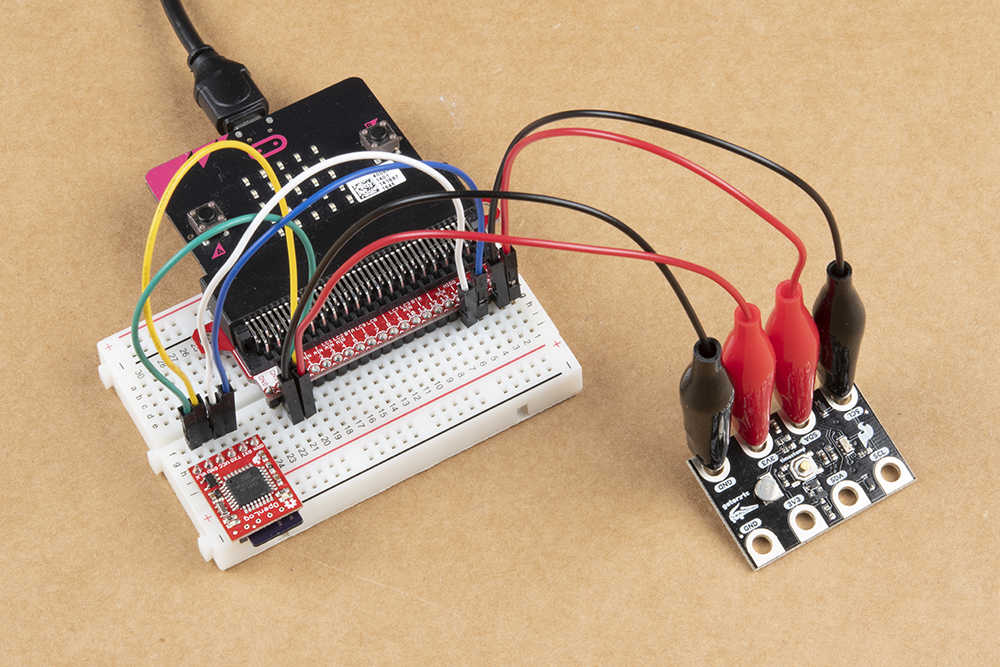
Then make the following connection using the circuit diagram. You'll need to connect a few parts together using a combination of M/M jumper wires on a breadboard. Then using the alligator with pigtails, you will need to connect the gator:RTC to the rest of the circuit.

Your setup should look similar to the image below.
Running Your Script
We are going to use Microsoft MakeCode to program the micro:bit. You can download the following example script and move the *.hex file to your micro:bit. Or use it as an example to build it from scratch in MakeCode.
Code to Note
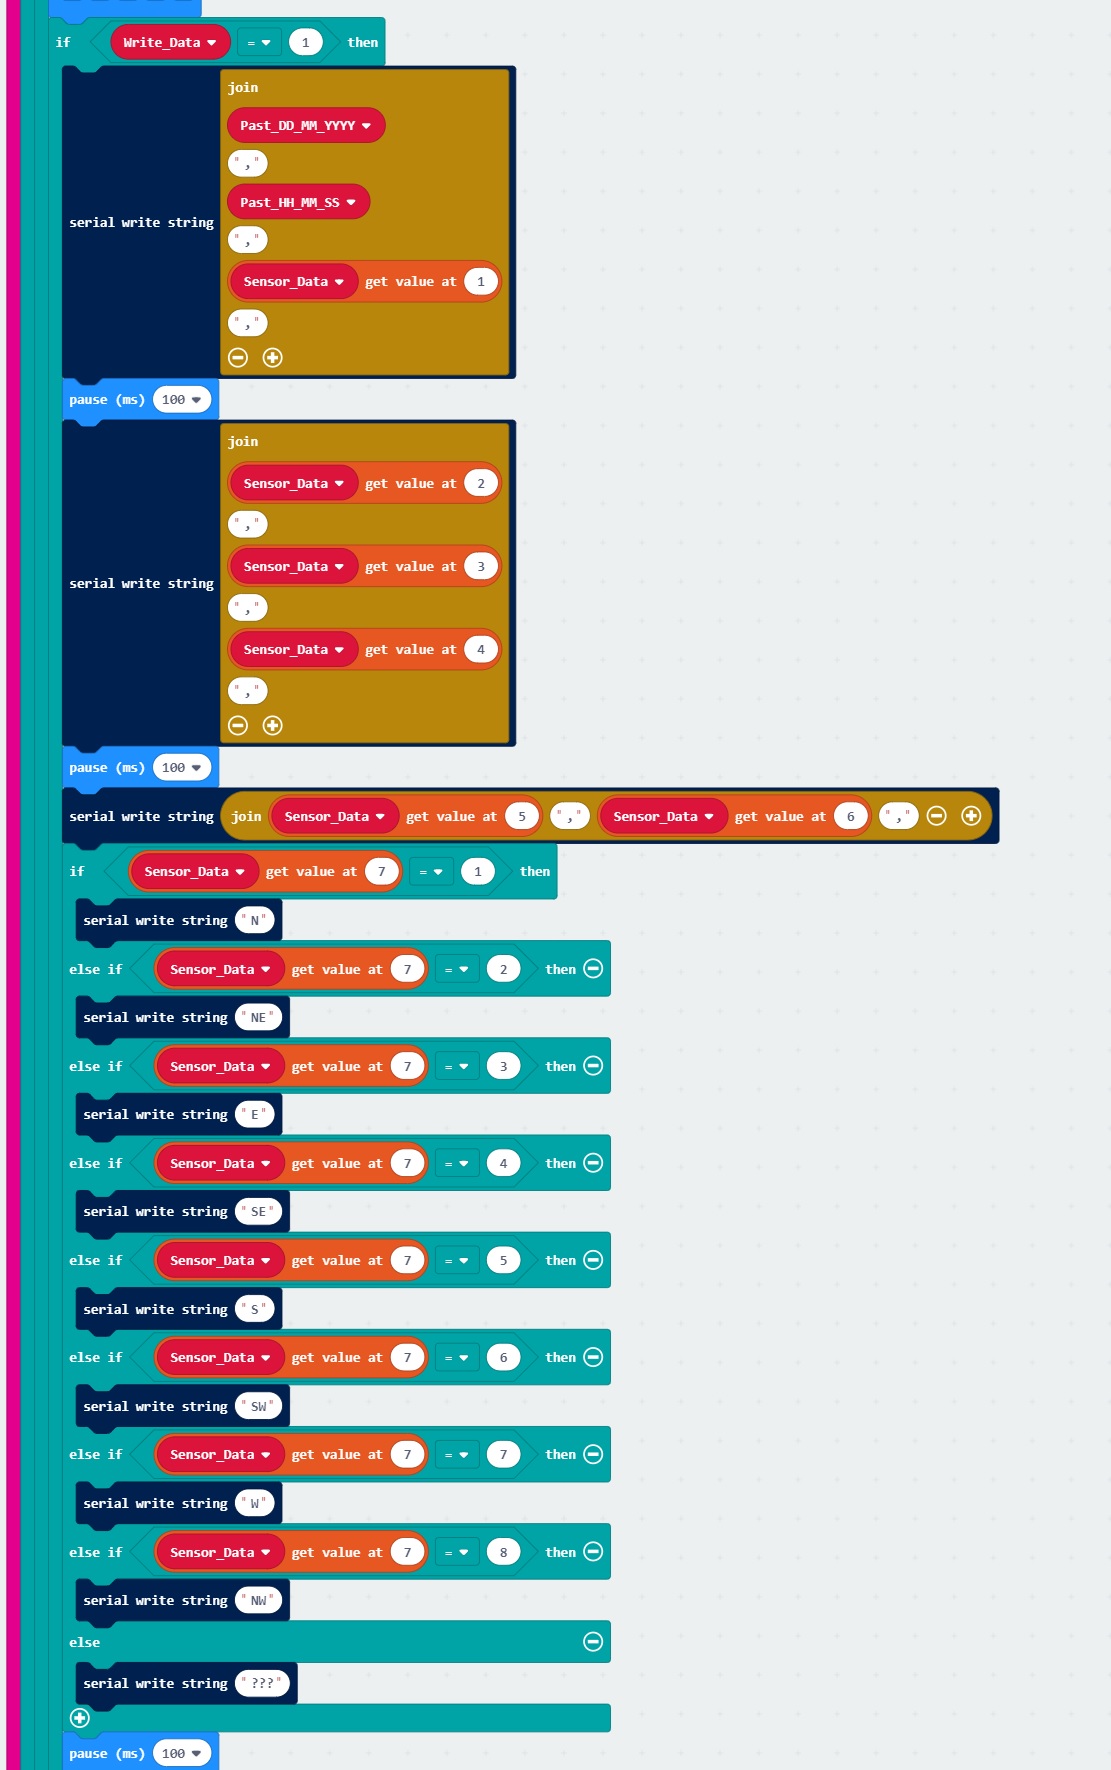
This is quite a lot of code but don't worry, we did most of the work in previous examples! We are also repeating most of the steps for each sensor reading so don't feel overwhelmed. Let's inspect the changes.

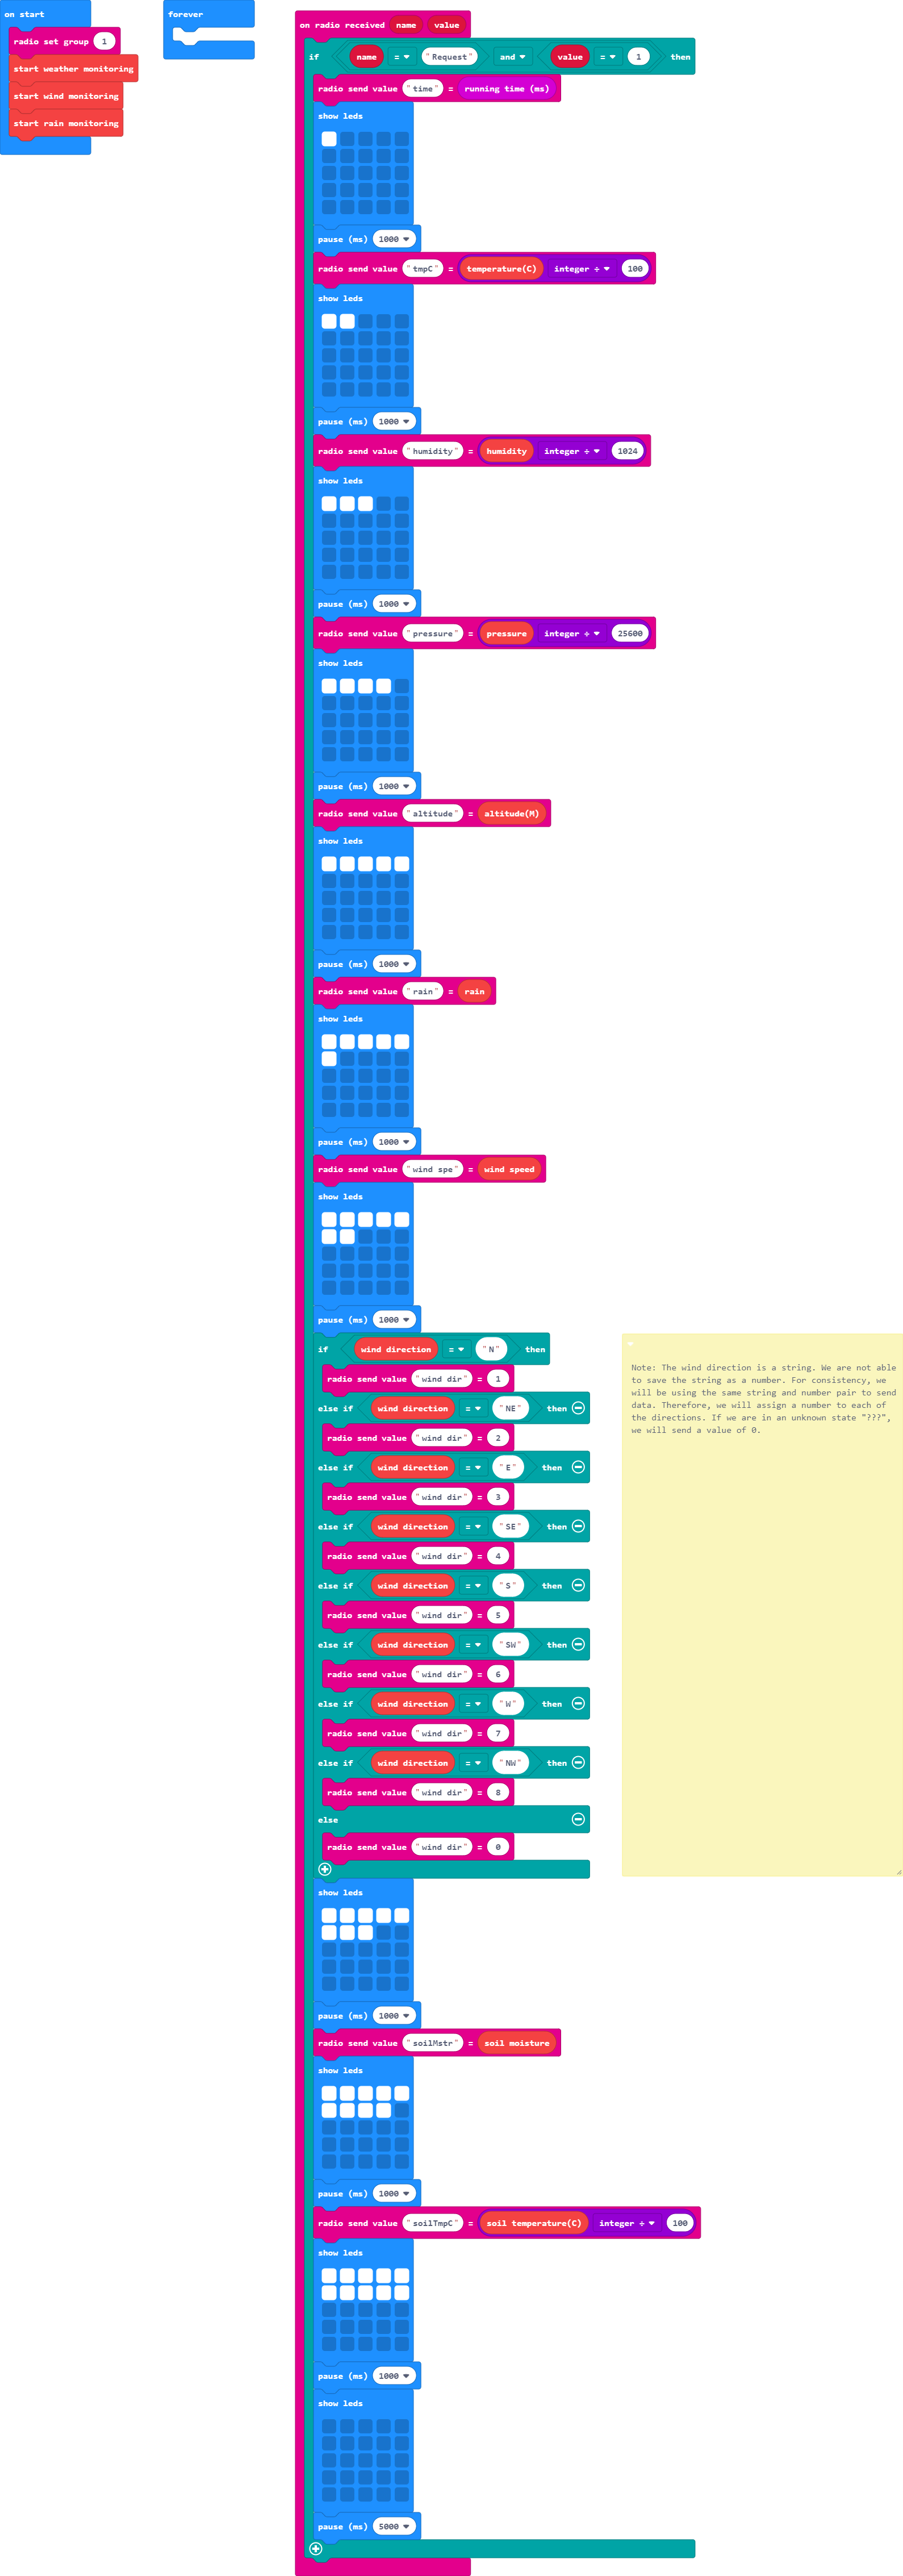
In the on start block, we want to be able to easily send serial to either the serial terminal or OpenLog. We create a variable called Debug and set it equal to 0. We also set up a variable to be able to set the RTC's day and time. We will call this Set_RTC and set it equal to 0. Write_Data is also created to output the comma delimited data and is initially set to 0.
Write_Data to 1 before uploading.
Depending on the value of Debug, we direct which of the pins to send the serial data to and adjust the baud rate as necessary using condition statements. We will also have have a condition statement for setting the day and time. If the Set_RTC is set to 1, we will set the day and time from the gator:RTC extension blocks. For simplicity and avoiding confusion, we will just use military time.
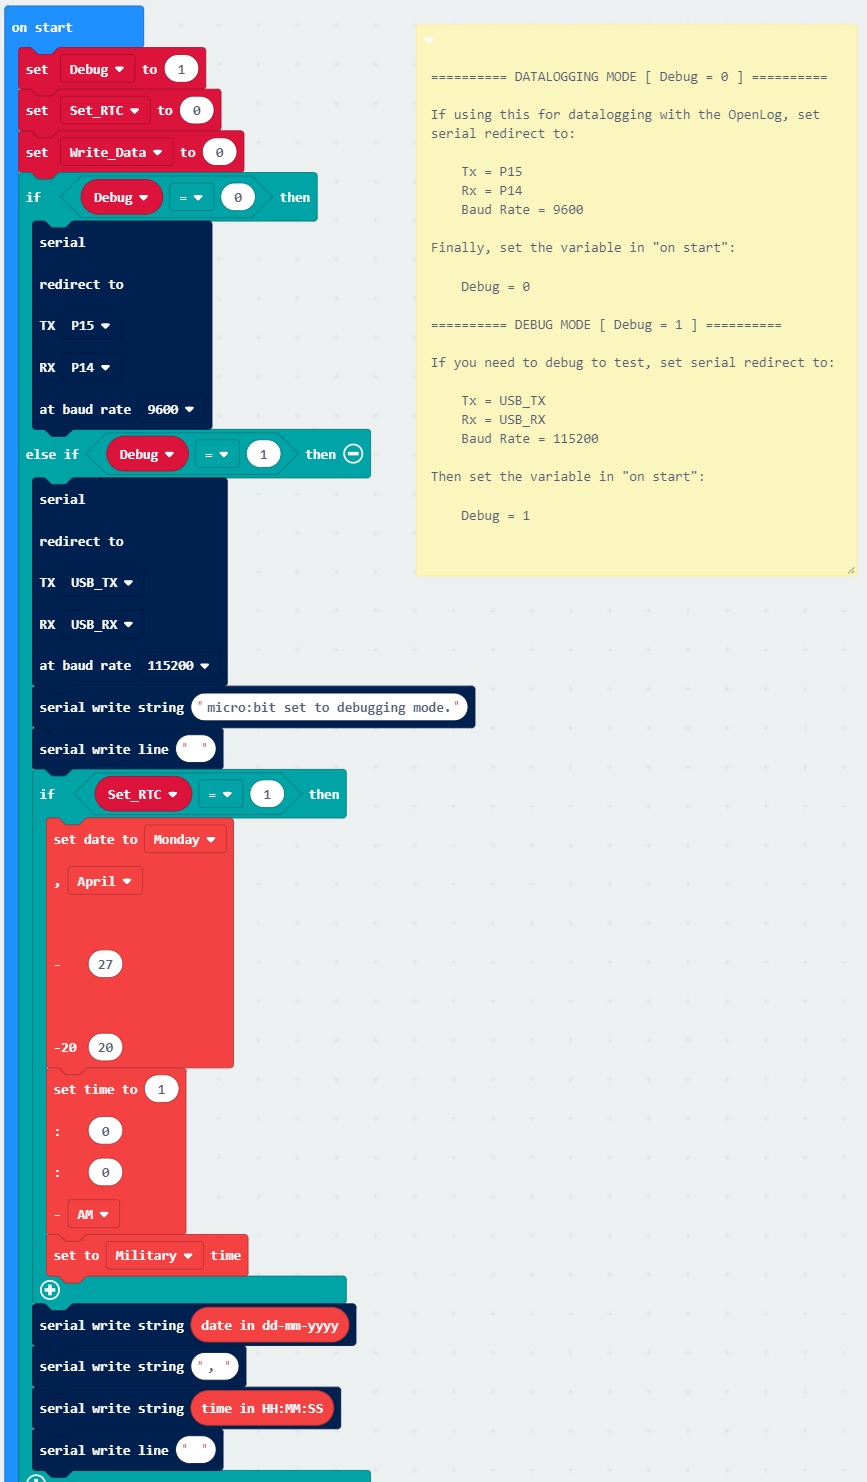
We set the radio, header to help read the data, arrays, and a variable to keep track of the total number of readings received.
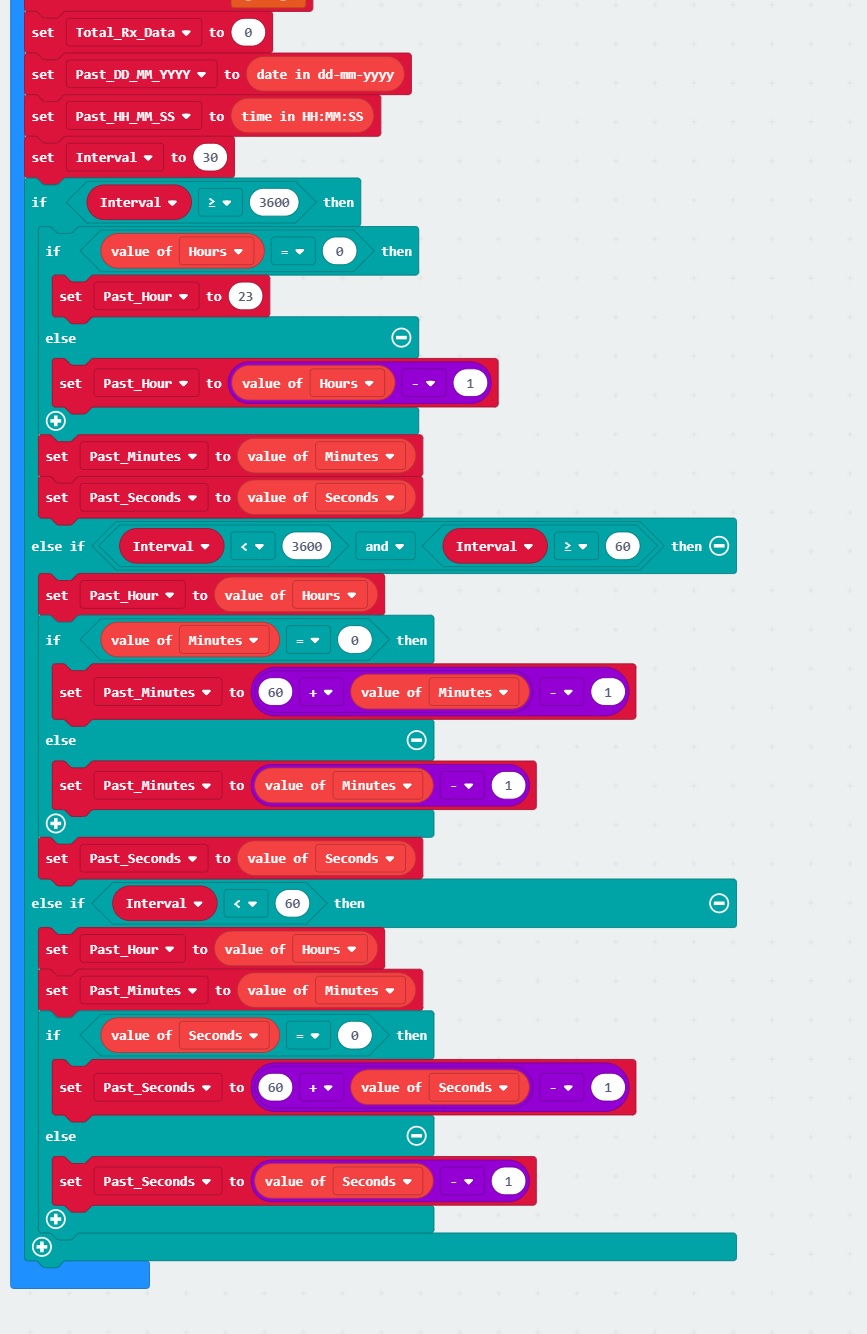
The variables for Past_DD_MM_YYYY and Past_HH_MM_SS will be useful when requesting data over a certain period of time. This period of time will be our Interval in seconds and we set it equal to 30 seconds. The time it takes for all 10 string/number pairs is about ~15 seconds so we will want to give it some breathing room for micro:bit B to finish what it is doing before requesting the next set of readings. We then set up condition statements to convert the interval to either the Past_Hour, Past_Minute, or Past_Second.
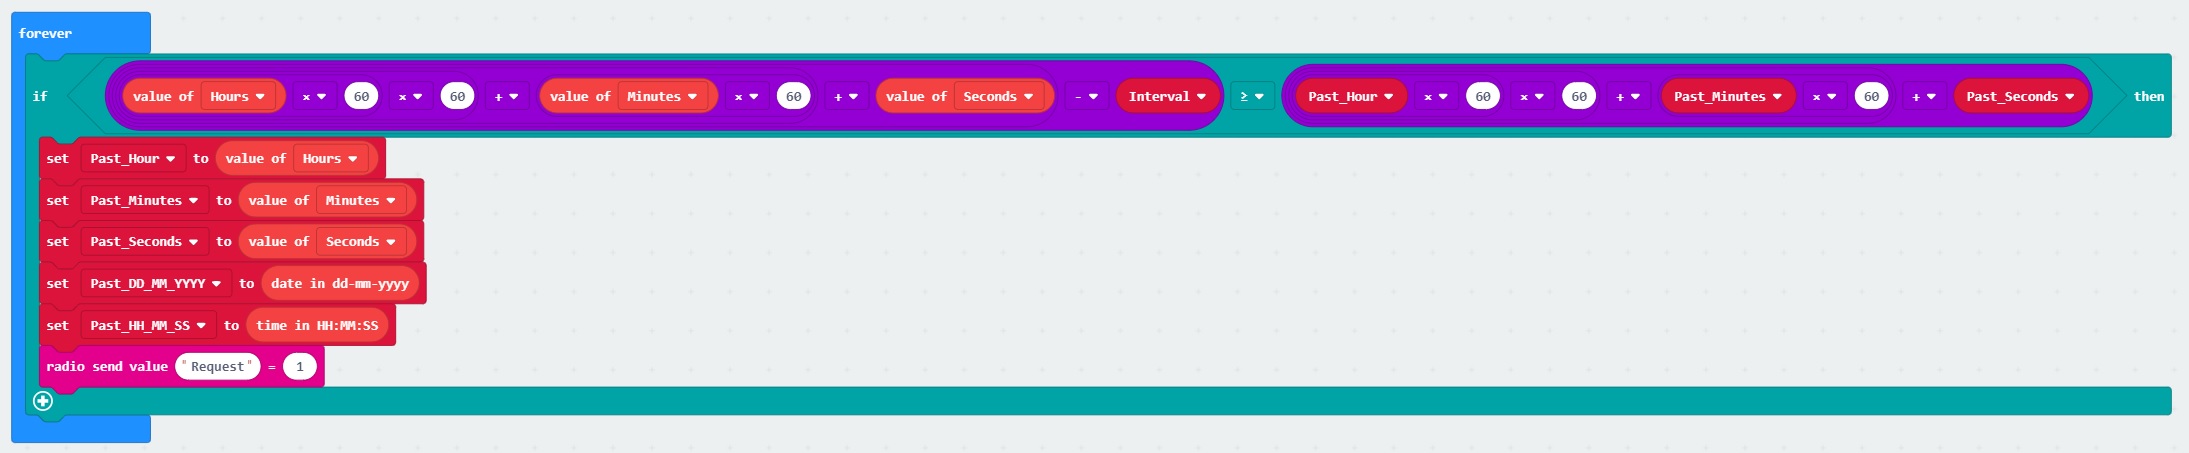
In the forever block, we will keep checking the time. Each time we jump into the if statement, we will convert the time into seconds. If the time is greater than or equal than the last time that we recorded data, we will save the date and time. We will then send a request to micro:bit A to begin sending data back.
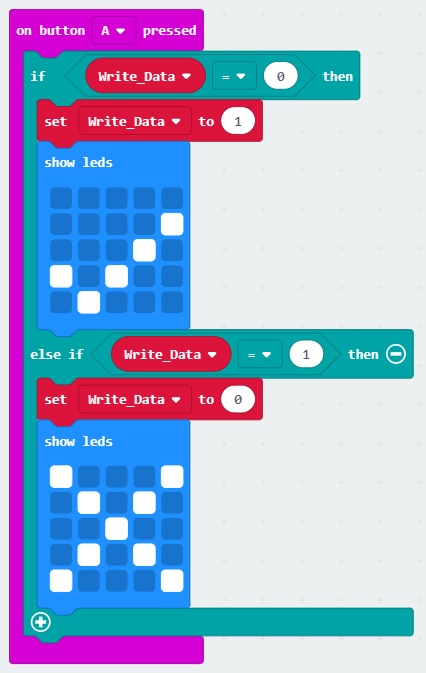
We will not send comma delimited readings through the serial terminal or OpenLog until we press button A. If we press this button, we will begin writing serial data to either port just like we did in the micro:climate kit experiment guide.
You will notice in parts of the on radio received name value block that it is not exactly the same as the previous experiment. Since we are recording data, we do not want to also record any output that was used to debug the code. Therefore, we add an if statement to only send these messages to the serial terminal when we are in debug mode.

We will also add a small 100ms pause to give the micro:bit some time to write data to either serial port.
What You Should See
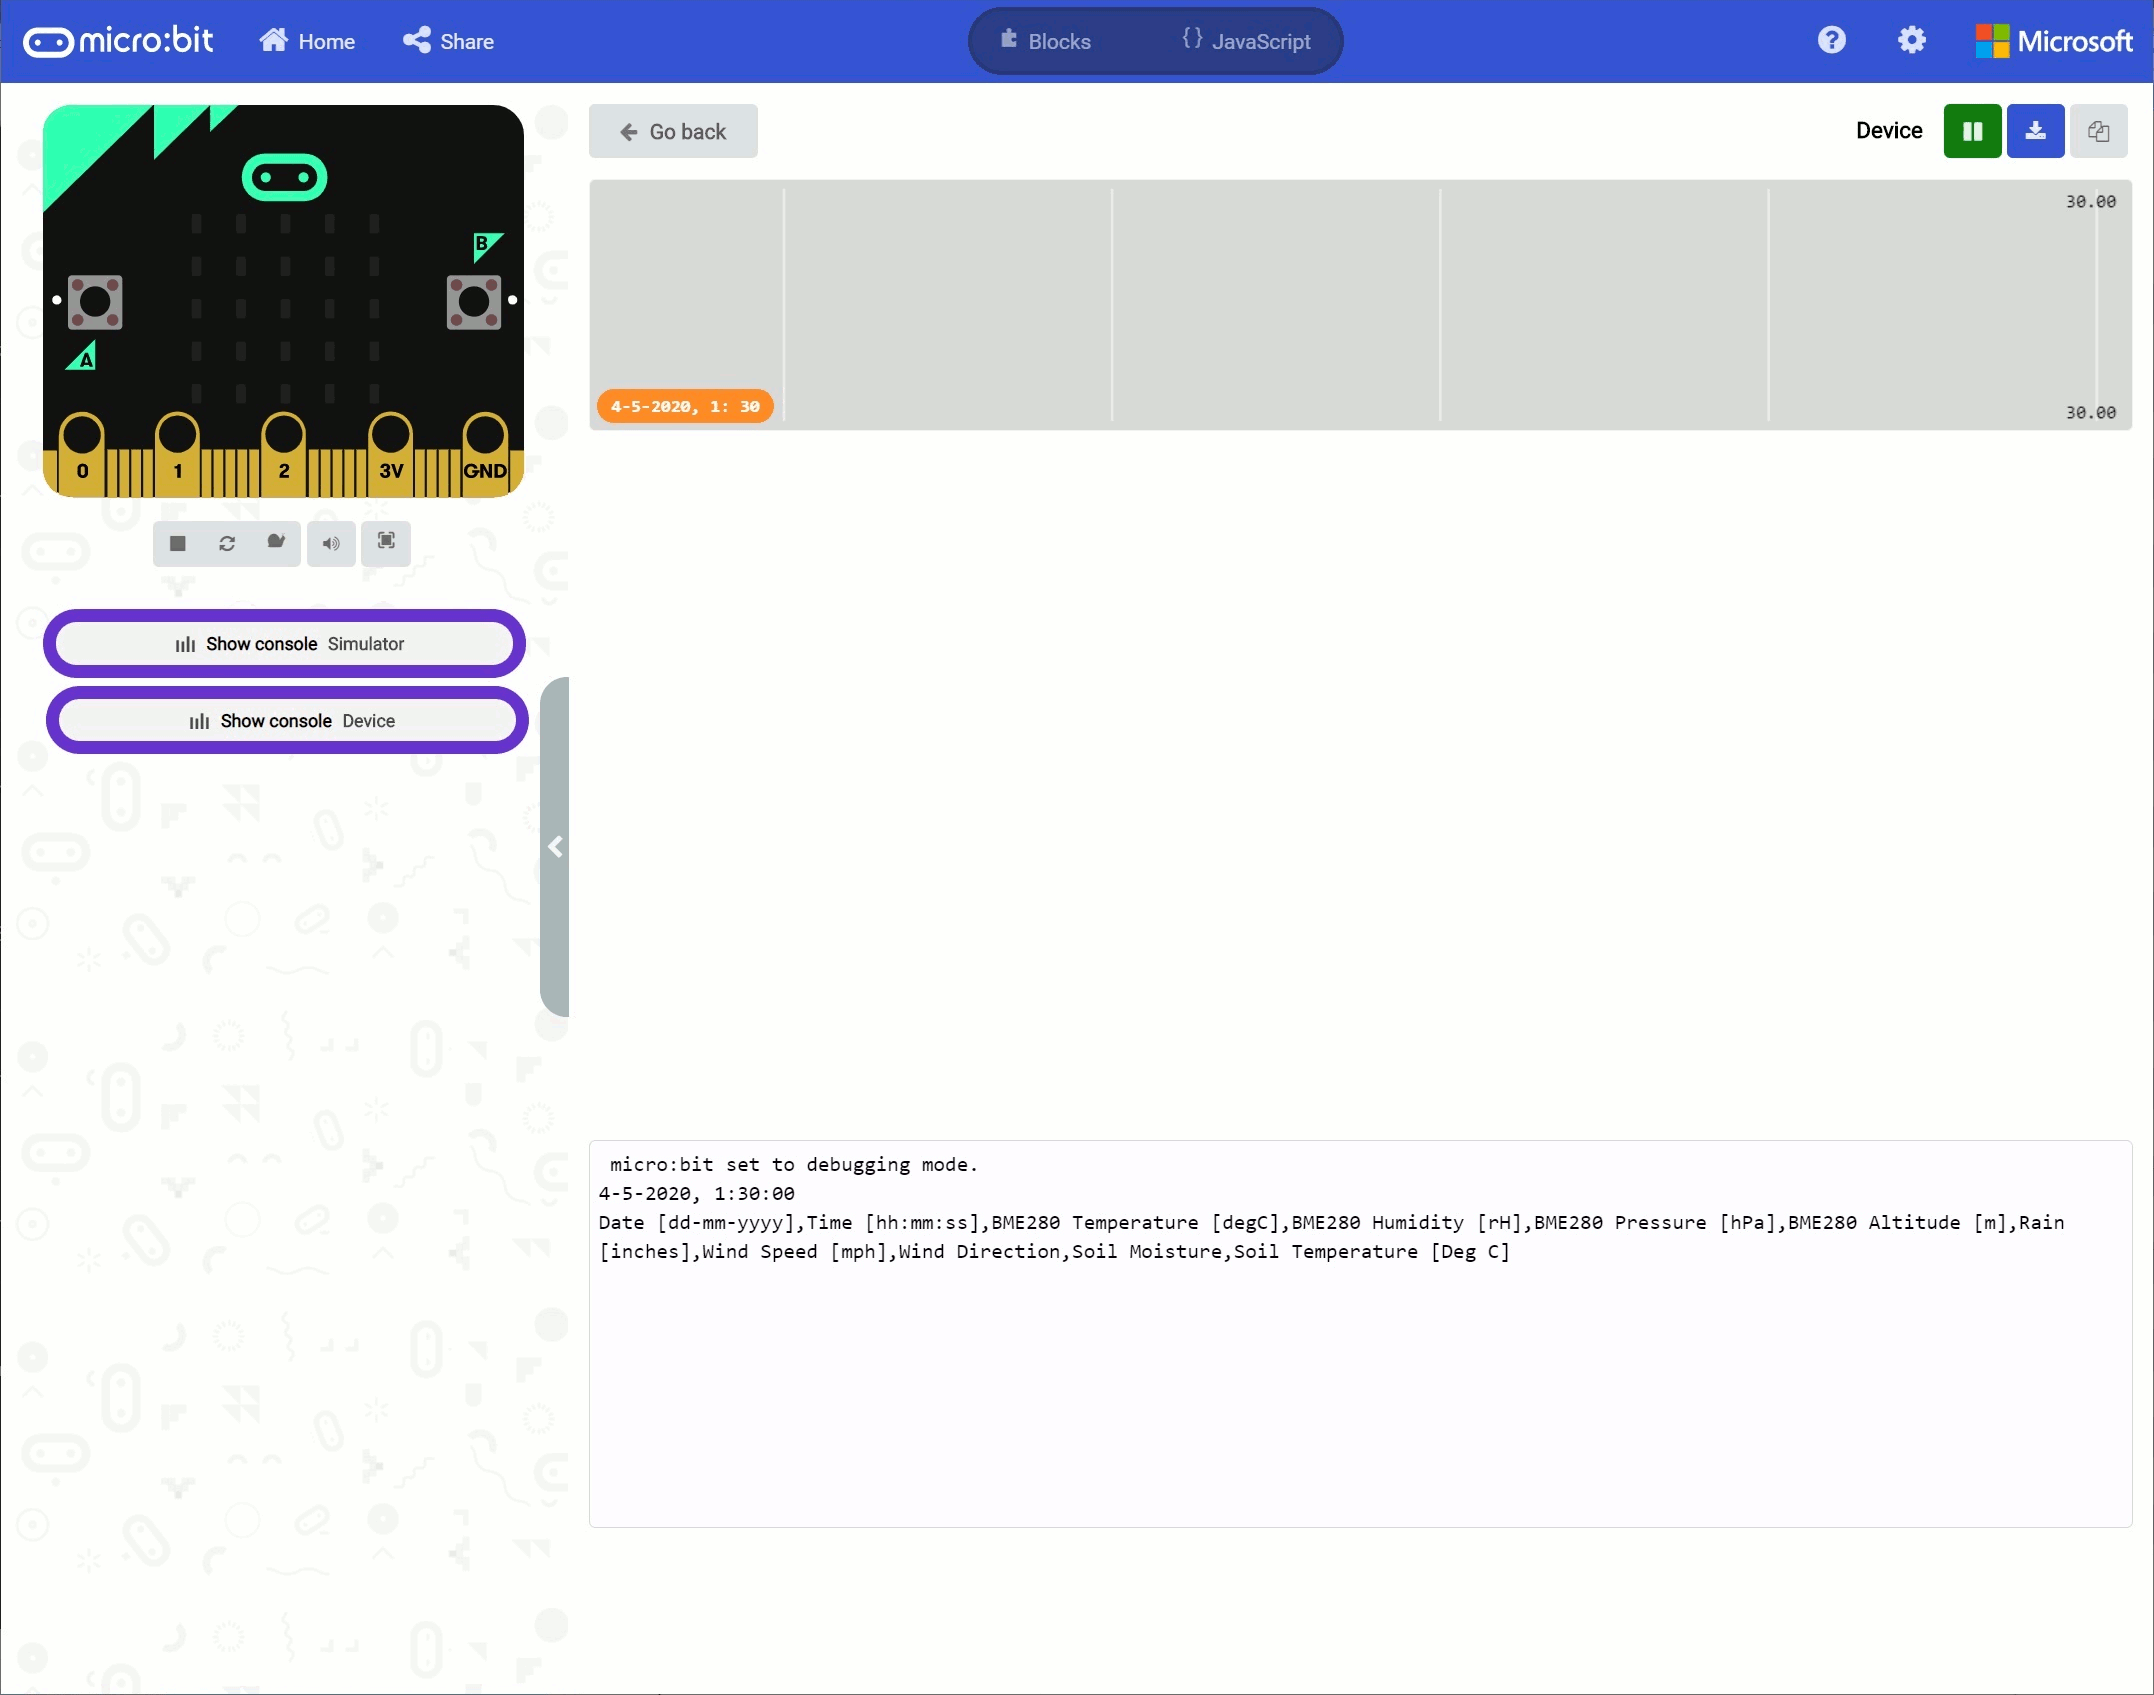
You can pair, upload code to the micro:bit, and view the output on the MakeCode console without having to drag and drop the file to the micro:bit after updating the firmware. For more information about using the WebUSB feature on MakeCode, make sure to check out the instructions provided by micro:bit support.
Otherwise, you can use your favorite serial terminal or program to graph the output in a real time, serial data plotter.
The code is set currently to output sensor data to the OpenLog. If you have not set up your RTC, you will need to adjust a few settings. Just before uploading the code to micro:bit B, make sure to adjust these settings:
Debugto1Set_RTCto1set date to _________ , _____ __ ____to the current dateset time to __ : __ : __ AMto the current time
When set, pair micro:bit B to your computer to use the one-click download feature for MakeCode. Upload code and click on the "Show console Device" button begin viewing the serial output in the MakeCode console. Then power up micro:bit A that is attached to the weather station. micro:bit B will begin requesting data from micro:bit A as soon as we are within our specified interval. Press button A on micro:bit B to write data to the serial terminal.
If we received all 10 readings, we will output the date, time, and 9 readings that were received. Try changing the sensor readings on the weather station every 30 seconds to see if the values are responding to your input. If it is, we are good to start logging data!
Unplug the weather station from your computer if you are using it to power micro:bit A. Then adjust the settings to direct serial data to the Openlog and turn off any comment that was used for debugging.
Set_RTCto0Debugto0
We will assume that micro:bit B is still paired to your computer. Click the Download button to upload code. Power up the weather station again and hit button A to start sending serial data to the OpenLog. Try changing the sensor readings on the weather station every 30 seconds and waiting a bit to obtain some sensor readings. Hit button A again to stop recording. Remove power from micro:bit B.
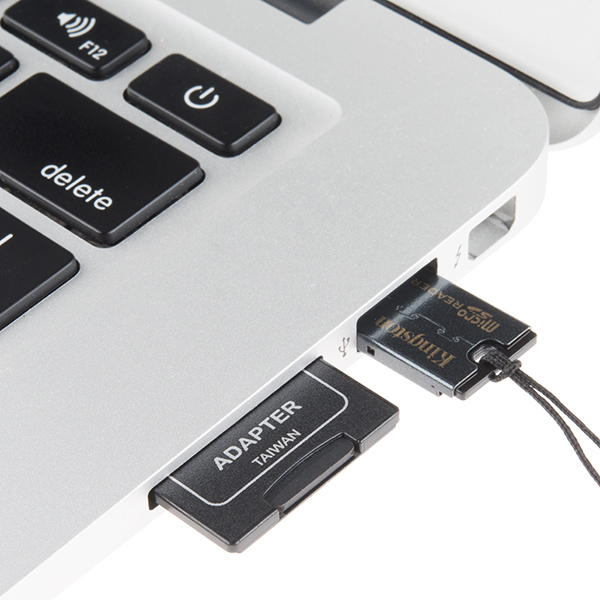
Insert the microSD card into a microSD card reader. Open up the saved file in your favorite text editor or spreadsheet to inspect the values. If the readings make sense, our weather station is ready! Depending on your application, try adjusting the interval to record data to 5 minutes, 15 minutes, 30 minutes, or an hour!
If you are a user of Google Sheets, try importing this data on a spreadsheet like we did at the end of the micro:climiate kit experiment guide. You can import this text file as a CSV and then graph these values pretty easily. We recommend this quick guide from Google on how to import a .txt file as a CSV into sheets.