Wireless Remote Weather Station with micro:bit
 bboyho
 Experiment 2: Wireless Remote Weather Data
Introduction
Remember our weather station from the micro:climate kit? If you have been following along from the last experiment, we were logging sensor data to an OpenLog and saving it to a microSD card to graph. Now what if you installed the weather station in a remote location where it was difficult to obtain the sensor readings? In this part of the experiment, we will have one micro:bit transmit sensor readings from the weather:bit and weather meter. Then in the second part of this experiment, we will take the readings and output them to a serial terminal.
Parts Needed
You will need the following parts:
- 2x micro:bit Boards
- 2x Micro-B USB Cables
- 1x Weather:bit Carrier Board
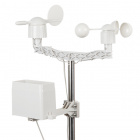
- 1x Weather Meter
- 3x 12" M/M Jumper Wires
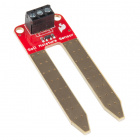
- 1x SparkFun Soil Moisture Sensor
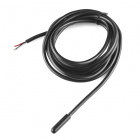
- 1x Waterproof Temperature Sensor
For a few items listed, you will need more than one unit (i.e. micro:bits, micro-B USB cables, etc.). You may not need everything though depending on what you have. Add it to your cart, read through the guide, and adjust the cart as necessary.


micro:bit Board
DEV-142082:1 Sending
For this part of the experiment, we are going to send a string and number pair for each sensor attached to the first micro:bit. A second micro:bit on the same channel will receive the data and output it to a serial terminal.
Hardware Hookup
We will also assume that your weather meter has been assembled. Make sure to check out following guides before continuing on.
micro:climate Kit Experiment Guide
Weather Meter Hookup Guide
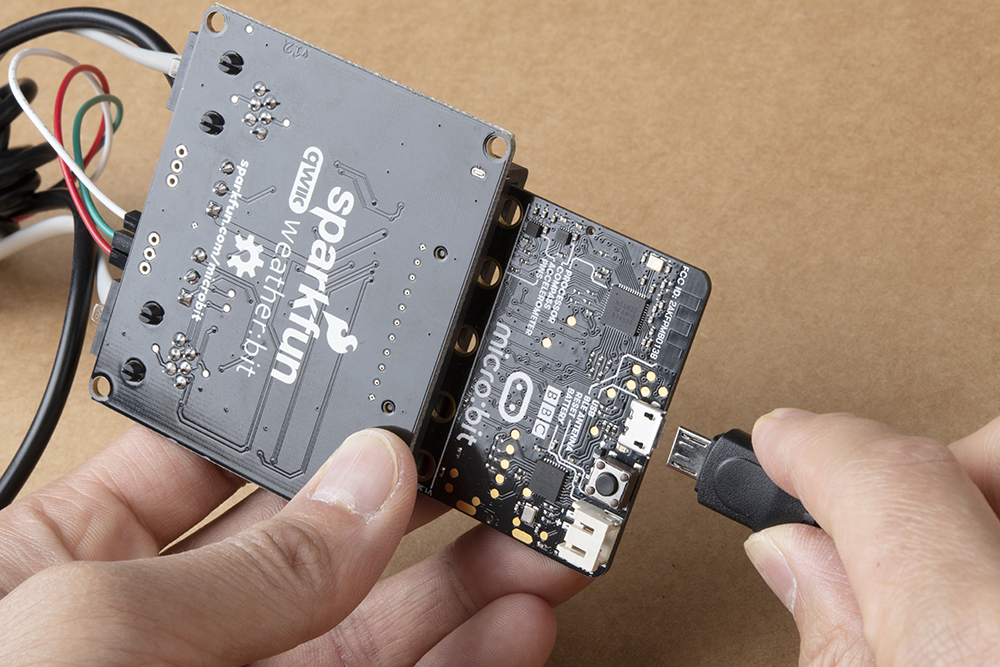
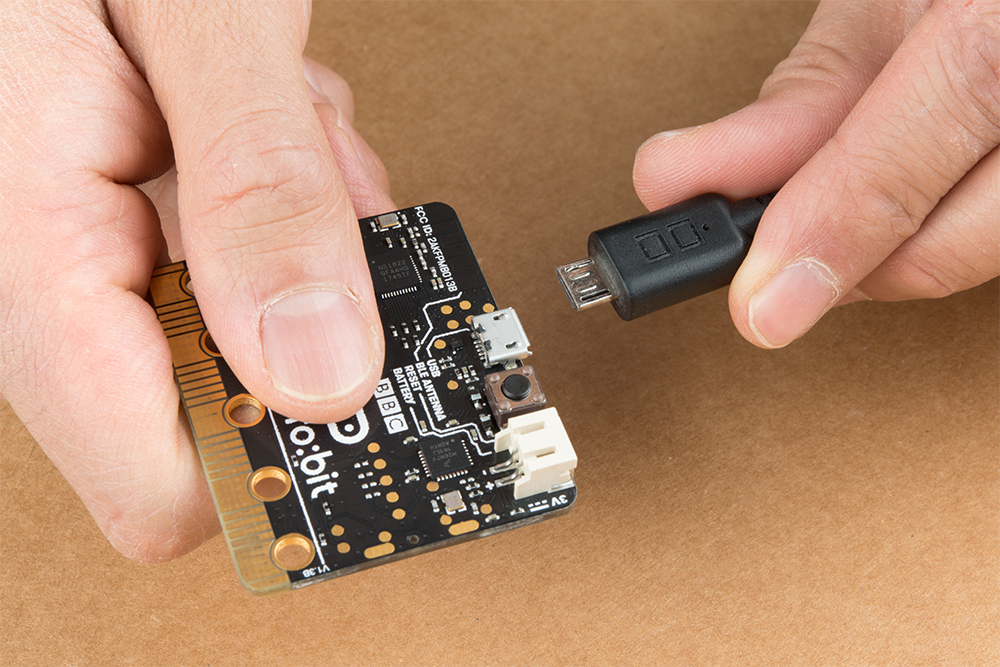
If you have not already, insert one micro:bit into the weather:bit's carrier board. Make sure to insert the micro:bit with the LED array facing up (the same direction the connectors) as explained in the micro:climate kit experiment guide. We’re continuing on from experiment 7. Below is a view from the back as a USB cable is being inserted.
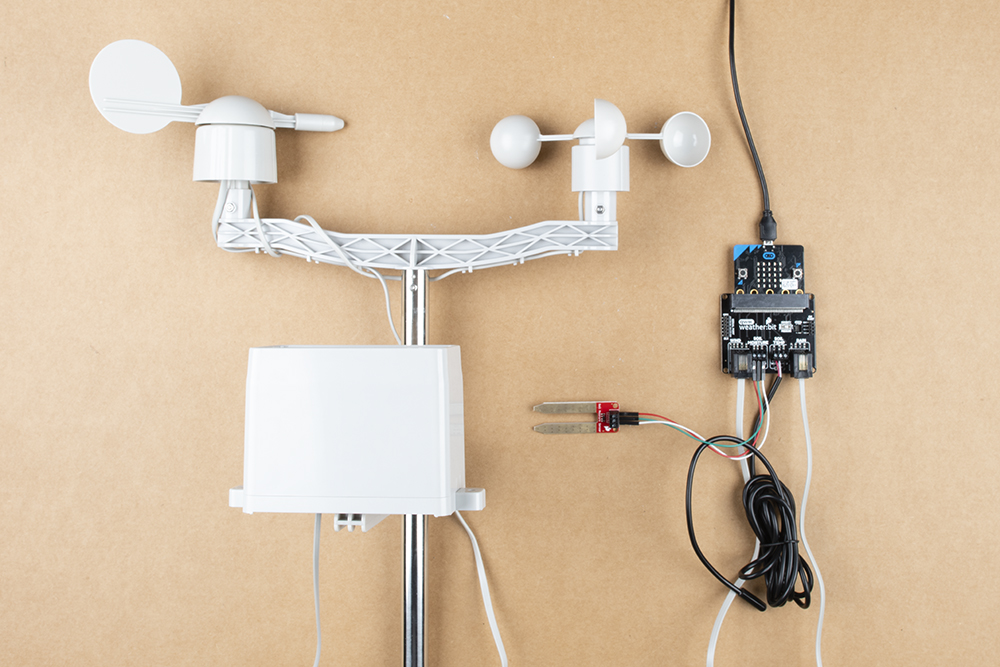
Your setup should look similar to the image below.
Running Your Script
We are going to use Microsoft MakeCode to program the micro:bit. You can download the following example script and move the *.hex file to your micro:bit. Or use it as an example to build it from scratch in MakeCode.
Code to Note
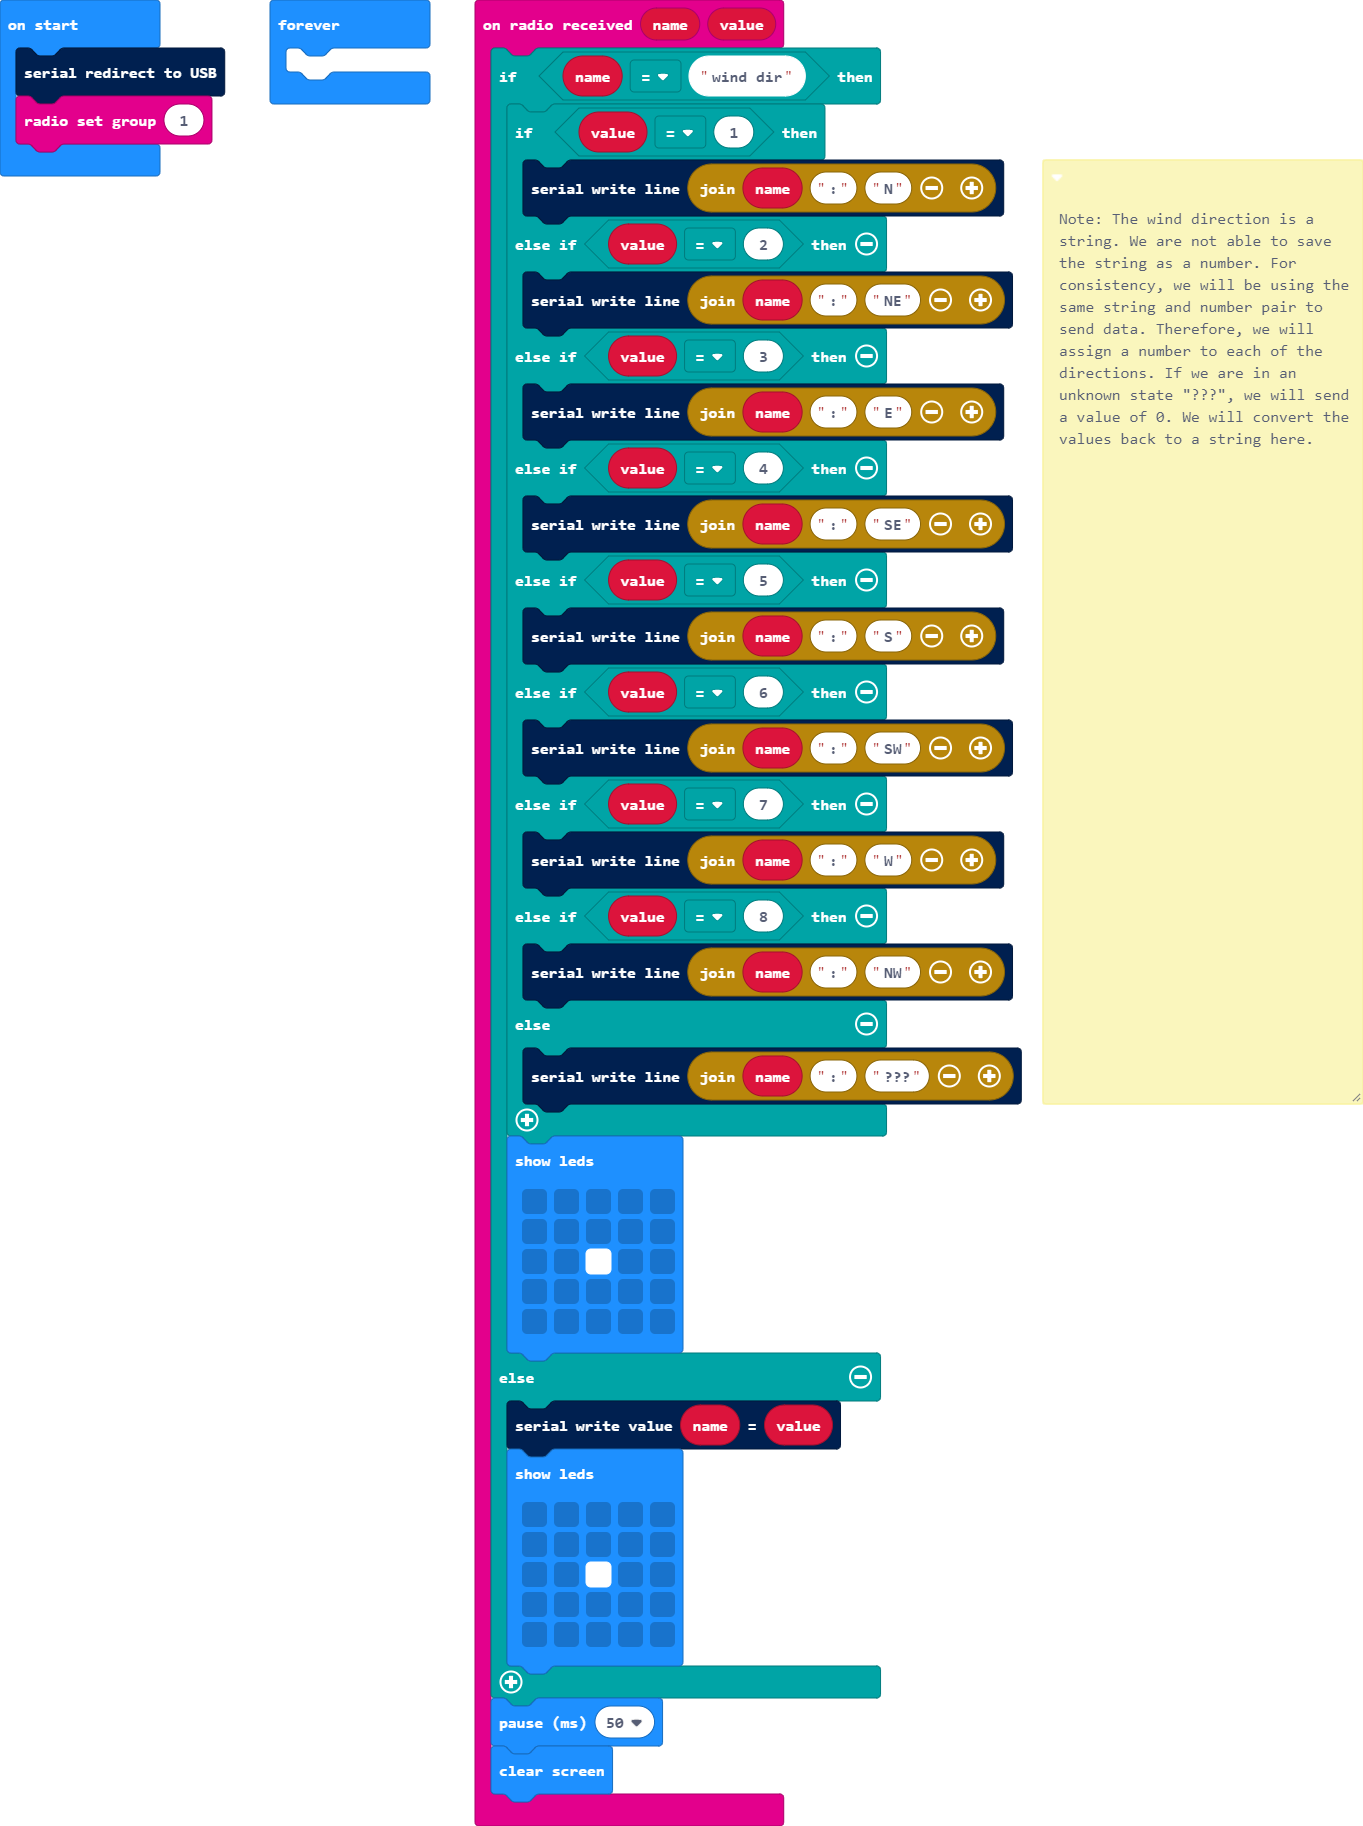
In the on start block, we will set up the channel to 1 just like the previous example. Additionally, we will set up the weather, wind, and rain blocks just like each of the experiments in the micro:climate kit experiment guide.
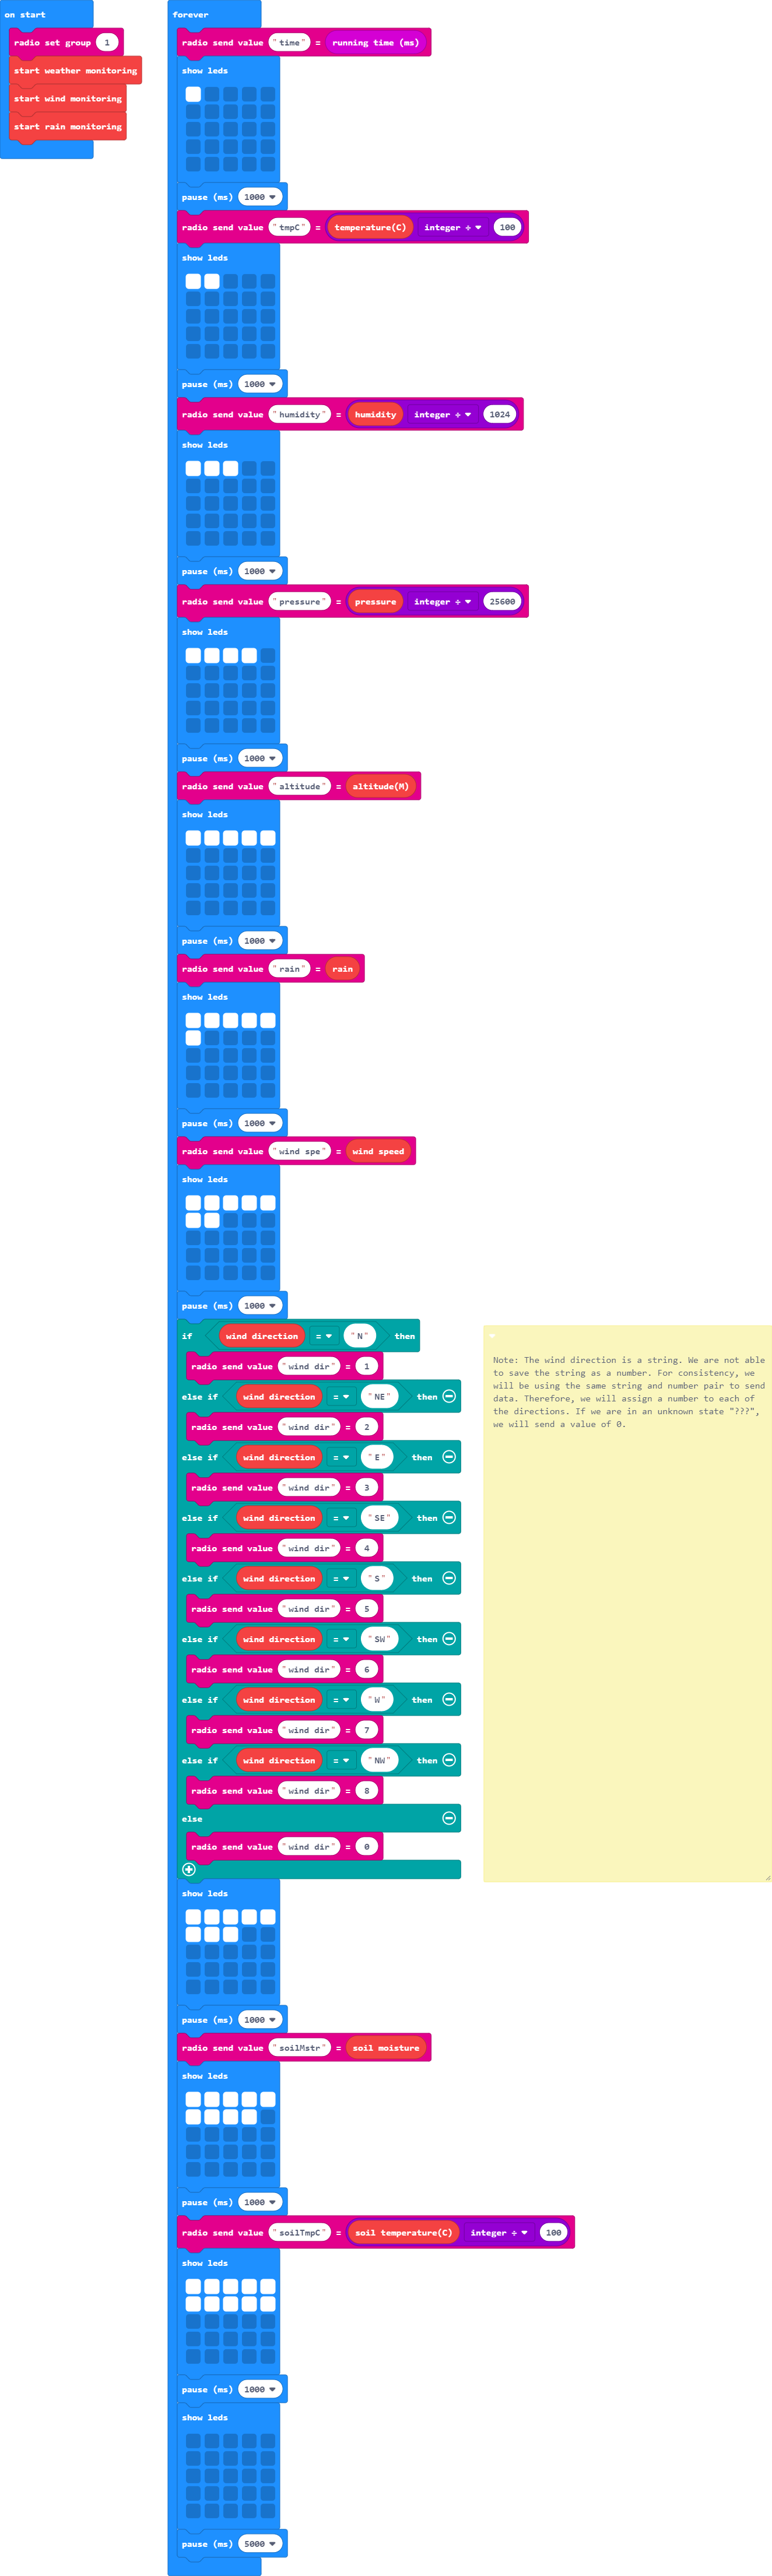
In the forever loop, we will send a string and number for each reading with the values calculated every second. For each piece of data, we will update the LED array to indicate the status. The following blocks of code were taken from the basic, radio, weather, and logic blocks.
- running time [ms] as
time - BME280's temperature [degrees C] as
tmpC - BME280's humidity in [rH] as
humidity - BME280's pressure in [hPa] as
pressure - altitude in [meters] as
altitude - acculmulated rain [in] as
rain - wind speed [mph] as
wind spe - wind direction as
wind dir - soil moisture as
soilMstr - soil temperature [degrees C] as
soilTmpC
If you look at each string, you will notice a few of the names were shortened. This is due the radio block only being able to send 8x characters for each string and number pair. Additionally, since the wind direction is a character and not a number, we will need to assign a number to refer to each wind direction. If the wind vane is pointing to an unknown direction, we will output ???. If you remember from the troublehsooting tip in experiment 5, this may be due to a loose connection or when the micro:bit read the wind vane at a certain moment when the magnet was within a small region somewhere between the 8x directions.
When finished, we will clear the screen and wait a few seconds using the pause_____ block to give the second micro:bit some time to finish what it was doing before we start sending more data. This value can be adjusted to send out data at longer intervals.
2:2 Receiving
For this part of the experiment, we are going to have a second micro:bit receive a string and number pair for each sensor that was sent from the first micro:bit. We will then view the sensor data using a serial terminal. In this case, we will use the MakeCode console. You can use a different serial terminal program depending on your personal preference.
Hardware Hookup
To avoid confusion when uploading code, unplug the first micro:bit from your computer. Then connect the second micro:bit to your computer via USB cable.
Running Your Script
Download the following example script and move the *.hex file to your micro:bit. Or use it as an example to build it from scratch in MakeCode. You will need to open a new project to receive the data from the first part of this experiment.
Code to Note
When the code first starts, we initialize a serial output on the micro:bit to send serial to the USB with the help of the serial blocks. Using the serial redirect to USB code block defaults the 115200 baud. This is useful whenever we need to inspect the sensor readings and interpret the values in a serial terminal.
For every string and number pair that we receive, we will output it to the serial terminal. If we receive a number for the wind direction, we will translate it back to its respective direction. For feedback, we will use the LED array as a status indicator on the receiving end. Every time we receive data, we will blink the center LED in the array before clearing it.
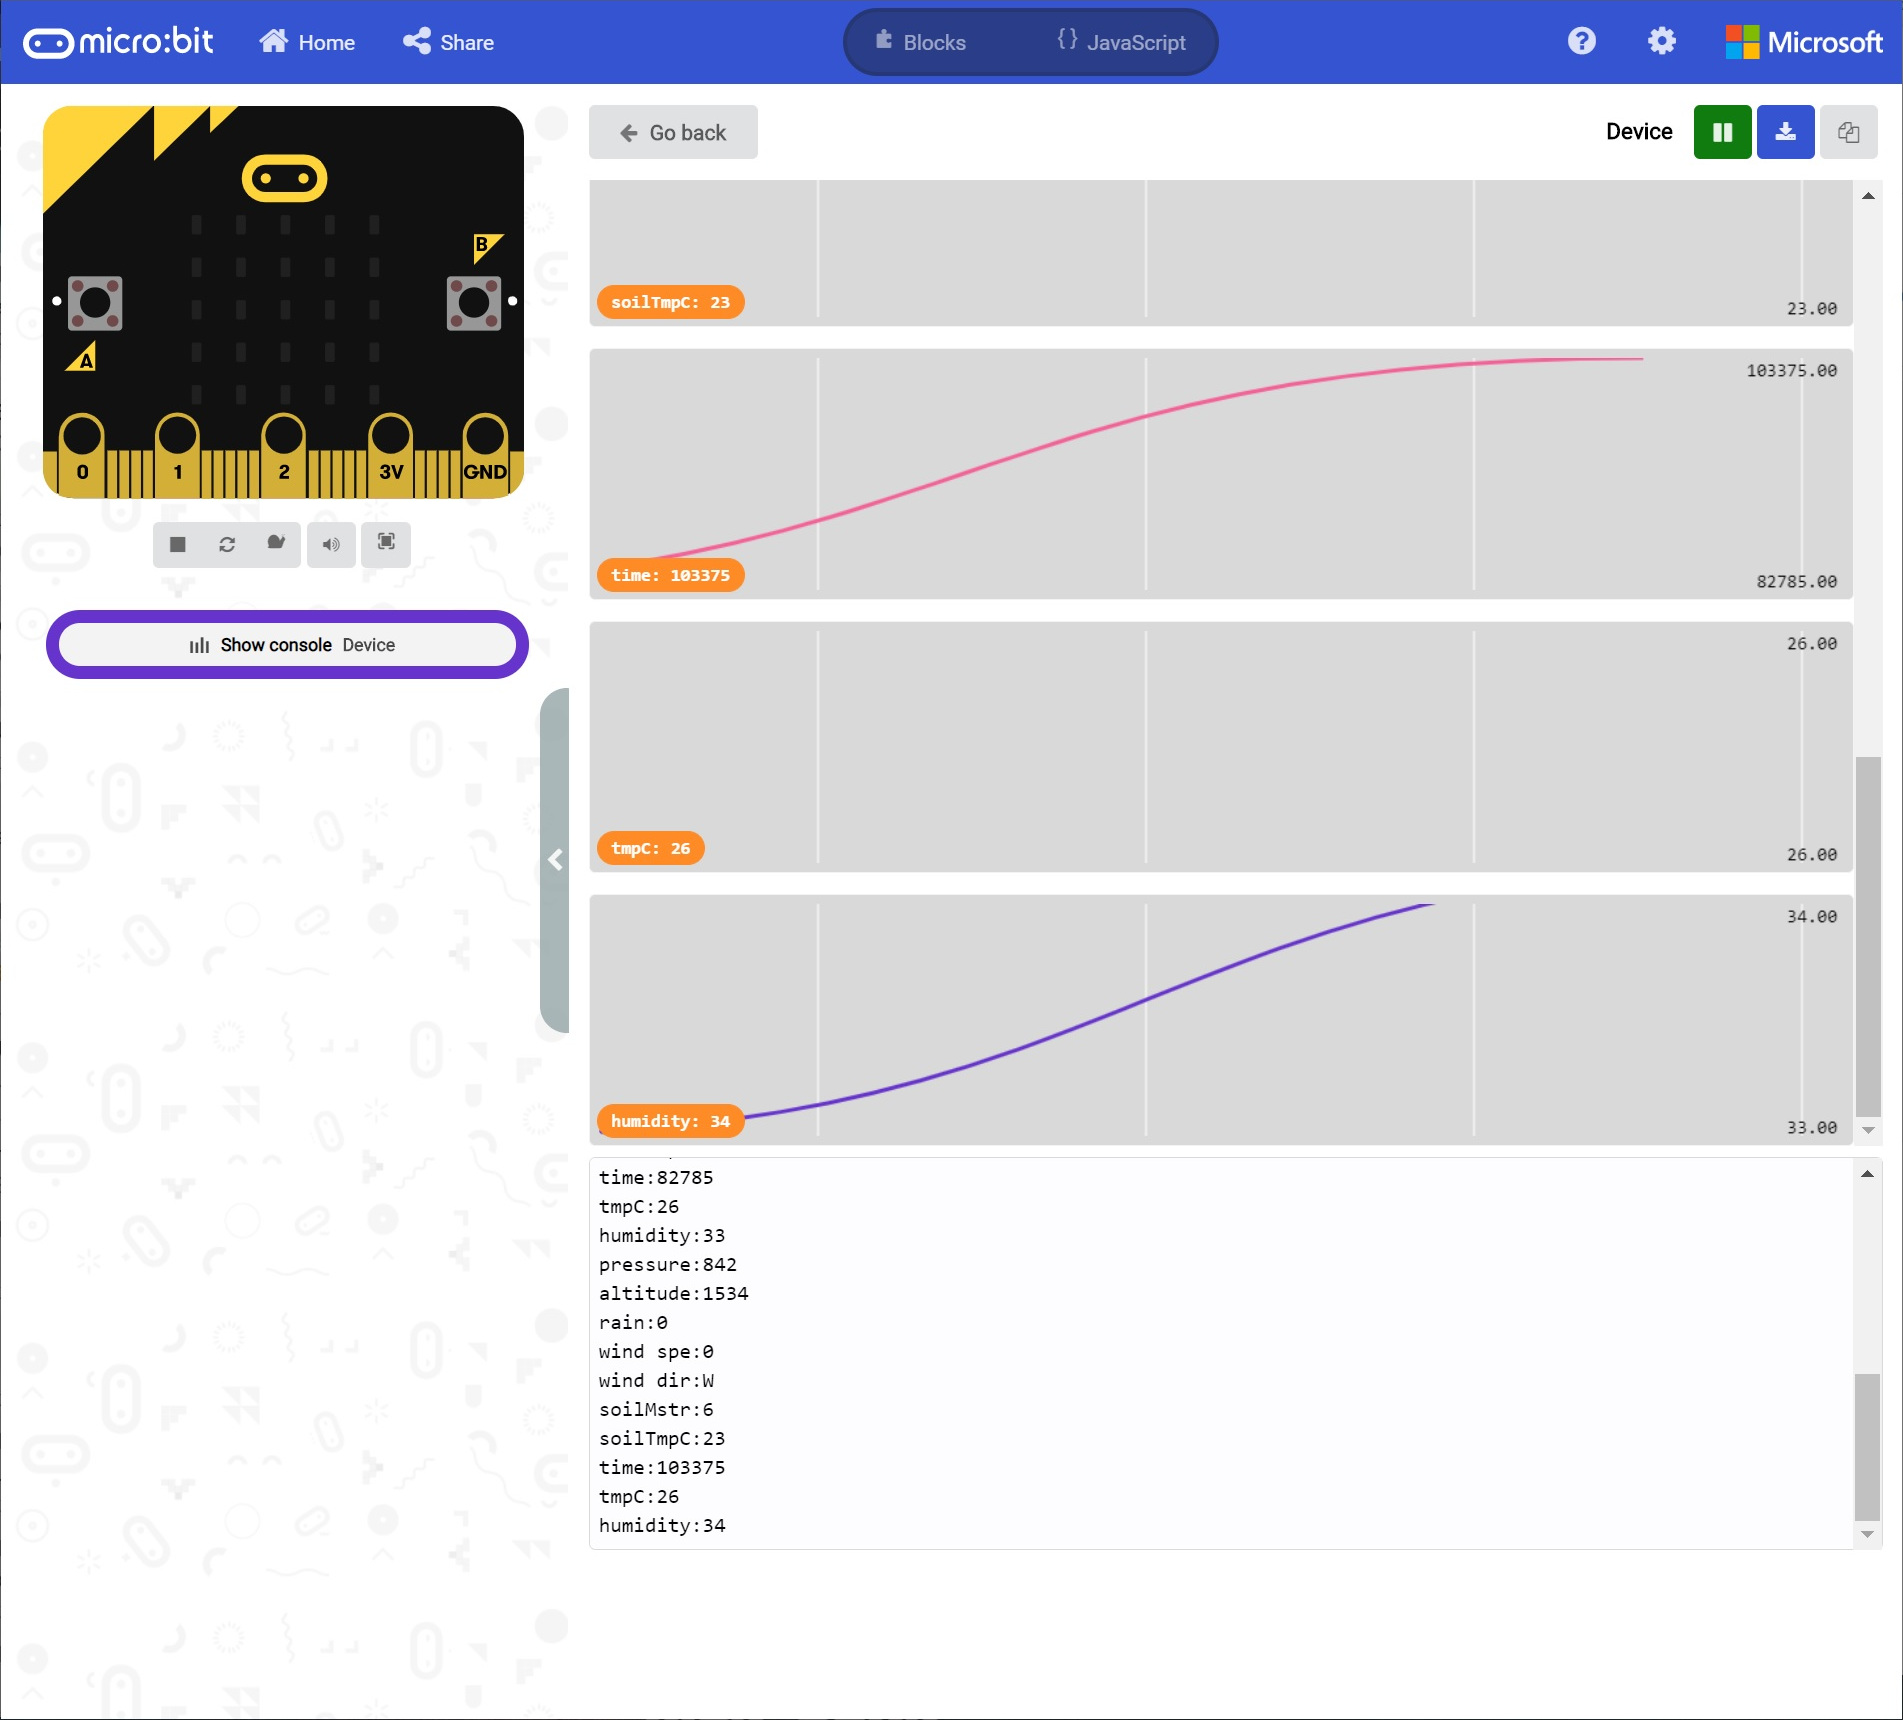
What You Should See
Serial Output
You can pair, upload code to the micro:bit, and view the output on the MakeCode console without having to drag and drop the file to the micro:bit after updating the firmware. For more information about using the WebUSB feature on MakeCode, make sure to check out the instructions provided by micro:bit support.
Otherwise, you can use your favorite serial terminal or program to graph the output in a real time, serial data plotter.
For the scope of this tutorial, we'll use the MakeCode console to display the serial output. If you have paired the micro:bit to your computer and used the one-click download feature for MakeCode, a "Show console Device" button should appear in MakeCode. Click on the button to begin viewing the serial output. A graph and serial monitor will appear over the MakeCode code editor. Otherwise, open a serial terminal with 115200 baud and connect to the COM port listed for the micro:bit.
At this point, apply power to the first micro:bit that is attached to the weather station. It will begin transmitting sensor data to the second micro:bit and display in the MakeCode console. You may notice that some data may not be graphed if it is not changing. This is due to the graph automatically resizing. Try testing the sensors to see if the values change as expected!