micro:climate Kit Experiment Guide
 bboyho,
  D___Run___
 Experiment 5: Reading the Wind Direction and Speed
Introduction
The winds are a-blowin'! The question is, which direction and how hard? In this experiment you will assemble, hook up and program your weather:bit to read the weather meters --- more specifically, the wind anemometer (wind speed) and directional vane. We will again use the micro:bit's LED array to display the wind speed or the direction.
Parts Needed
You will need the following parts:
- 1x micro:bit Board (Not Included with Kit)
- 1x Micro-b USB Cable (Not Included with Kit)
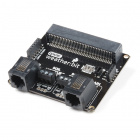
- 1x weather:bit carrier board
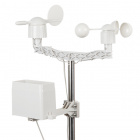
- 1x Weather Meter
Didn't get the kit? Have no fear! Here are the parts you will need to complete this experiment. You may not need everything though depending on what you have. Add it to your cart, read through the guide, and adjust the cart as necessary.


micro:bit Board
DEV-14208Suggested Reading
- Reed Switch --- A tutorial about how a reed switch works.
- Weather Meter Datasheet --- The nitty-gritty details on the weather meter.
Introducing the Weather Meter (Anemometer and Vane)
The anemometer on the weather meter is the propeller-looking thing that got lost in a ping-pong ball factory.

It has three cups that catch the wind, which then cause it to spin. As the head spins, a magnet at the center of the hub travels over a reed switch that closes the circuit to the pin that the sensor is connected to for a brief moment. The faster the wind is, the faster the anemometer spins and the faster and more often the reed switch is triggered.
We count the number of times that the reed switch is triggered every second, and we can calculate the wind speed from that (1 click per second is roughly 1.5mph).
We did the hard work on this one in terms of simplifying all of this for you. All you need to know is that an anemometer is a wind-speed sensor.
The wind vane is the arrow-looking thing that spins.

When the wind blows, it catches the vane, which points in the direction that the wind is coming from. As the vane moves around, it closes a series of switches inside, which produce a different resistance at 16 different locations around the hub. Each direction has a specific value that we have mapped to the cardinal directions once you have it set in the location you want it. While the datasheet lists 16 directional degrees, we have simplified the makeCode extension such that the Wind Direction block will return eight directions (N,NE,E,SE,S,SW,W,NE) as a string. Feel free to modify your own code blocks to return all 16!
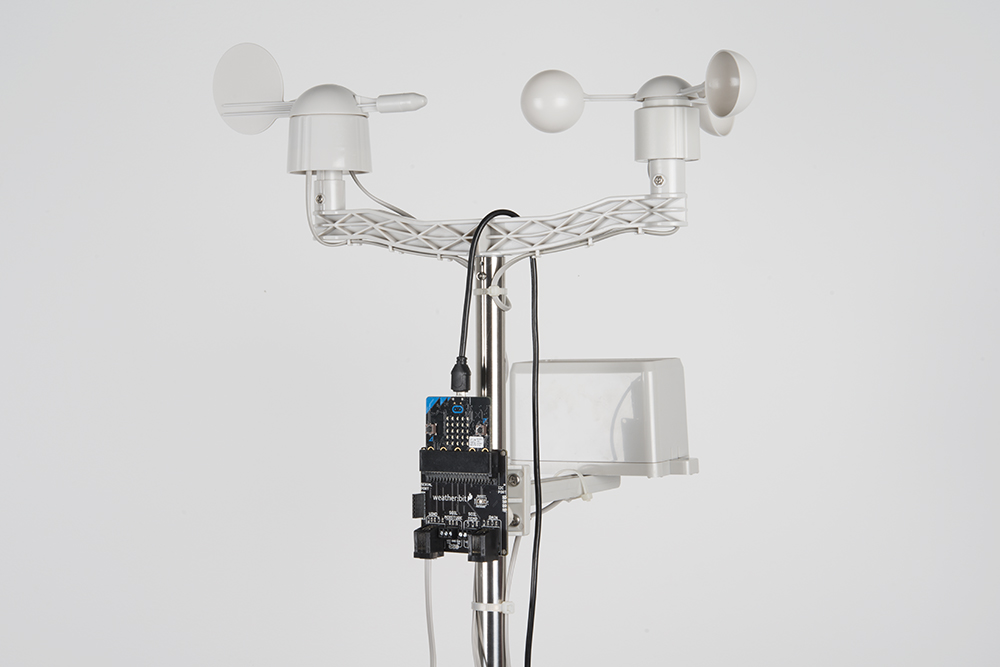
Hardware Hookup
To help you out in the assembly of your weather meter we have created this step by step assembly guide.
Weather Meter Hookup Guide
Once you have completed the assembly of the weather meter, find the cable for the wind sensors and plug it into the RJ-11 connector on the weather:bit labeled "wind".
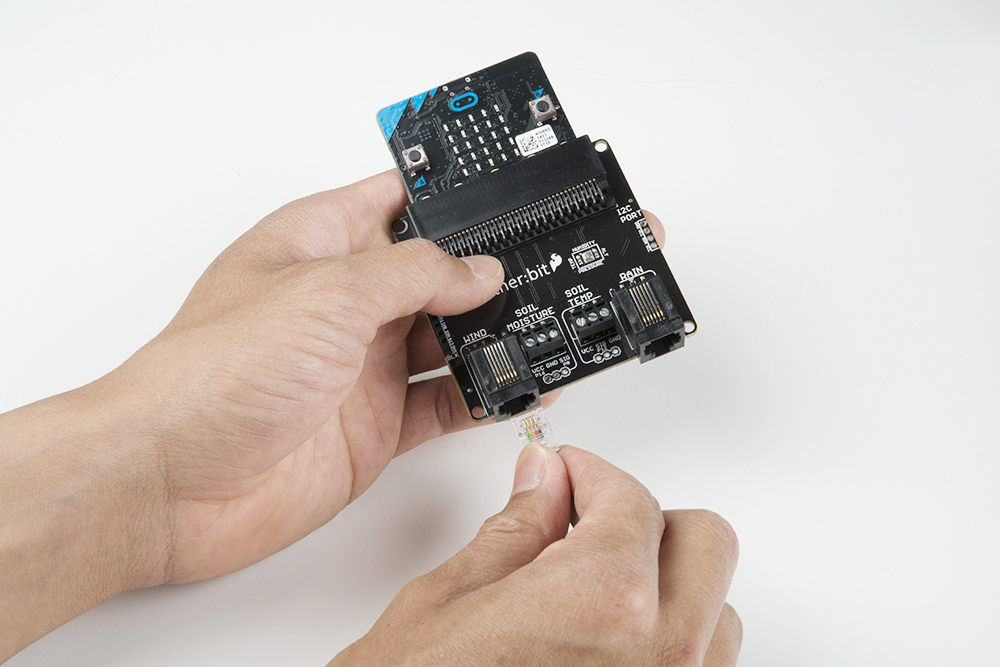
With that you are ready to roll!
Running Your Script
Please open a browser window and navigate to https://makecode.microbit.org/. This should open the MakeCode environment that you used to install the weather:bit extension in.
Code to Note

Initialize Serial Output
When the code first starts, we initialize a serial output on the micro:bit to send serial to the USB. Using the serial redirect to USB code block defaults the 115200 baud. This is useful whenever we need to inspect the sensor readings and interpret the values in a serial terminal. This is not required if you are viewing the output on the micro:bit's LED display.
Start Wind Monitoring
The Start Wind Monitoring block starts all of the necessary processes to use the wind sensors that plug into the weather:bit. This block show be placed in the On Start block as it only needs to be called once at the very beginning of the program.
Show Number
The Show Number block displays/scrolls whatever number is placed inside of it across the LED array. We use it to display the wind speed in this example.
Wind Speed
The Wind Speed block is a variable block that returns the calculated wind speed from the anemometer. It is updated every 2 seconds! To prevent the micro:bit from displaying several decimal places and having to wait while the output scrolls to the end, we will use the truncate block to only display the integer.
Wind Direction
The Wind Direction block is a variable block that returns a string value of a cardinal direction that the wind vane is pointing.
Show String
The Show String block is similar to the Show Number block in that it displays/scrolls whatever string that it is passed. In this case we use it to display the wind direction. We'll abbreviate the words for speed and direction so that we do not have to wait as long for the next measurement.
Comma Delimiter
For debugging, we set up the serial. However, we will use the join block with a comma delimiter. This is useful for graphing serial data. In this case, it is used to help read data easily.
What You Should See
You can pair, upload code to the micro:bit, and view the output on the MakeCode console without having to drag and drop the file to the micro:bit after updating the firmware. For more information about using the WebUSB feature on MakeCode, make sure to check out the instructions provided by micro:bit support.
Otherwise, you can use your favorite serial terminal or program to real time, serial data plotter to graph the output.
Once you power up the micro:bit, spin the anemometer with your hand or place it in front of a fan. The speed in miles per hour should start to scroll across the LED array. If you press the A button on your micro:bit, it will change the readout to print the direction the vane is pointing as the direction the wind is coming from. If your micro:bit has a certain firmware version, you can also view the output via the MakeCode console.
Troubleshooting
odd readings --- Make sure your wiring is correct by ensuring that sensors are plugged into the correct RJ11 jack.
???--- If you are getting a???for the wind vane, this may be due to a loose connection. Make sure that the RJ11 is fully in the socket as explained above. The micro:bit also reads the voltage from the wind vane using an analog pin. The makeCode extension was written to read 8 cardinal directions for simplicity. When the magnet closes one of the reed switches inside the wind vane, the micro:bit will read a certain value. The???indicates that micro:bit read the wind vane at a certain moment when the magnet was within a small region somewhere between the 8 cardinal directions. This also may be due to a conflicting pin causing an invalid reading. Try writing a condition statement to ignore this invalid data point and taking another measurement.What is north? --- The directions produced by the weather:bit are based off of readings from the vane, you have to personally line up the orientation of your vane to north.
It still doesn't work --- Drop us a line, we would love to help you figure it out!