micro:climate Kit Experiment Guide
 bboyho,
  D___Run___
 Experiment 6: Reading the Rain Gauge
Introduction
Rain, rain, go away; come again another day! In this experiment you will add the rain gauge to your weather meter and use it to track the amount of rain that falls. In the end you will use the micro:bit to keep track of the amount of rain, print it out over the LED array when a button is pressed and then use another button press to reset that value to 0. Ready to get wet? Us too...
Parts Needed
You will need the following parts:
- 1x micro:bit board (Not Included with Kit)
- 1x Micro-b USB Cable (Not Included with Kit)
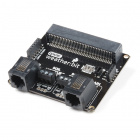
- 1x weather:bit carrier board
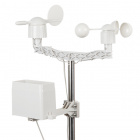
- 1x Weather Meter
Didn't get the kit? Have no fear! Here are the parts you will need to complete this experiment. You may not need everything though depending on what you have. Add it to your cart, read through the guide, and adjust the cart as necessary.


micro:bit Board
DEV-14208Suggested Reading
- Weather Meter Datasheet --- The nitty-gritty details on the weather meter.
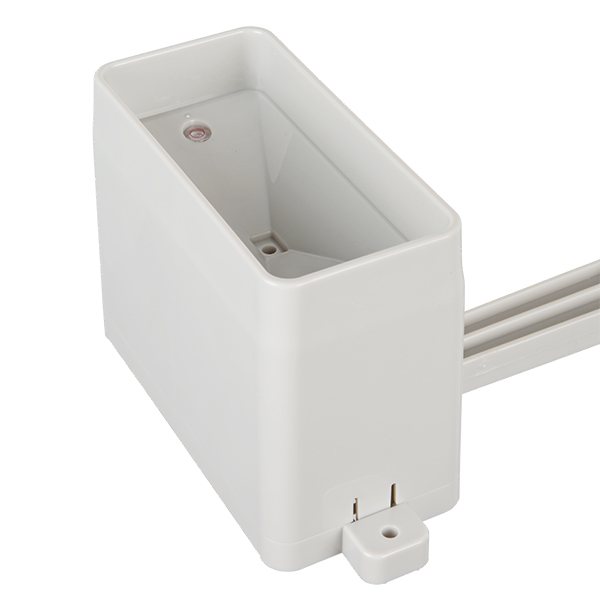
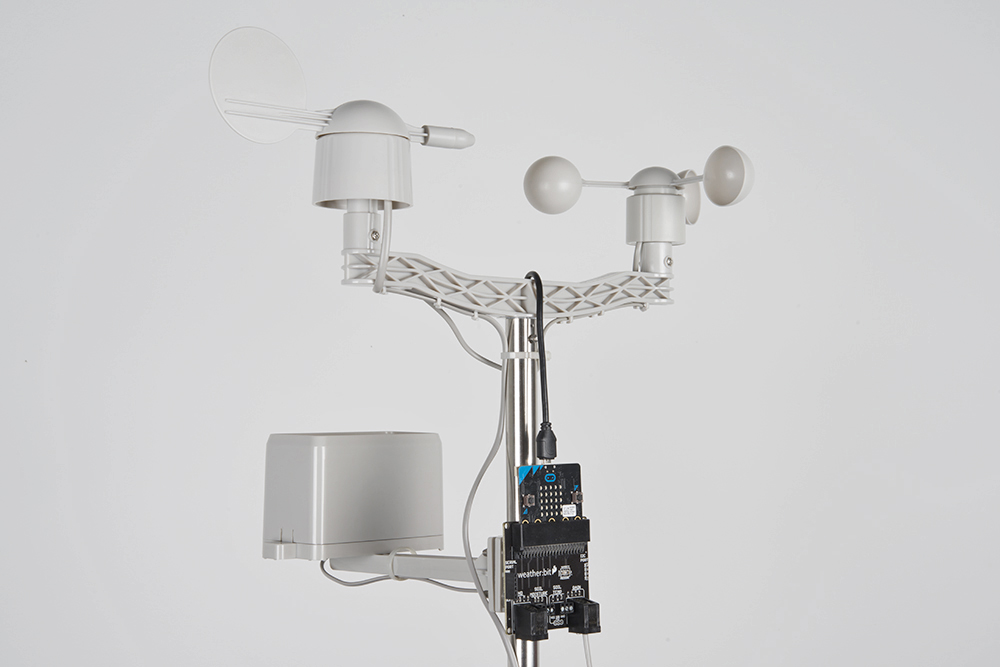
Introducing the Weather Meter (Rain Gauge)
In the previous experiment you met the wind sensors on the weather meter. Here you meet the rain gauge!

The rain gauge is actually quite an ingenious design. Inside of the box is a tiny bucket. When that bucket is full (0.011" of rain) it tips over, both triggering a switch and dumping out the water that is in the bucket, which then allows the bucket to come back to upright. So, for every switch press there is 0.011" of rain. In software we count these triggers and increment the rainfall value.
Hardware Hookup
If you didn't assembly your weather meter in the previous experiment we created this step by step assembly guide for you to follow!
Weather Meter Hookup Guide
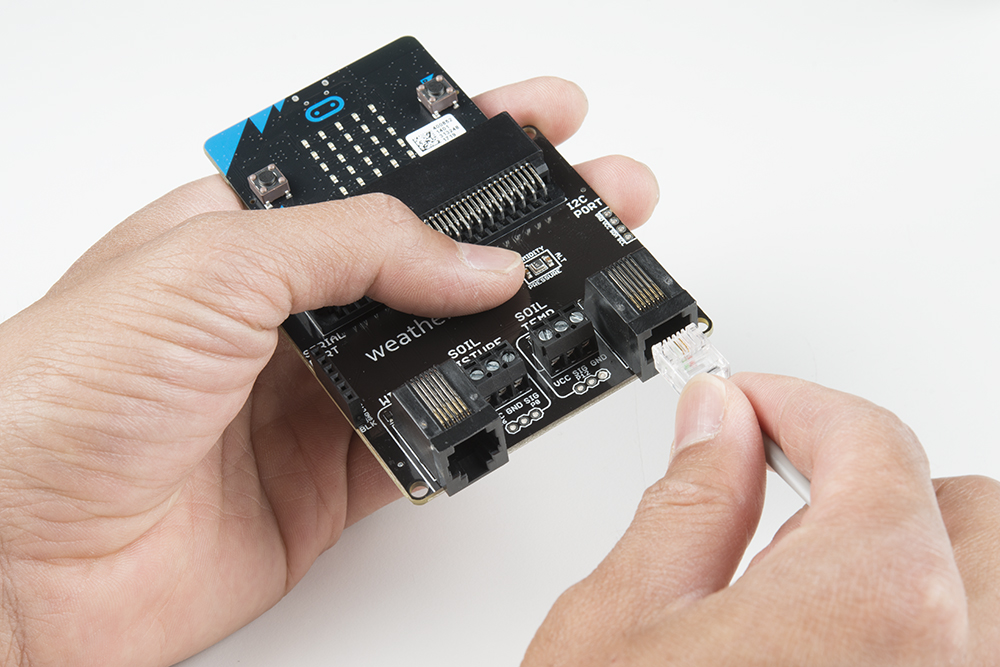
Once you have completed the assembly of the weather meter, find the cable for the rain gauge and plug it into the RJ-11 connector on the weather:bit labeled "rain".
Hope you have an umbrella!
Running Your Script
Please open a browser window and navigate to https://makecode.microbit.org. This should open the MakeCode environment that you used to install the weather:bit extension.
Code to Note
Initialize Serial Output
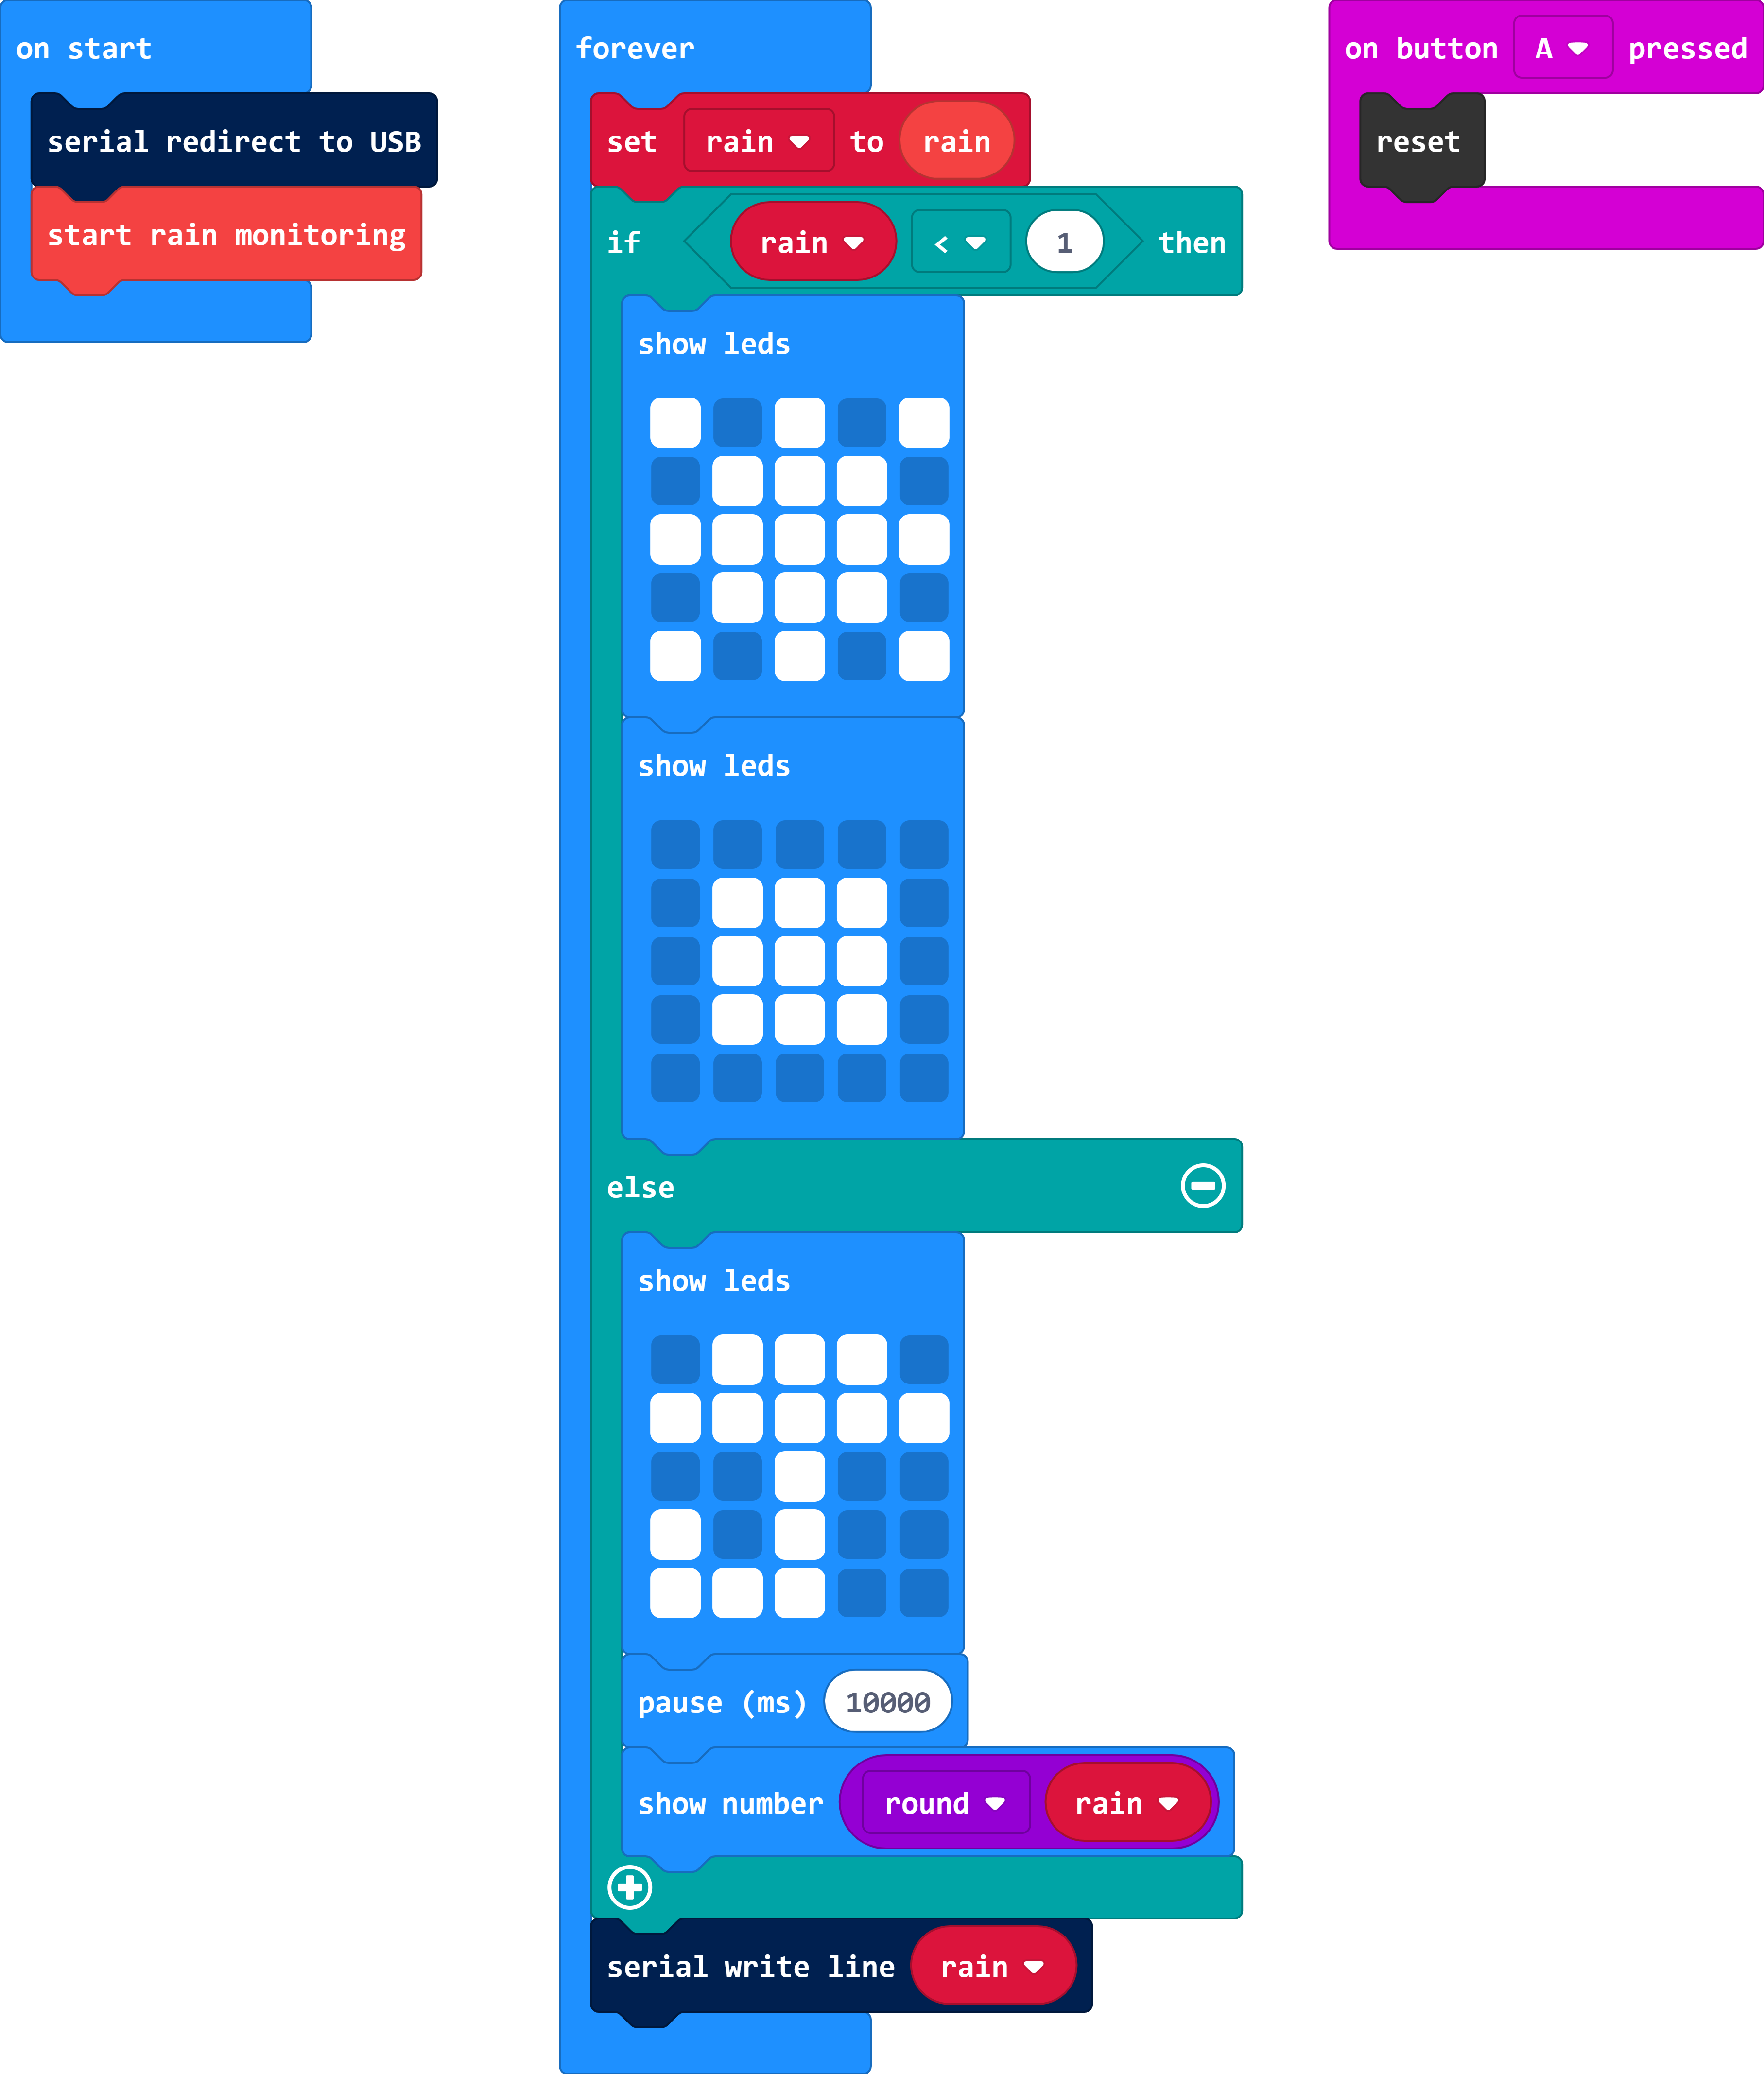
When the code first starts, we initialize a serial output again on the micro:bit to send serial to the USB. Using the serial redirect to USB code block defaults the 115200 baud. This is useful whenever we need to inspect the sensor readings and interpret the values in a serial terminal. This is not required if you are viewing the output on the micro:bit's LED display.
Start Rain Monitoring
To use the rain gauge you need to add the Start Rain Monitoring block to your On Start Block for it to be able to function correctly. It sets up the micro:bit hardware correctly to be able to read the rain gauge correctly.
Rain
The rain block returns the number of inches of rain that the gauge has measured as a whole number. This variable block stores that value until your micro:bit is reset or power cycled (turned off and on again).
Show LEDs
We used the Show LEDs block to draw an image of the sun. If MakeCode doesn't have just the right icon for you pre-drawn you can make your own using this method.
Reset
The reset block resets the code that you have on your micro:bit. This is the same as pressing the reset button on the back of the micro:bit, but at times it is useful to be able to do this in software. A great example would be that you couldn't reach the back of the micro:bit for some reason.
What You Should See
Once you power up your micro:bit, you should see a sun show up on the LED array. Try placing a bucket underneath the rain gauge and adding some water. Be sure to avoid getting the micro:bit and electronics wet. Once the amount of rain fallen goes over 1" the LED array will display an umbrella and every 10 seconds the number of inches of rain fall since you started your program.
To restart the counter, press the A button or, if you can reach it, the reset button on the back of the micro:bit.
Troubleshooting
I am getting a lot or rain? --- Every time the bucket tip, it is measured as rainfall. If you bump into the sensor or if it is vibrated it may trigger the sensor and you get a false reading.
Getting an Odd reading?! --- Make sure the rain gauge is plugged into the proper RJ11 jack and there is a "click" when you insert it all the way.
It still doesn't work --- Drop us a line, we would love to help you figure it out!