SIK Experiment Guide for the Arduino 101/Genuino 101 Board
 D___Run___
 Experiment 20: Using the On-Board Real Time Clock (RTC)
Introduction
Microcontrollers are really good at keeping time in terms of their own timing. What we mean by that is their operational time; they function on an internal clock signal that allows you to keep track of milliseconds and microseconds since being powered up. But microcontrollers don't have any way of knowing real time, which is the time we all base our days and schedules around.
In this experiment you will set the clock and then display the date and time on the LCD screen you learned how to use in Experiment 17.
Note: The 101 board doesn't have a backup battery for the RTC (Real Time Clock), so if you unplug the board or your batteries die, you will have to reset the RTC in code or develop a circuit that allows you to adjust the time.
Parts Needed
You will need the following parts:
- 1x Breadboard
- 1x Arduino 101 or Genuino 101 board
- 1x Potentiometer
- 1x 3.3V LCD
- 16x Jumper Wires
Didn't Get the SIK?
If you are conducting this experiment and didn't get the SIK, we suggest using these parts:


You will also need either an Arduino 101 OR Genuino 101 board.

Arduino 101
DEV-13787
Genuino 101
DEV-13984Suggested Reading
Before continuing with this experiment, we recommend you be familiar with the concepts in the following tutorial:
Introducing the Real Time Clock (RTC)
A microcontroller performs well at keeping operational time, the timing required to do its job. Microcontrollers generally keep track of milliseconds since being powered on. However, they do a terrible job of keeping track of the time on which we, as human beings, function ("real time"). Microcontrollers use a Real Time Clock (RTC) to keep track of a set beginning and time moving forward.
The RTC keeps track of the hours, minutes and seconds of a clock as well as the day, month and year of the calendar. On the 101 board, this requires you to set the time and date when you first power it up. From that point forward it should keep accurate time. You can then use the time to trigger events to happen at a specific time or day, or even use it as a time stamp to log data.
Note: If the 101 board loses power, you will need to reset the clock in your code. Also, the RTC is an on-board component of the 101 board and requires no further wiring.
Hardware Hookup
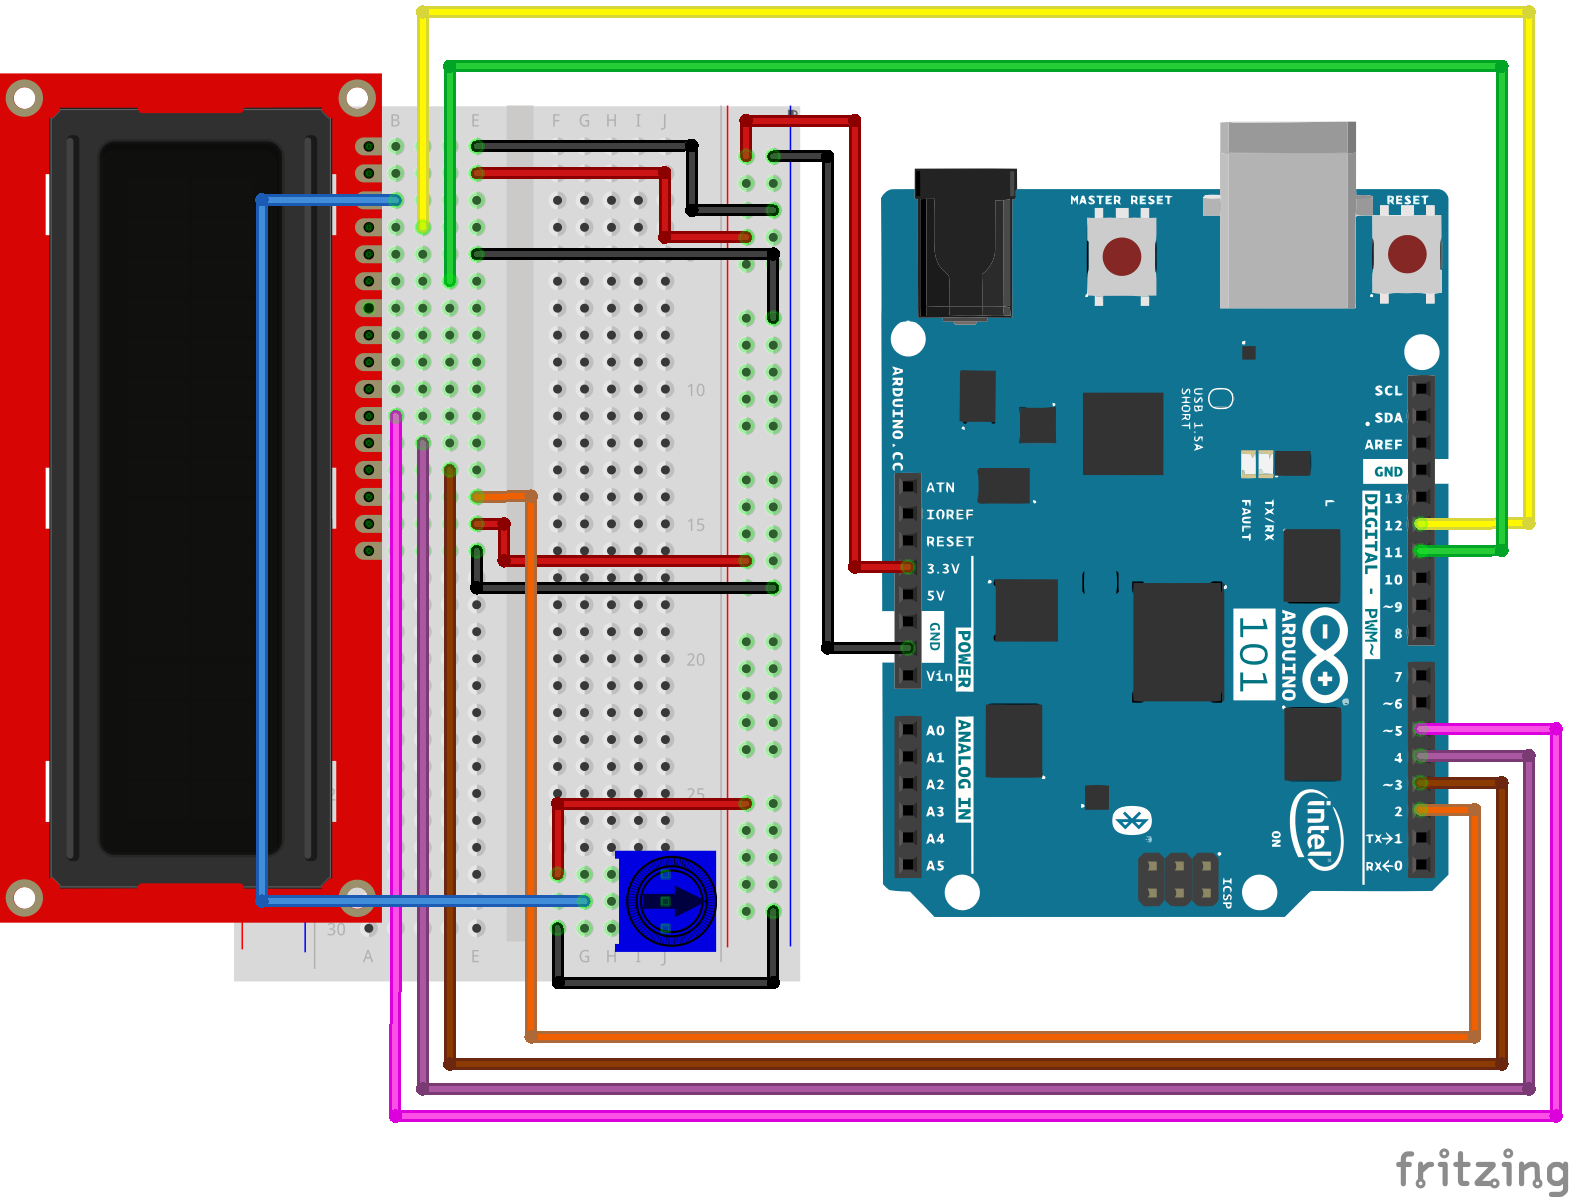
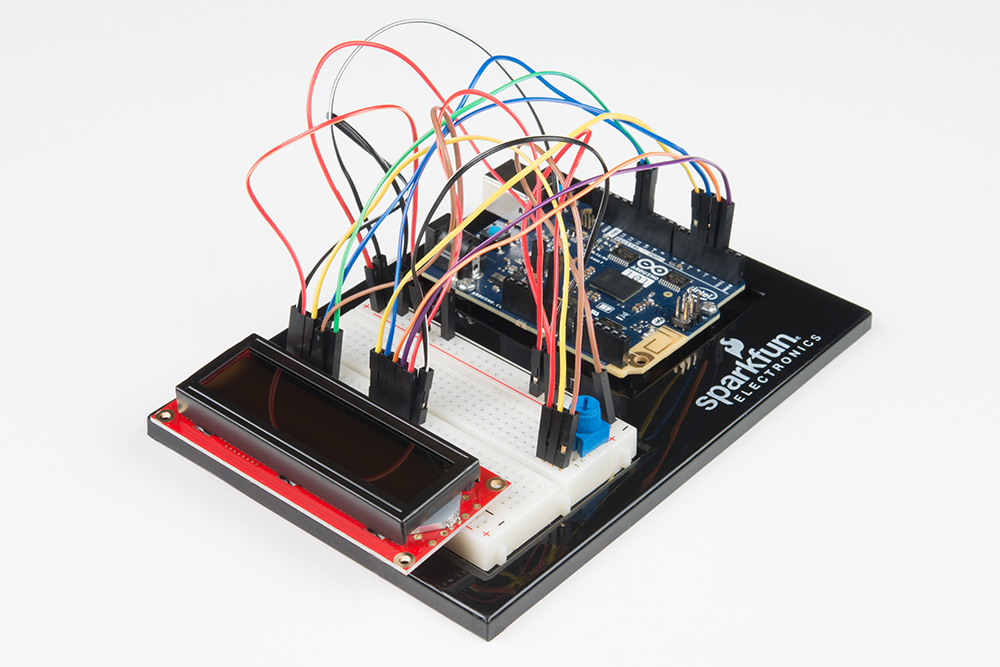
Ready to start hooking everything up? Check out the wiring diagram below to see how everything is connected.
| Polarized Components | Pay special attention to the component’s markings indicating how to place it on the breadboard. Polarized components can only be connected to a circuit in one direction. |
Wiring Diagram for the Experiment
Open the Sketch
Open the Arduino IDE software on your computer. Coding in the Arduino language will control your circuit. Open the code for Circuit 20 by accessing the “101 SIK Guide Code” you downloaded and placed into your “Examples” folder earlier.
To open the code go to: File > Examples > 101 SIK Guide Code > Circuit_20
You can also copy and paste the following code into the Arduino IDE. Hit upload, and see what happens!
language:cpp
/*
SparkFun Inventor's Kit
Example sketch 20

DISPLAYING THE DATE AND TIME

This sketch reads the RTC data and prints it on the LCD screen

This sketch was written by SparkFun Electronics,
with lots of help from the Arduino community.
This code is completely free for any use.
Visit http://learn.sparkfun.com/products/2 for SIK information.
Visit http://www.arduino.cc to learn more about Arduino.
*/

//include the CurieTime Library
#include <CurieTime.h>
#include <LiquidCrystal.h>

//instantiate the lcd
LiquidCrystal lcd(12, 11, 5, 4, 3, 2);

void setup()
{
  //start lcd at 16 x 2
  lcd.begin(16, 2);

  //clear the lcd
  lcd.clear();

  //set time to 1:35:24 on April 4th, 2016. Please change to your time / date
  setTime(1, 35, 24, 4, 10, 2016);
}

void loop()
{
 //create a character array of 16 characters for the time
 char clockTime[16];
 //use sprintf to create a time string of the hour, minte and seconds
 sprintf(clockTime, "    %2d:%2d:%2d    ", hour(), minute(), second());

 //create a character array of 15 characters for the date
 char dateTime[16];
 //use sprintf to create a date string from month, day and year
 sprintf(dateTime, "   %2d/%2d/%4d   ", month(), day(), year());

 //set cursor to column 0, row 0
 lcd.setCursor(0, 0);
 //print the date string over lcd
 lcd.print(dateTime);
 //set cursor to column 0, row 1
 lcd.setCursor(0, 1);
 //print the time string over lcd
 lcd.print(clockTime);
}
Code to Note
setTime(1,35,00,4,10,2016);
The RTC on the 101 board has to be set when you power it up. You do this by using the setTime() function. You pass setTime() 6 parameters in order of hour, minute, seconds, month, day, year. If your 101 board loses power for some reason, you will have to reset it using this function.
sprintf(dateTime, " %2d/%2d/%4d ", month(), day(), year()); sprintf() is a string-building function. It is a simple way to build strings by taking data and placing them in a character array, which in Arduino is basically a string. The funny %2d and %4d things are where the data is inserted with the number of digits specified, so %4d is 4 digits. Finally you pass the data you want to insert into the string as parameters. In this case month(), day(), and year().
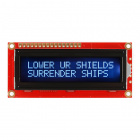
What You Should See
Once the code is completely uploaded you should see two lines of text show up on your LCD screen. The first line should be the date (which should only change once a day), and the second line should be the current time, which you should see actively counting up. If not, see the Troubleshooting section below.
Troubleshooting
The Screen is Blank or Completely Lit
Fiddle with the contrast by twisting the potentiometer. If it’s incorrectly adjusted, you won’t be able to read the text.
Not Working At All
Double check the code, specifically that you included the LCD library.
Not Displaying Correct Time
Double check your code. You probably have to update the setTime() function.