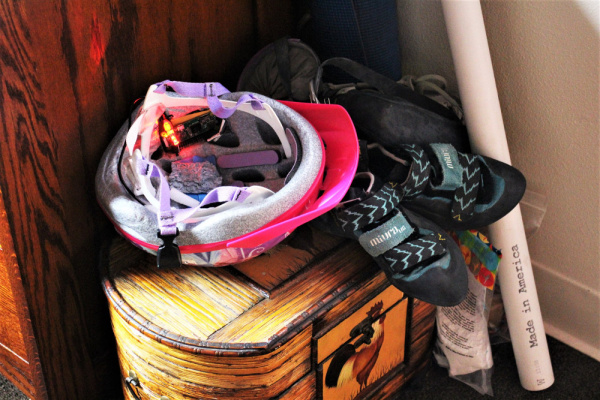
Raspberry Pi Zero Helmet Impact Force Monitor
Introduction
Read Time: ~ 15 minutes
Build Time: ~ 60 - 90 minutes
How much impact can the human body handle? Whether it's football, rock climbing, or a bicycle accident, knowing when to seek immediate medical attention after a collision is incredibly important, especially if there are no obvious signs of trauma. This tutorial will teach you how to build your very own impact force monitor!
This open-source project uses a Raspberry Pi Zero W and an LIS331 accelerometer to monitor and alert the user of potentially dangerous G-forces. Of course, feel free to modify and adapt the system to suit your various citizen science needs.
Suggested Video
Suggested Reading
To keep this tutorial short n' sweet (er, well, as much as possible), I'm assuming you're starting with a functional Pi Zero W. Need some help? No problem! Here's a full setup tutorial.
Getting Started with the Raspberry Pi Zero Wireless
We'll also be connecting to the Pi remotely (aka wirelessly). For a more thorough overview on this process check out this tutorial on making a "headless" Raspberry Pi:
Stuck or Want to Learn More? Here Are Some Handy Resources:
Accelerometer Basics
Raspberry gPIo
Raspberry Pi SPI and I2C Tutorial
Raspberry Pi 3 Starter Kit Hookup Guide
Also, check out the datasheet for the LIS331.
Required Materials
To follow along with this tutorial, you will need the following materials. You may not need everything though depending on what you have. Add it to your cart, read through the guide, and adjust the cart as necessary.
The items in the wishlist include:
- Raspberry Pi Zero W Basic Kit
- microSD Card w/ NOOBS OS
- USB OTG Cable (micro-B to Female A USB)
- Mini HDMI to HDMI
- Micro-B Wall Adapter (5V)
- Also Recommended: USB Hub
- Raspberry Pi 3 Header Pins
- LIS331 Accelerometer Breakout Board
- Battery Pack w/ Micro-B Connector
- LED - Basic Red 5mm
- 1kΩ Resistor
- 6" Heat Shrink Tube or Electrical Tape
- 4x Header Pins
- 8x Pins for Accelerometer
- 2x Pins for LED
- 6x Female-to-Female Jumper Wires
Tools
You will also need the following tools.
- Soldering Iron, Solder, and Accessories
- Epoxy (Or Other Permanent, Non-Conductive Liquid Adhesive)
- Scissors (Optional)
