Raspberry Pi Zero Helmet Impact Force Monitor
 jenfoxbot
Configure the Pi Zero W
Gather your Raspberry Pi Zero and peripherals to configure the Pi to be headless!
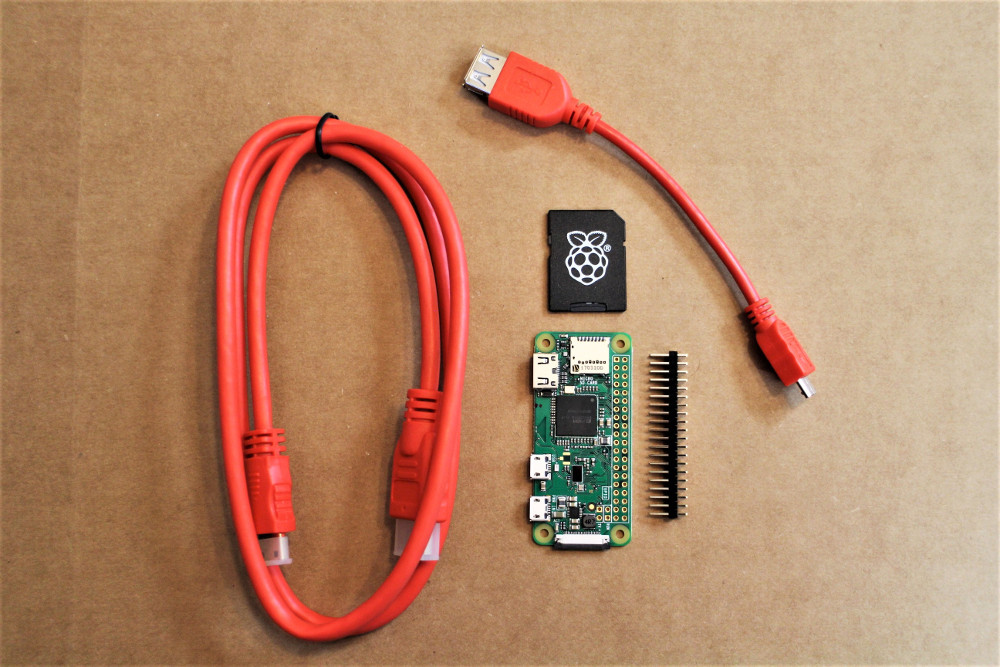
Connect the Pi to a monitor and associated peripherals (keyboard, mouse), plug in the power supply, and log in.
Update software to keep your Pi speedy & secure. Open the terminal window and type these commands:
Type and enter:
sudo apt-get updateType and enter:
sudo apt-get upgradeReset:
sudo shutdown -r now
Enable WiFi, SSH, and I2C.
Click the WiFi icon on the upper right corner of the desktop and connect to your WiFi network.
In the terminal type this command to bring up the Pi's Software Configuration Tool:
sudo raspi-config
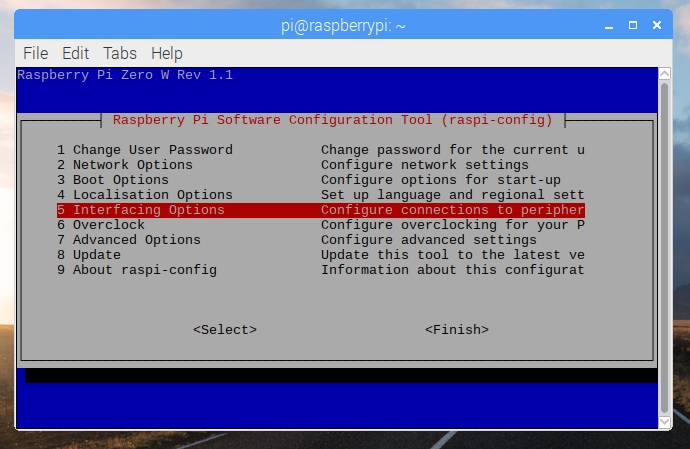
Select "Interfacing Options", then "SSH", and choose "Yes" at the bottom to enable.
Go back to "Interfacing Options", then "I2C", and select "Yes" to enable.
In the terminal, install remote desktop connection software:
sudo apt-get install xrdpType 'Y' (yes) on your keyboard to both prompts.
Find the Pi's IP address by hovering over the WiFi connection (you might also want to write it down).

- Change the Pi's password with the
passwdcommand.
Restart the Pi and Log In Remotely.
We can now ditch the HDMI and peripherals, woohoo!
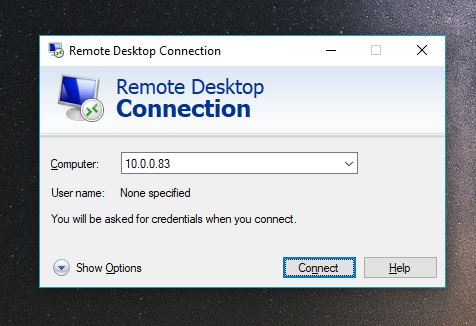
Setup a remote desktop connection.
On a PC, open Remote Desktop Connection (or PuTTY if you're comfy with that).
For Mac/Linux, you can install this program or use a VNC program.
Enter the IP for the Pi and click "Connect" (Ignore warnings about unknown device).
- Log in to the Pi using your credentials and away we go!