Raspberry Pi Zero Helmet Impact Force Monitor
Install It!
Once everything is working correctly, let's make sure the impact force monitor can actually withstand impact!
Secure Connections
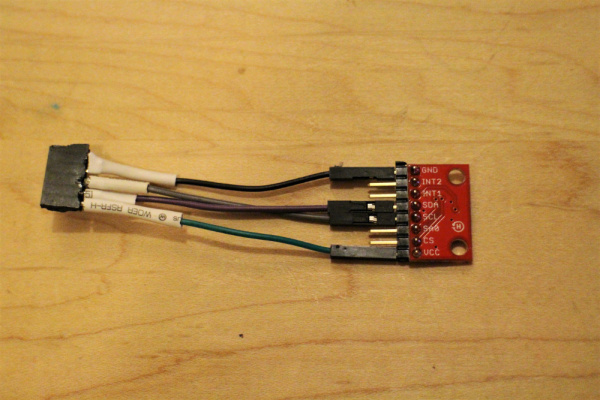
Use heat shrink tube and/or coat the electrical connections for the accelerometer and LED in epoxy.
For super durable, permanent installations, consider coating the whole shebang in epoxy: the Pi Zero, the LED, and the accelerometer (but NOT the Pi cable connectors or the SD card).
Alternatively, you can make or purchase a custom case for the Pi Zero, although check for durability.
Secure to a helmet, your person, or a mode of transportation like your skateboard, bicycle, or cat*!
Fully test that the Pi is securely fastened or the GPIO pins may become loose causing the program to crash.
Embedding the Circuit in a Helmet
Theres a few methods of embedding the circuit into a helmet. Here's my approach to a helmet installation:
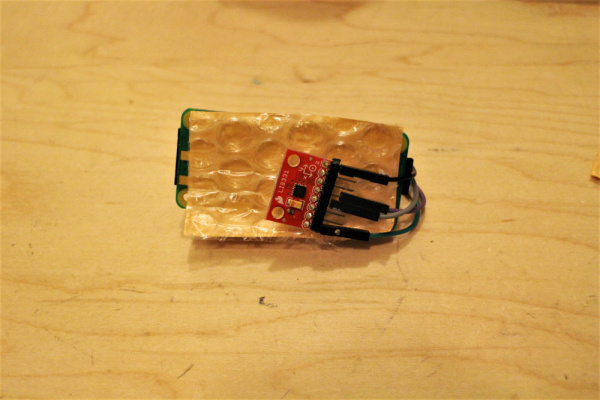
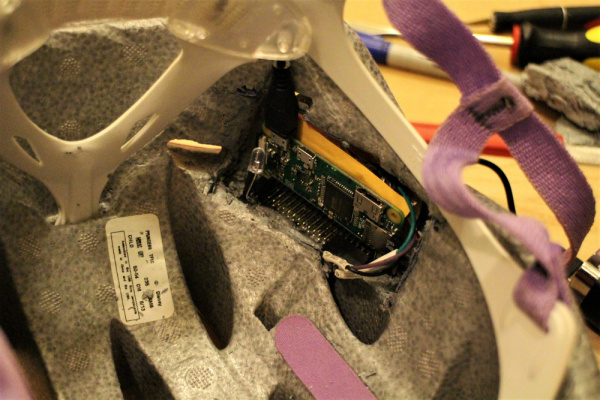
If you have not already, connect battery to Pi (with battery off). Secure the accelerometer to the back of the Pi with nonconductive insulation in between (like bubble wrap or thin packing foam).
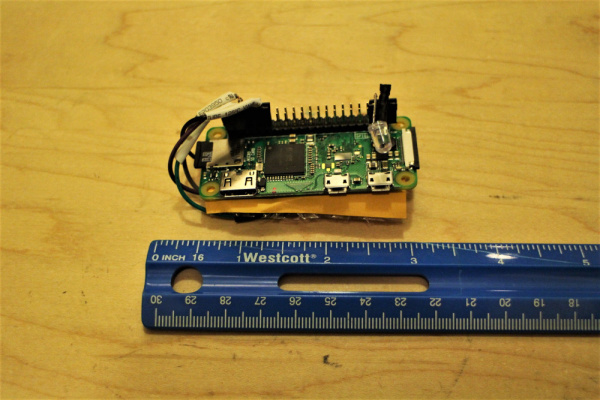
Measure the dimensions of the Pi Zero, accelerometer, LED, and battery connector combination. Add 10% on either side.
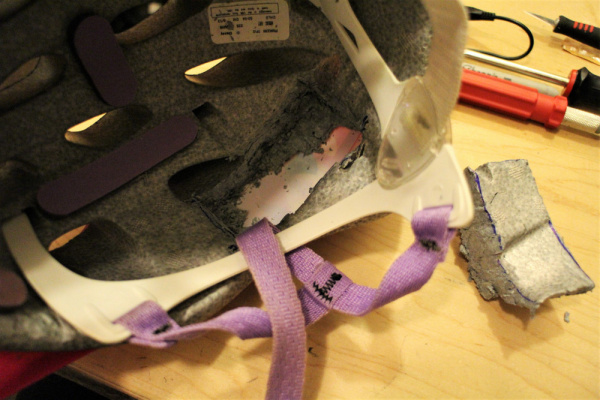
Draw a cutout for the project on one side of the helmet, with the battery connector facing towards the top of the helmet. Cut out the padding in the helmet leaving a few millimeters (~ 1/8 in.).
Place the sensor, Pi, and LED in the cutout. Cut pieces of the excess helmet padding or use packaging foam to insulate, protect, and hold the electronics in place.
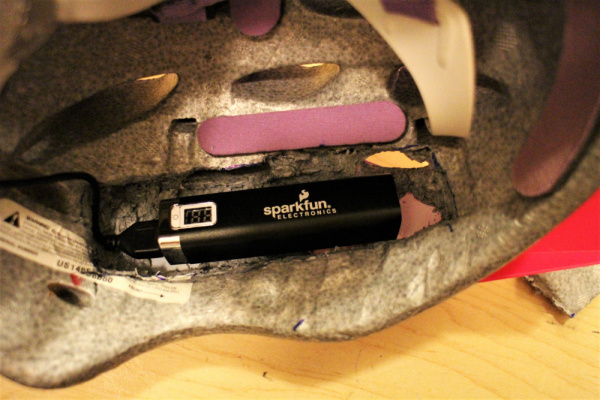
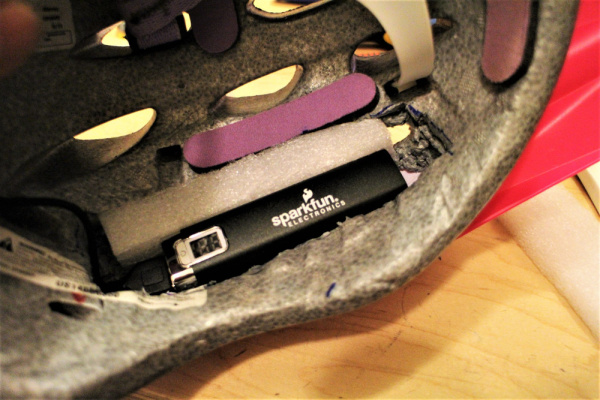
Measure the battery's dimensions, add 10%, and follow the same cutout for the battery. Insert the battery into the pocket.
Repeat the insulation technique for the battery on the other side of the helmet.
Hold the helmet padding in place with tape (your head will keep 'em in place when you are wearing it).
